Suyash Dubey | Posted on | 2 min Read

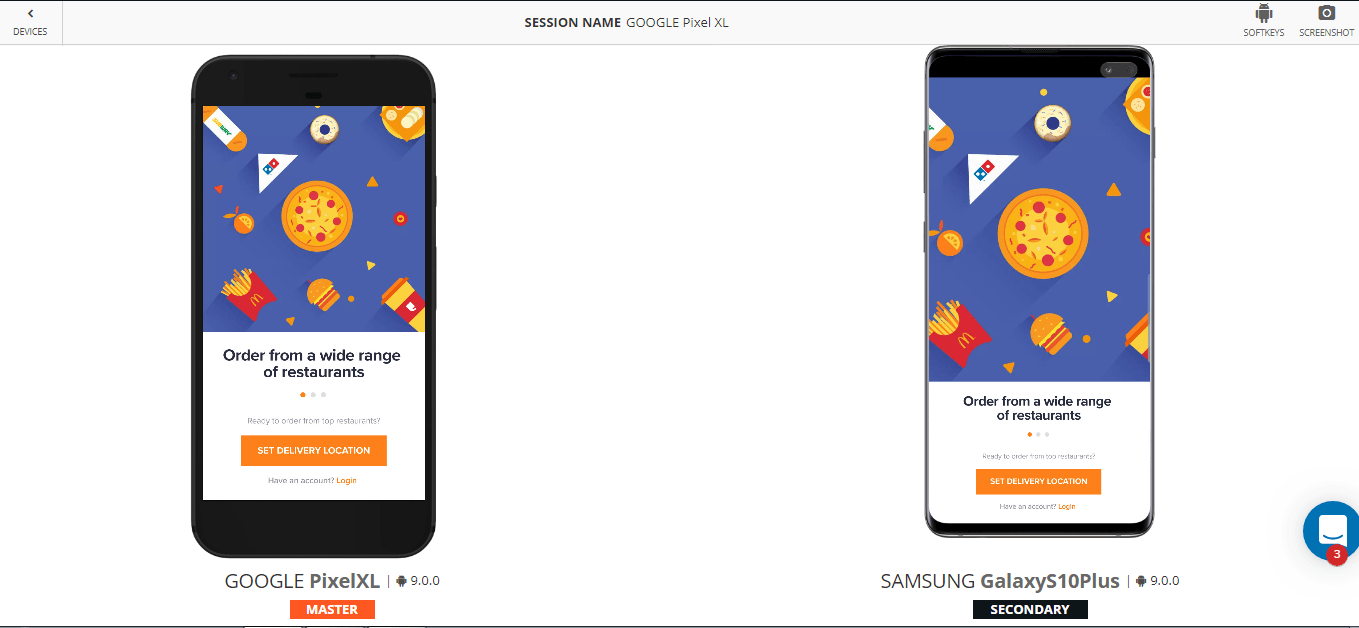
End to end testing is done to make sure that the application behaves as expected and the flow of actions from starting to end is complete without any issue. To explain with an example, suppose you are the end user and you are using the app to book a flight. So first you will launch the app and click on the flight’s icon on the home page. Then you will enter the destination, date and other required details. Now you will choose your preferred flight, book the seat, enter the passenger details and make the payment. Once this is done, you will get the ticket and a follow-up email on your registered email ID.
 
Now in this scenario, if the screen takes a lot of time to load the next page or if the book button does not work then this will be an unpleasant experience for the user. So we can figure out if there are any issues from starting to the end of the process. It’s not just about the UI functioning but also the data encryption and security, information flow between other internally used platforms integrated to the app, proper functioning of the firewall and more. This is where end to end testing comes into the picture to make sure that everything works well under any circumstances.
 

How to Perform End to End Testing

While performing end to end testing the first thing to do is to analyze the requirements and set up the test environment. Then you need to evaluate the main system with the connected subsystems and define the responsibilities of all systems involved. Make a list of the testing methods and the description of the standards to be followed. Once that is done you can create the test cases and track the requirement matrix. Finally, you need to save the output and input data before testing each system.
 

Measuring the success of the end to end testing

To perform end to end testing efficiently and save time and effort, a matrix should be created. Some parameters should be defined to gauge the success of the testing performed. These measurements will help you define the testing matrix:
 
Test case status: A proper visualization of the test cases prepared can be observed through graphs and compared with the number of tests that were initially planned.
Tracking Test progress: This measurement will help you to get the details of the tests completed on a weekly basis. It will be easy to keep a track of the test that failed and those that passed.
Defect details: Tracking of the bugs occurred and the issues surfaced should be done one a weekly basis and keeping a track of the defects that were opened and closed on the basis of priority.
Environment availability: Here we need to take a note of the amount of time allotted for running a test in an environment and the time actually spent on performing end to end testing.
 

Best Practices to Perform End to End Testing

End to end testing can be very time consuming and we can save some time and effort by following some steps. It is always better to plan in advance before initiating the testing process.
 
Prioritize: Chances of defect increases as the test cases become complex with more components and it becomes difficult to debug them. Therefore it is better to perform unit testing and integration testing to resolve issues that are easier to detect. After initiating the End to end testing you can also start doing smoke and sanity testing to keep an eye on the high-risk scenarios.
Manage the Environment: The requirements need to be documented and the system administrator needs to be informed about it to meet the requirements before starting the testing. The system setup should be proficient enough to run the test cases and keep your staging environment close to the production.
Optimize: After test completion, you need to clear the test data so that the environment is restored and can be used for testing again. This will make the environment ready to start at any moment.
Risk Analysis: Focus on the features that are crucial and on failure can cause a high risk. Prepare a risk assessment matrix which will come in handy in these situations.
Limit Exception testing: Use low-level unit testing and integration testing for exception scenarios and use end to end testing to deal with typical user scenarios.
 

Conclusion

With the rapid enhancements in the app technology and the increasing use of technologies like IOT, the development teams have to make sure that the app has a smooth functionality. The end users can be very choosy in this competitive market and so it’s necessary to perform end to end testing of applications to provide a good user experience.

 
Related Articles:

  • Start to End Guide for Mobile App Testing
  • 5 Best Practices App Testing Companies Must Follow for Success
  • Top 5 Tips for Successful Mobile Application Testing
  • Mobile Devops+Agile – Challenges and Keys to Success
  • Functional Testing Vs Non-Functional Testing
  • Suyash Dubey | Posted on | 2 min Read

    We are glad to announce the release of pCloudy 5.4 with exciting new features to make app testing simpler than ever. There is a possibility that you might be familiar with pCloudy, but for those who are new, pCloudy is a cloud-based mobile app testing platform. We have achieved many milestones in a short period of time because we resolve issues immediately and bring in new features on a regular basis. Case in point: This new version of pCloudy, where we have addressed the concerns of our users and added new features to optimize testing. Let’s have a look at all the features added in pCloudy 5.4.


    CTRL + V

    To test your app on a pCloudy device you need to login to device.pcloudy.com and then book a device by clicking on the devices tab. Just click on the available button next to the chosen device which will take you to the device interaction page. Earlier in the device window, you would have to use the virtual extended keyboard to enter text in the device. Although now you can just copy any text from your system and paste it in the device directly. So now instead of using an extended keyboard just use two buttons to enter the string in the device. This will save time and effort when working with multiple devices where you need to enter long text many times.
     

    FollowMe new UI

    To use the FollowMe feature you will have to instrument the app you want to perform the test on. Under devices section, click on the FollowMe tab then in the next screen choose the app, select the duration and devices on which you will perform the test. In the next screen, you will see the devices which you selected and two options (Softkeys and Screenshots) at the top right corner of the window. Now when you perform any action in the master device, that action gets replicated on the secondary device too. If you enter text, tap on a button, swipe, etc. in the master device then that will happen simultaneously in the secondary device.
     
    pCloudy 5.4 New UI
    For more information, refer to this link:-

    https://www.pcloudy.com/mobile-application-testing-documentation/manual-app-testing/follow-me-app-testing.html
     

    Appium on Pre Installed Apps

    In pCloudy, you can run Appium tests on multiple devices in parallel. To perform a test using Appium, you need to feed in the capabilities. Some users want to test their apps more than once to perform different types of tests on the same app. To do that earlier the users had to install the app again and again. But now we have released an update through which you can perform different types of testing using Appium on the preinstalled apps. This will save you time and make the process easier.
     
    Appium on Pre Installed Apps
    So if you have already installed the app in the device and you want to perform a test on the same app then you don’t need to pass the Application Name capability.
     
    For more information, refer to this link:-

    https://www.pcloudy.com/mobile-application-testing-documentation/automation-testing/inspect-element-using-appium-desktop.html#running-appium-scripts
     

    GitHub Integration

    pCloudy is integrated with the most popular tools and frameworks to make testing convenient. A lot of users also requested to integrate Github repository and so we did it. Now you can directly upload your tasks and raise defects in the GitHub repository from pCloudy. Again this feature is added to make it convenient for our users to test and manage the tasks through pCloudy.
     
    GitHub Integration
     
    To make use of GitHub just login to device.pcloudy.com and click on the user name at the top right corner of the window. In the dropdown list click on settings and in the settings window click on GitHub tab and enter the URL and access key to register. Now in the device session screen, you can click on Collaborate and then select Log a bug in GitHub. A new window will open where you will be able to see the list of repositories, enter the issue type, enter the title, add the description and then click on the click on the Log A Bug In GitHub button. Then you can go to the GitHub to check all the issues raised whenever you want.
     

    Summary

    We are working on some more new features and very soon we will come up with the new version of pCloudy. This is a constant process and we always try to address the users issues and provide them updates on a regular basis. This is why we are achieving new heights and we will keep on working hard to provide the best service.

     
    Related Articles:

  • What’s New in The Latest Update – pCloudy 5.2!
  • pCloudy 5.1 – July Release Update and Full Speed Ahead in the Third Quarter
  • Welcome to pCloudy 5.0
  • What’s New with Release 4.2?
  • What’s New With pCloudy 3.0?
  • Suyash Dubey | Posted on | 2 min Read

    DevOps helps enterprises to build software at a fast pace and with minimal issues. The time to market is accelerated and the bugs are fixed faster in continuous deployment with the help of automated tools. AI is much in line with DevOps as the main focus is on automating the process and with AI the system can identify patterns, anticipate issues and provide solutions. The proactive approach improves the overall efficiency of the software development life cycle. So let’s have a look at how AI is transforming DevOps.


    Feedback Loop and Correlate Data

    The main role of DevOps is to take continuous feedback at every stage of the process. often people use performance monitoring tools to get feedback on running applications. These tools gather much information in the form of log files, data sheets, performance matrix, and other types. The monitoring tools use machine learning to identify the issues early and make suggestions. The DevOps teams use these suggestions to make the necessary improvements to the application. Many times teams use two or more tools to monitor the health of the app and the data from all the platforms can be correlated by the help of machine learning to get a more deep understanding of the app functioning.
     
    AI Plan Release Debug - DevOps

    Software Testing

    AI is changing DevOps for good by enhancing the software development process and making testing more efficient. Whether it is regression testing, user acceptance testing or functional testing, these all produce a large amount of data. AI can figure out patterns in the data collected in the form of results and identify poor coding practices which produce a lot of errors. This information can be used by the DevOps teams to increase their efficiency.
     

    Anomaly Detection

    DevSecOps is one of the essential aspects of software development as security is the key to any successful software implementation. Distribution denial of service attacks are increasing and the business needs to prepare themselves to protect their security systems from hackers. DevSecOps can be augmented using artificial intelligence to enhance security by central logging architecture to record threats and running machine learning based anomaly detection. This will help businesses proactively attenuate the attack from hackers and DDOS.
     

    Alerts

    DevOps approach might create scenarios where the team receive an overwhelming amount of alerts without any priority tag. This will create ruckus in the teams as it will be very difficult to handle all the alerts in the continuous development environment. AI can help in this scenario by tagging the alerts and prioritizing them so that the urgent ones can be worked upon immediately.
     

    Root Cause Analysis

    To fix an issue permanently, a root cause analysis is necessary. Although it might take time to do it compared to fixing the issue with a patch which will provide the instant solution. In order to find the root cause of an issue, the developers will have to spend time which will delay the release of the product. AI can speed up the process by finding patterns in the data collected and implement to fix the root cause.
     
    The collected data can be used by implementing AI to find a pattern and speeding up the development process. The organized data is more useful and makes prediction possible. The best practice is to use machine learning to automate the tasks which are time-consuming which will ensure the smooth and effective functioning of the DevOps teams.

     
    Related Articles:

  • Bureaucracy And Other Unlikely Roots of a Fledgling DevOps
  • Mobile Devops+Agile – Challenges and Keys to Success
  • pCloudy’s DevOps Journey: Lessons Learnt While Scaling Up!
  • Moving Beyond Traditional App Testing with AI and DevOps
  • Code Review in a Startup: Balancing Perfectionism and Sanity at the Speed of Thought
  • Nilesh Tarale | Posted on | 2 min Read

    Emulators vs Real Devices


    Mobile Responsive Test across range of Mobile Devices and platforms is extremely important for superior User Experience. However, Mobile Responsive Test and debugging can get knotty, especially when there are issues like obfuscated HTML/CSS/javascript code, improperly implemented HTTPS, browser inconsistencies, page load performance and so on. So how do you overcome these issues? Using a Web Developer Tools or debugging extensions make debugging your web application easier. Here we’ll talk about the most popular one – Google Chrome Developer Tools.


    The Google Chrome Developer Tools is a consolidated environment built into Google Chrome Browser. It is used for web authoring, debugging, monitoring, optimizing, and understanding web applications or websites. (Sourced from Google Chrome DevTools)


    A responsive testing simulator provides a virtual environment where you can test the functionalities just like in a real device. You can also test websites on mobile devices online and test websites on different screen sizes. It is easy to perform responsive design testing across devices on a simulator.


    Want to test your Mobile App?

    Join pCloudy Platform!

    Here are some of the key Chrome DevTools features


    • Inspect and edit the DOM and CSS of your website in real-time
    • Run code snippets from any page
    • Debug Obfuscated code
    • Set advanced breakpoints and debug JavaScript using graphical debugger
    • Troubleshoot Security issues
    • Analyze run-time and page performance to improve the speed of your app
    • Trace reflows and repaints as your app loads


    The Chrome DevTools provides almost all the gears required to inspect, debug and monitor the performance of a Web App/mobile web. It also provides additional capabilities to simulate Mobile Devices to test and build mobile-first, responsive web sites. You can even debug web content on a real Android Device from a development machine. But, is it enough to perform Mobile responsive test on one or two devices?


    Remote debugging using Chrome DevTools in integration with pCloudy’s Mobile Device Lab

    Device fragmentation is a very real problem when testing Web apps on real devices, particularly for UI and functional tests. The number of devices with unique specifications and proprietary build variations has increased. At an advanced level, to perform Mobile Responsive Testing and to check performance of the Web App on real devices, you will need to experiment your site on various platforms, across a number of device form factors. pCloudy’s Mobile Device Lab offers complete integration with Chrome DevTools to test your apps on real devices. This integration allows you to test Web Apps on a myriad of android devices with different sizes and configurations.


    Here’s how most App developers test their Web Apps


    Inspect and live edit your site’s design and content


    Test and edit your site in live mode by inspecting all the HTML and CSS in your page. In the Elements Panel, you can live-edit a DOM node by simply double-clicking a selected element and making changes.


    mobile responsive test


    You can even live-edit style property names and values in the Styles pane. Examine and edit box model parameters.


    Live-Edit_Styles


    It is also possible to edit the current element’s box model parameters by making changes to top, bottom, left, right values for the current element’s padding, border, and margin properties using the Computed pane.


    Box_Parameters


    Remote Debugging on real devices to fix errors in the code


    Debugging Obfuscated Code: Make your code readable and easy to debug even after you’ve combined, minified or compiled it. You can easily change the formatting of your minimized code by clicking on { }.


    Debug-Obfuscated


    Test and optimize the performance of the Web App


    The Network Panel allows you to see how your page renders, and time taken to render from start to end. To do this click into the “Network” panel, click on the camera icon and refresh the page on the device.


    Network


    The Timeline panel helps you to record and analyze all the activities in your application as it runs. It’s the best place to start investigating perceived performance issues in your application.


    To make a recording of a page load, open the Timeline panel, open the page that you want to record, and then reload the page. The Timeline panel automatically records the page reload. You can also record page interactions on the page and view the performance details through the recorded timeline.


    Here are some more details you can view using the Record Timeline


    • Record the Timeline to analyze every event that occurred after a page load or a user interaction
    • View FPS, CPU, and network requests in the Overview pane
    • Click on an event within the Flame Chart to view details about it
    • Zoom in on a section of a recording to make analysis easier


    Timeline


    There are some things to be kept in mind while performing responsive testing:
     
    Device selection
    It is better to ask your business analyst or your manager which devices we need to perform the testing. Creating a device matrix is a tedious job due to device fragmentation with frequent browser and OS updates. Even if you spend a lot of time on making a strategy for the combination of devices, that may not get approved by the product manager or scrum master.
     
    Automation testing and Manual testing
    It’s better to use both automated and manual approach to perform testing. Based on the type of testing you can share the effort like 70% automated and 30% manual. It is obvious that sometimes automated testing will miss something that a human eye can see. A tool clicking on a link or zooming in and out is different from doing it manually.
     
    Emulators, simulators and real devices
    If you wish to test your app on many verities of devices then you can also opt for emulators and simulators. It won’t be possible for you to set up a device lab as it will cost a lot. So you can use a real device that is popular in the market and emulators for the devices that are not that popular.
     
    Prioritize
    Mobile app testing including mobile responsive testing needs to be perfectly prioritized as testing is a time-consuming process. Responsive testing priority should be discussed with the BA and the product manager well in advance and take some suggestions from them. The issue is that there are a plethora of devices and while prioritizing, the most popular devices will be used first for testing.
     

    Conclusion

    “Using the right tools for the right job” is an old aphorism that applies to all domains including Software Development. As we’ve seen, Chrome DevTools has several features that help you develop better, debug faster, and measure efficiently the performance of your website or application. An ideal choice for you for Mobile Responsive Testing.


    The features discussed in this blog are some of the most common ones used by developers, designers, and testers to write, debug, monitor and optimize Websites and Web Apps. Using these features in integration with Mobile Device Lab like pCloudy can transform the entire process of creating, testing and launching Websites and Web Apps.


    Want to test your Mobile App?

    Join pCloudy Platform!

    For more information check out this video:

     
    Related Articles:

  • Beginners Guide to Mobile Web Debugging on Real Devices Using Chrome DevTools
  • Mobile Testing Infrastructure – Emulators vs Real Devices
  • Problems With Online Android Emulators and How to Solve it?
  • Tips to Consider While Creating a World Class Mobile Testing Lab
  • Functional Testing Vs Non-Functional Testing