
Last updated on : 21 Jan 2025
Google Cloud CI
Overview
Google Cloud CI is a fully-managed Continuous Integration/Continuous Delivery service offered by Google Cloud Platform. It provides developers with a flexible and scalable way to build, test, and deploy their applications on the cloud. Google Cloud CI supports various programming languages and integrates with popular source code repositories like GitHub, Bitbucket, and Google Cloud Source Repositories. By automating build, test, and deploy processes, developers can release new features and updates quickly and reliably. This streamlines the process and leads to faster and more reliable software releases. Integrating with Google cloud CI allows you to conduct testing of web and native applications on 5000 device-browser combinations through an Appium server located on pCloudy cloud servers. To achieve this, you only need to establish a connection between your pCloudy account and Google cloud CI, which enables you to initiate tests on pCloudy from Google cloud CI.
Prerequisites
- A google cloud Account
- An account with a supported repository provider such as GitHub or Bitbucket where you can access the
Steps to Integrate Pcloudy With Google Cloud CI
- Create a Google Cloud account.
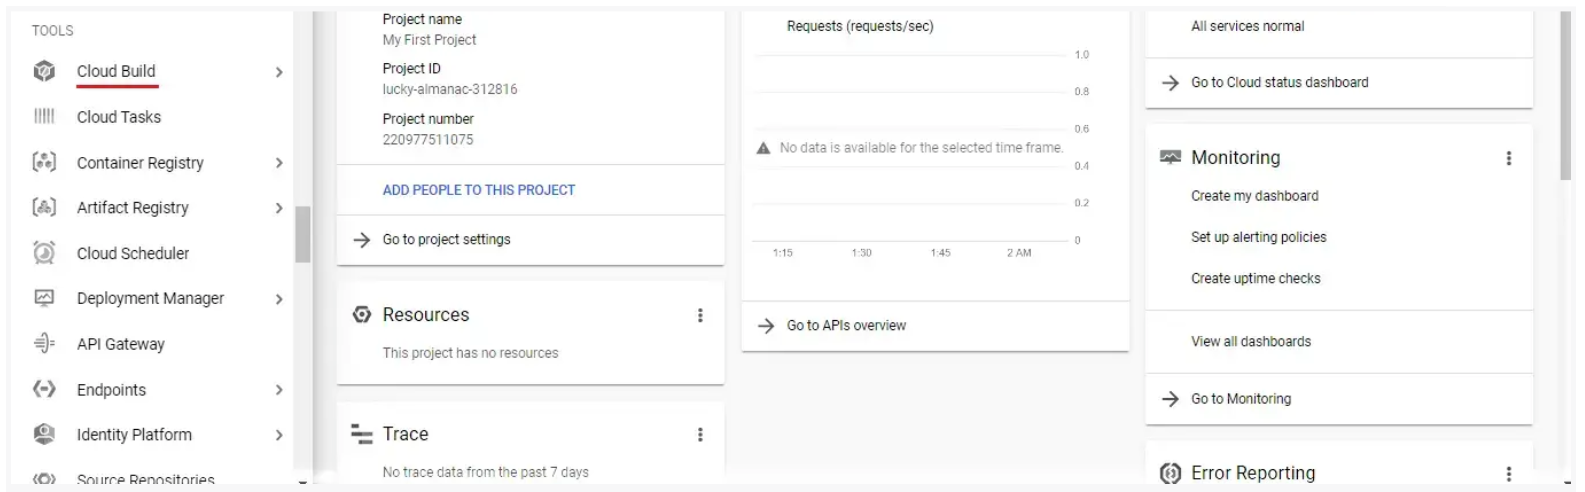
- Go to the Google Cloud CI console and select 'Cloud Build'.
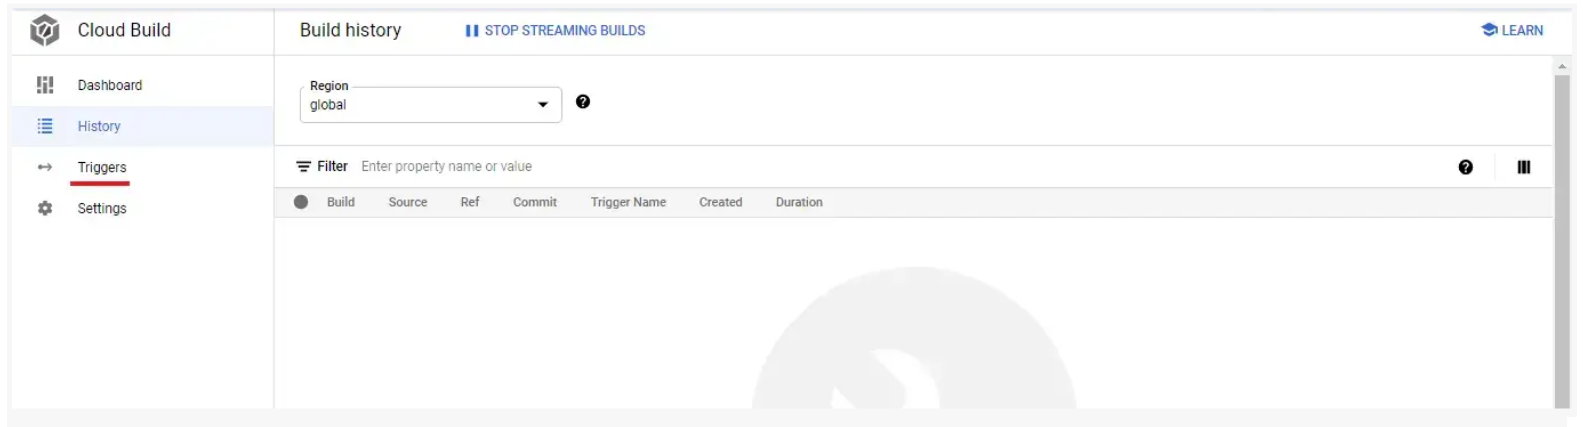
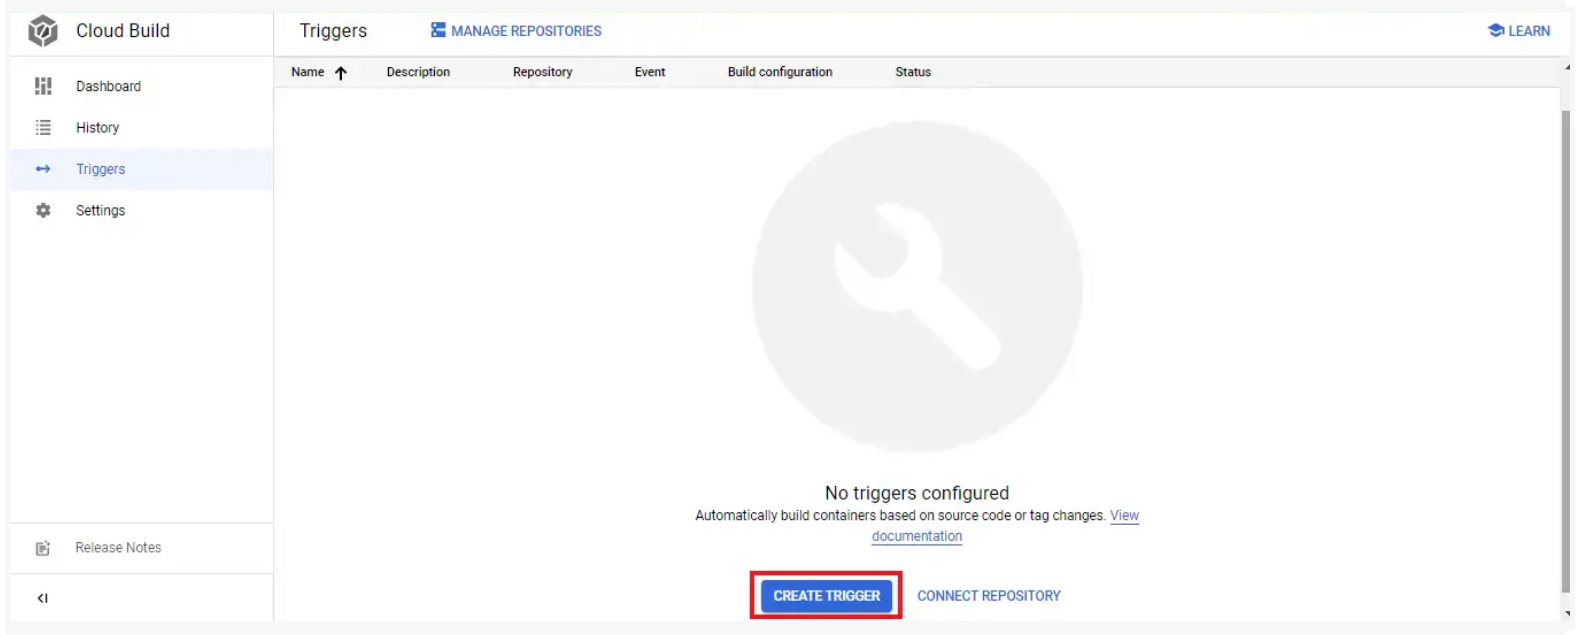
- In Cloud Build, click on "Triggers".
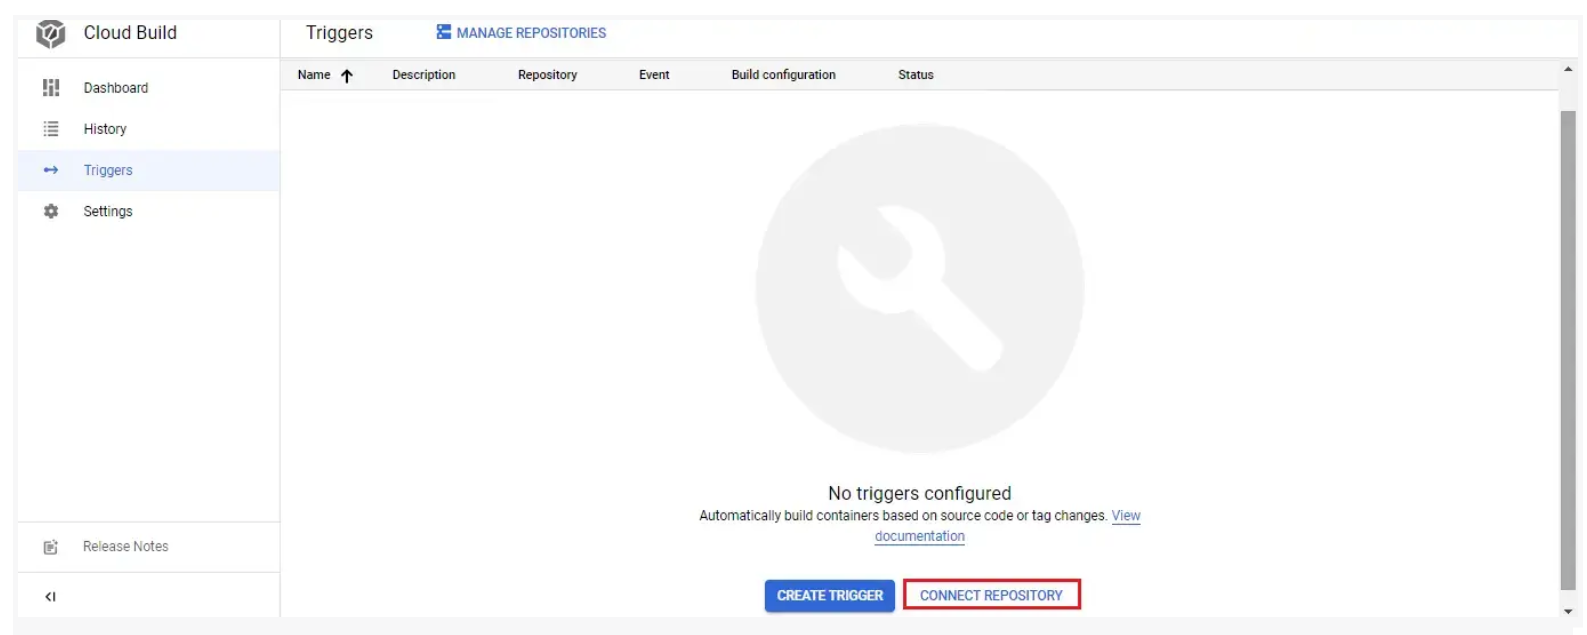
- To use the trigger functionality, connect your GitHub repository to Google Cloud CI by clicking on "Connect Repository".
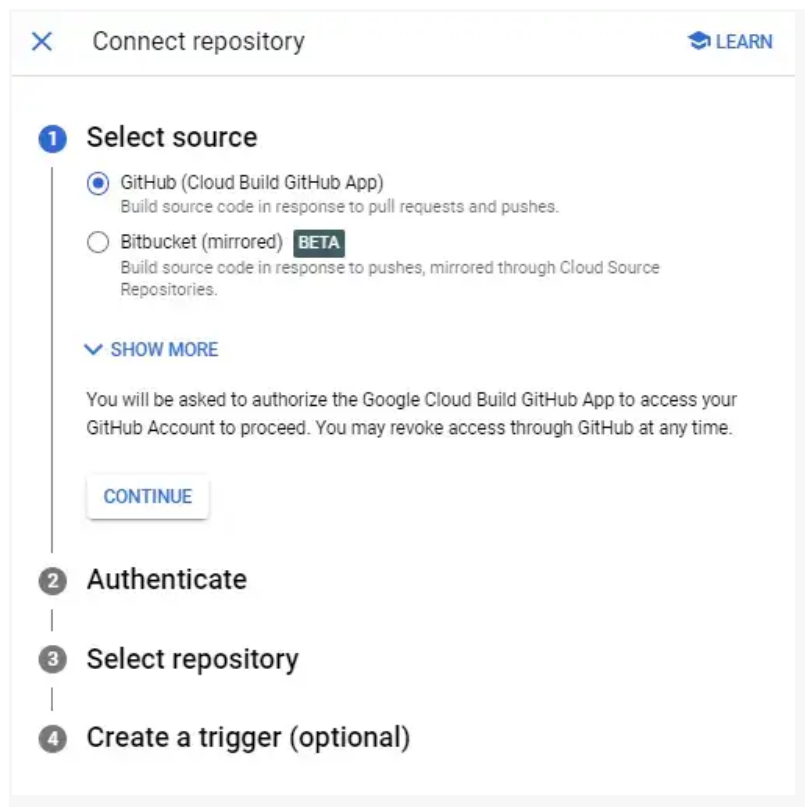
- Complete the required steps to connect your repository.
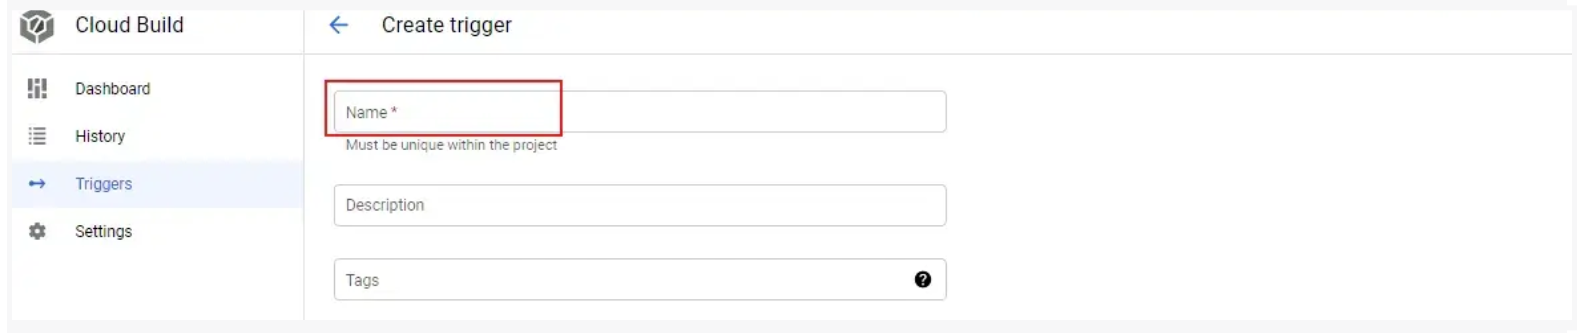
- Once your repository is connected, click on "Create Trigger".
- Provide a name for your trigger and select the repository source and branch.
- Under "Configuration", select the Cloud Build configuration file format (yaml or json).
- Your trigger project will be created on the selected Google Cloud CI GitHub repository.
- To run a single test through Google Cloud CI, click on "Run". To run a build in Google Cloud CI with a cloudbuild.yml file in the root directory of your repository, use the following script:
steps:
# Pull the latest Node.js image from Docker Hub

- name: 'node:20'
  entrypoint: 'sh'
  args:
    - '-c'
    # Install project dependencies
    - 'npm install && npm run android'
The script pulls the latest Node.js image from Docker Hub and installs project dependencies using npm install. It then runs the "android" command using npm run. Note that the "android" command may need to be changed to match the specific build command for your project. Note that these steps are essential for setting up the integration between Pcloudy and Google cloud CI. By following these steps, you can leverage the benefits of pCloudy's cloud-based testing infrastructure and run your Mocha-Test-code on multiple device-browser combinations. This can help you identify issues early in the development process and improve the overall quality of your code. The given code shows the desired capabilities needed to execute the Sample-test.
capabilities = {
      "browserName": "",
      "pCloudy_Username": "Enter-Email",
      "pCloudy_ApiKey": "Enter API-Key",
      "pCloudy_ApplicationName": "pCloudyAppiumDemo.apk",
      "pCloudy_DurationInMinutes": "10",
      "pCloudy_DeviceFullName":
"GOOGLE_Pixel2XL_Android_11.0.0_d22ac",
      "platformName": "Android",
      "automationName": "uiautomator2",
      "newCommandTimeout": "600",
      "launchTimeout": "90000",
      "appPackage": "com.pcloudy.appiumdemo",
      "appActivity": "com.ba.mobile.LaunchActivity",
      "pCloudy_EnableVideo" : "true", # optional
  };
The "pCloudy_Username" and "pCloudy_ApiKey" fields can be customized as per the user's credentials.
Parallel Test
To enable parallel testing, you need to upload the to your repository. Once you have done this, you will need to specify the desired capabilities required to execute the Sample-test. .
commonCapabilities: {
            browserName: "",
            pCloudy_Username:"Enter-Email",
            pCloudy_ApiKey: "Enter API KEY",
            pCloudy_ApplicationName: "pCloudyAppiumDemo.apk",
            pCloudy_DurationInMinutes: "10",
            platformName: "Android",
            automationName: "uiautomator2",
            newCommandTimeout: "600",
            launchTimeout : "90000",
            appPackage: "com.pcloudy.appiumdemo",
            appActivity: "com.ba.mobile.LaunchActivity",
            pCloudy_EnableVideo : "true",
      },
      multiCapabilities: [
        {
            "pCloudy_DeviceFullName": "GOOGLE_Pixel7Pro_Android_13.0.0_dbf82",
        },
        {
            "pCloudy_DeviceFullName": "MOTOROLA_Edge30Ultra_Android_12.0.0_15b11",
        }
The commonCapabilities field contains properties such as browserName, pCloudy_Username, and pCloudy_ApiKey, which need to be customized as per your credentials. In the multiCapabilities field, you can add as many devices as you require by specifying the pCloudy_DeviceFullName property for each device. This will enable you to execute the Sample-test on multiple device-browser combinations in parallel, leveraging the benefits of pCloudy's cloud-based testing infrastructure.
Did this page help you?