
Last updated on : 21 Jan 2025
Jenkins
Overview
Jenkins is a Java-based automation tool designed for continuous integration with a wide range of plugins. It simplifies the building and testing of software projects, streamlining the integration of changes and enabling users to access up-to-date builds. Additionally, Jenkins facilitates continuous delivery through integration with numerous testing and deployment technologies. Integrating with Jenkins allows you to conduct testing of web and native applications on 5000 device-browser combinations through an Appium server located on pCloudy cloud servers. To achieve this, you only need to establish a connection between your pCloudy account and Jenkins, which enables you to initiate tests on pCloudy from Jenkins.
Prerequisites
- You need a Github account.
- Jenkins server must be installed on your system.
- You can use any of the following operating systems: .
- Node.js version 20 must be installed on your system.
- NPM (Node Package Manager) must be installed on your system, and it's recommended to use the latest version available.
- You must have access to the in your Github repository.
Steps to Integrate pCloudy With Jenkins
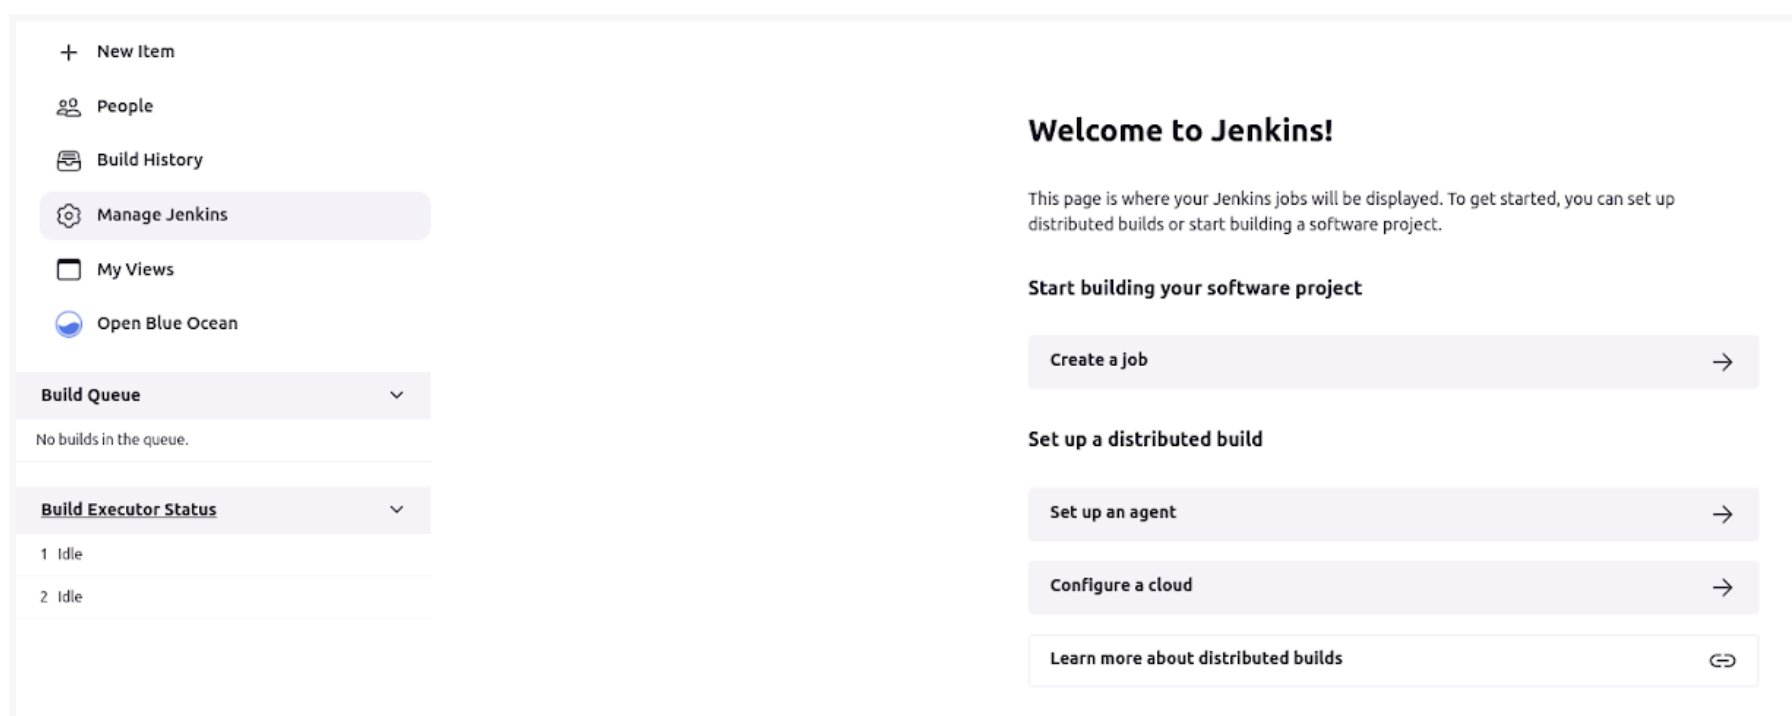
- Deploy the Jenkins server and log in to the account
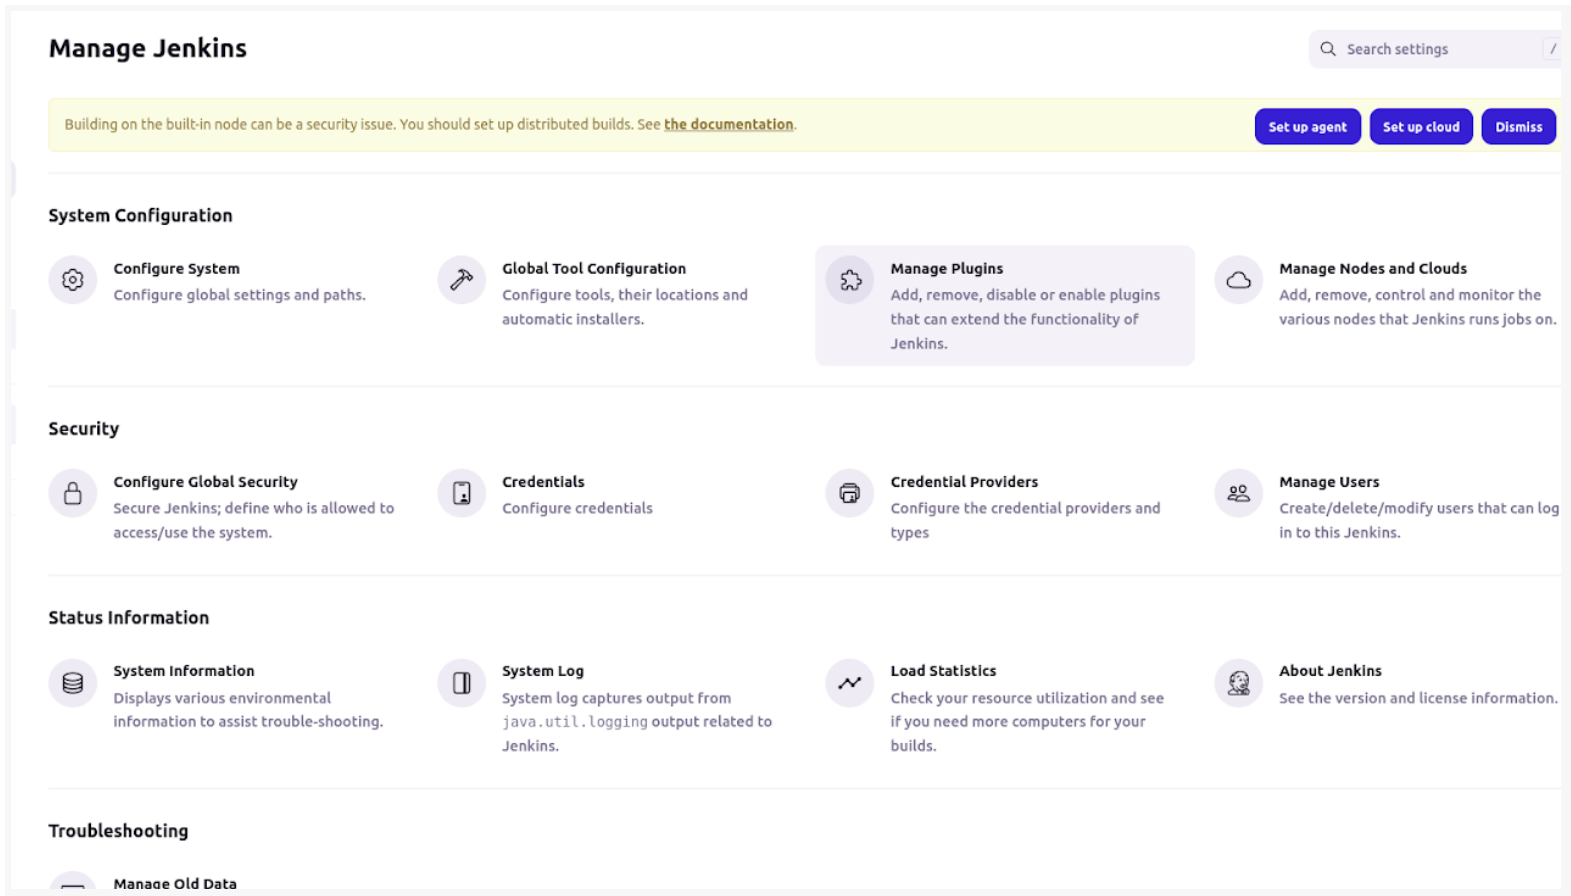
- Click on Manage Jenkins on the right bar
- Then click on Manage Plugins
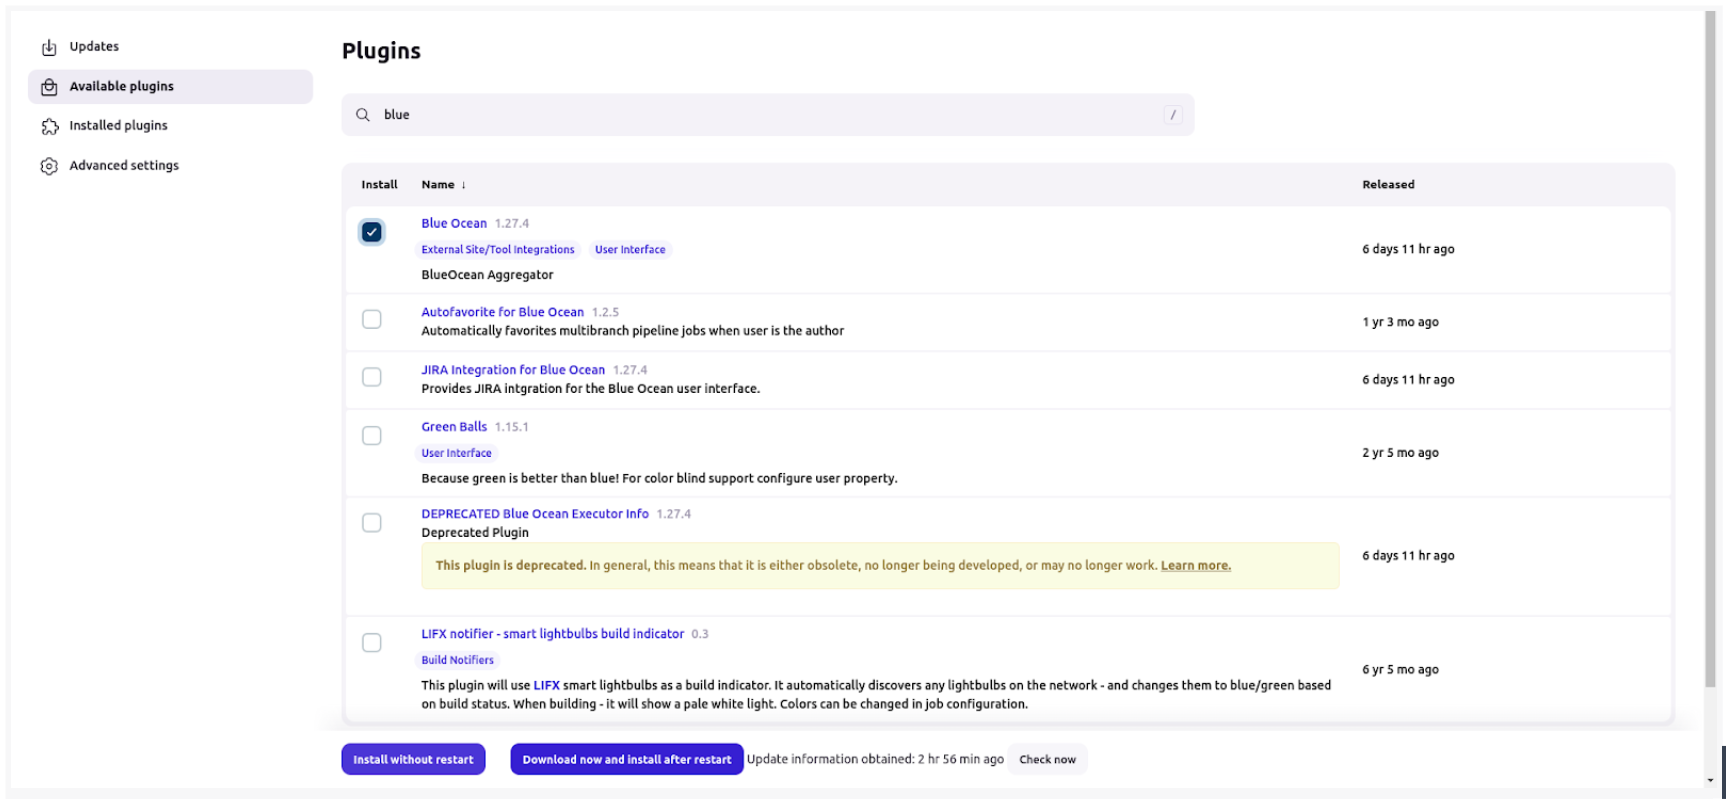
- At the right side of the screen, click on Available Plugins and search for Blue Ocean and install the plugin
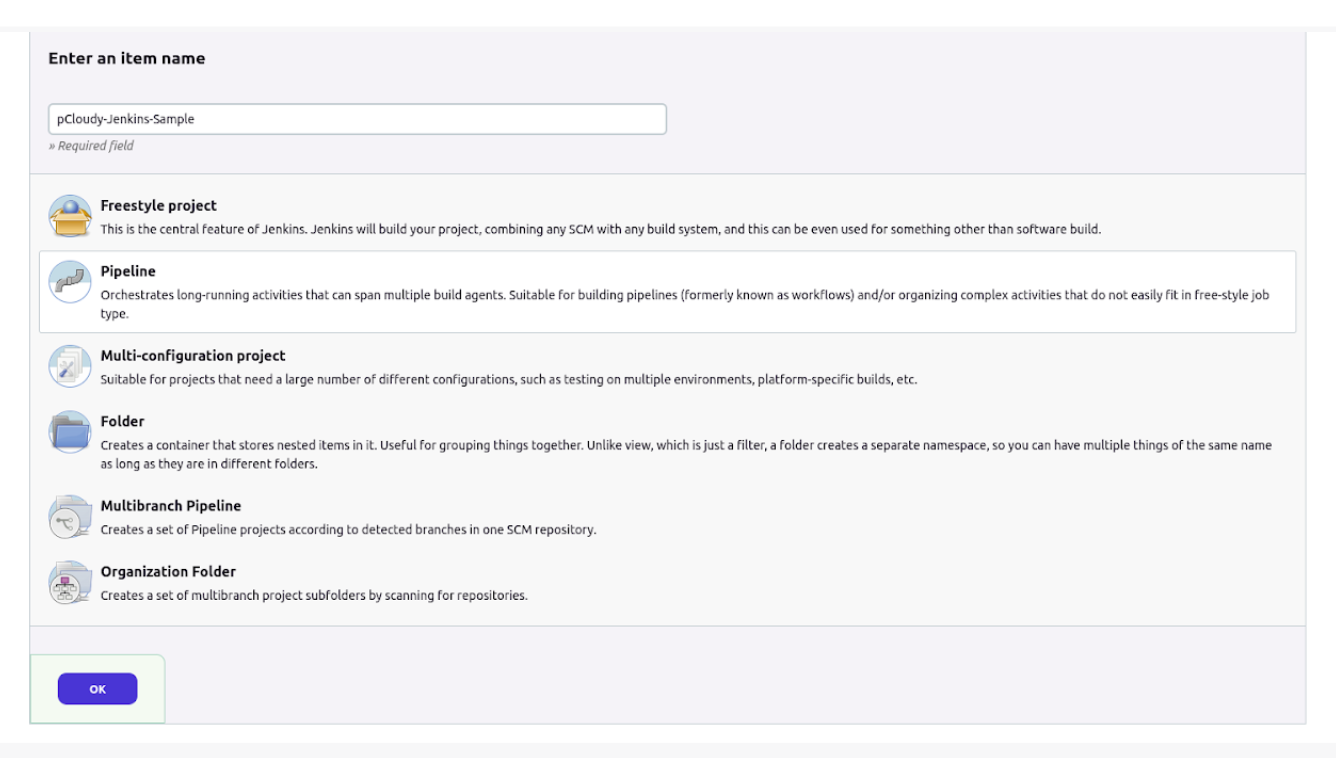
- Go to your Dashboard and click on New Item on the left bar
- Enter the name, select the pipeline option, and click OK
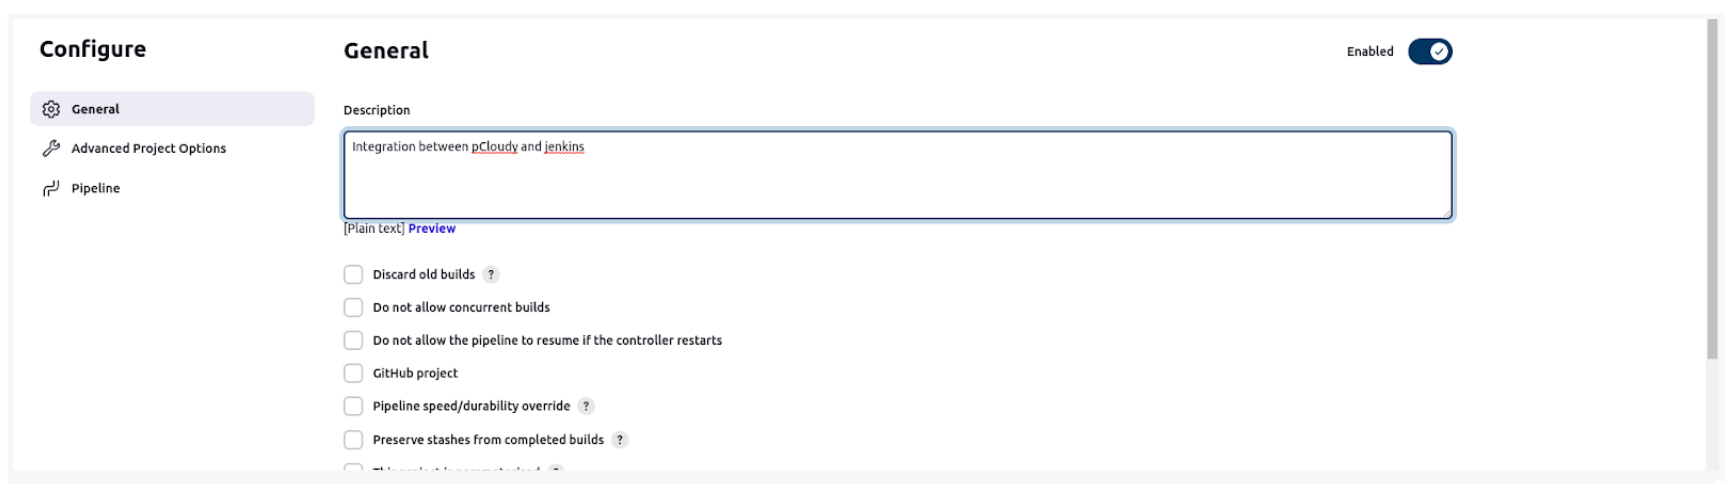
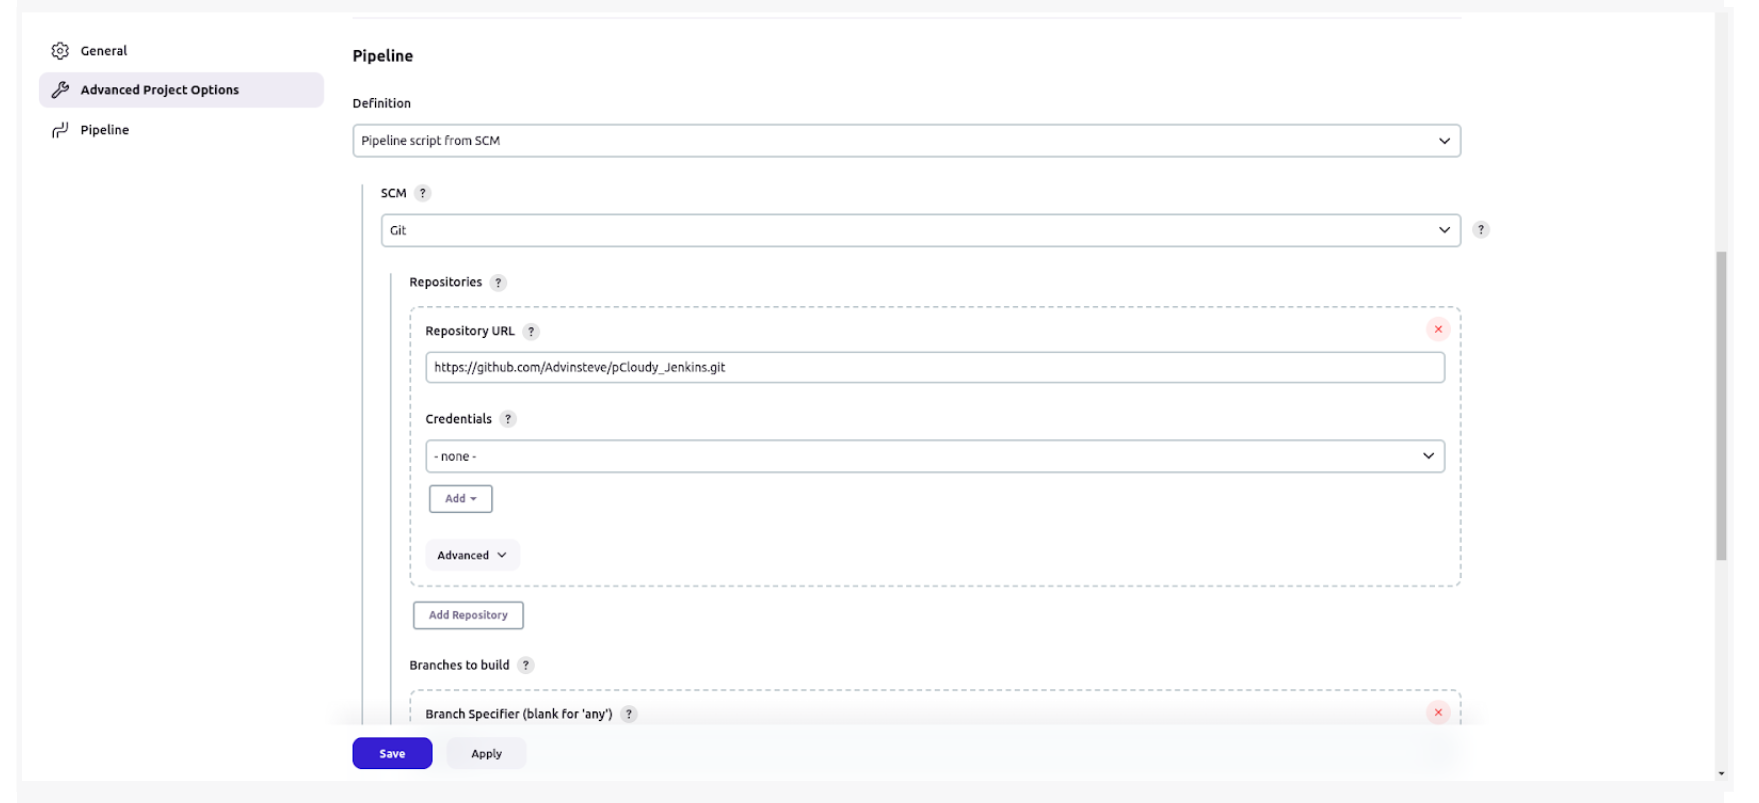
- Write a general description on the next page and in the pipeline option select the definition Pipeline script for SCM. In the SCM option, select Git and paste your repository URL where the sample project is given
- Add the Jenkinsfile in the root directory of your repository with the provided script a. For Linux and MAC
          pipeline {
  agent any
  environment {
      PATH = "$PATH:/home/administrator/.nvm/versions/node/v20.0.0/bin" // with the actual path to the node js installation directory on your system
  }
  stages {
      stage('Install dependencies') {
          steps {
              sh 'npm install'
          }
      }
      stage('Run tests') {
          steps {
              sh 'npm run android'
          }
      }
  }
}
b. For Windows
pipeline {
agent any

environment {
  PATH = "%PATH%;C:\\Program Files\\nodejs\\"
}

stages {
  stage('Install dependencies') {
    steps {
      bat 'npm install'
    }
  }

  stage('Run tests') {
    steps {
      bat 'npm run test'
    }
  }
}
}
The script sets the environment variable to Node.js version 20.0.0, goes to the build plan's working directory, installs dependencies using npm install, and runs tests with npm run android. However, the path in the export PATH command may vary based on the Node.js installation location on your system
-
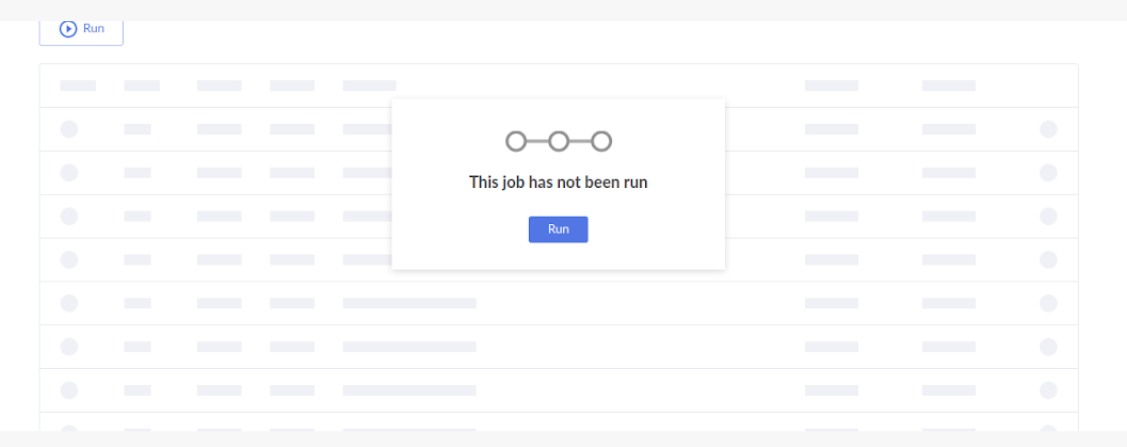
Save the changes and then proceed to run the build. The logs will reflect the build progress. Note that the naming convention for the Jenkins file should be exactly the same as Jenkinsfile.
-
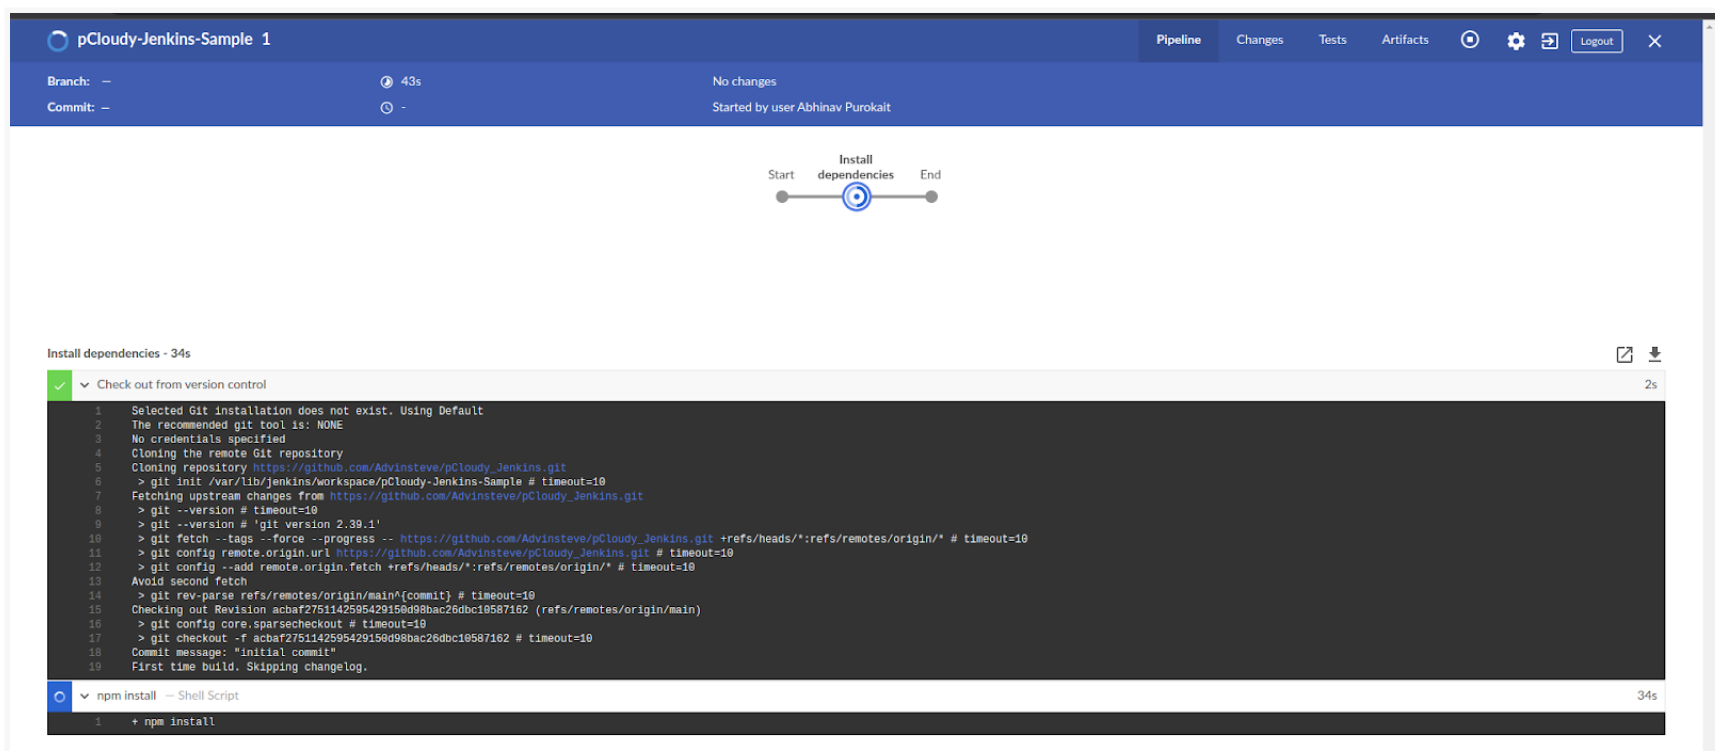
New Pipeline will be reflecting on the Dashboard after all these steps
-
Go to the Blue Ocean plugin and run the job. You can see the log output there.

How to automatically initiate a build process when code is committed to a Github repository
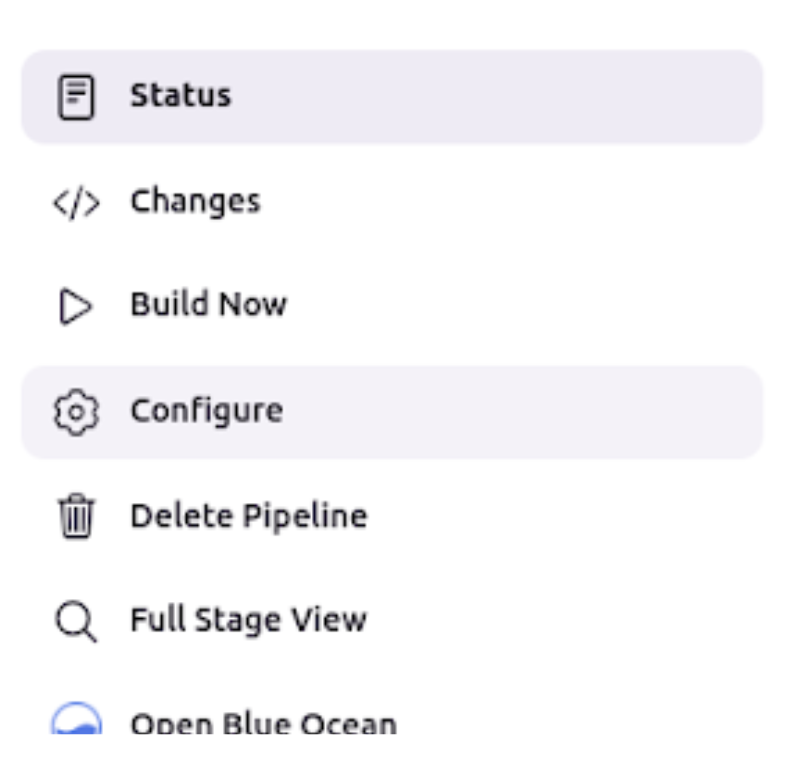
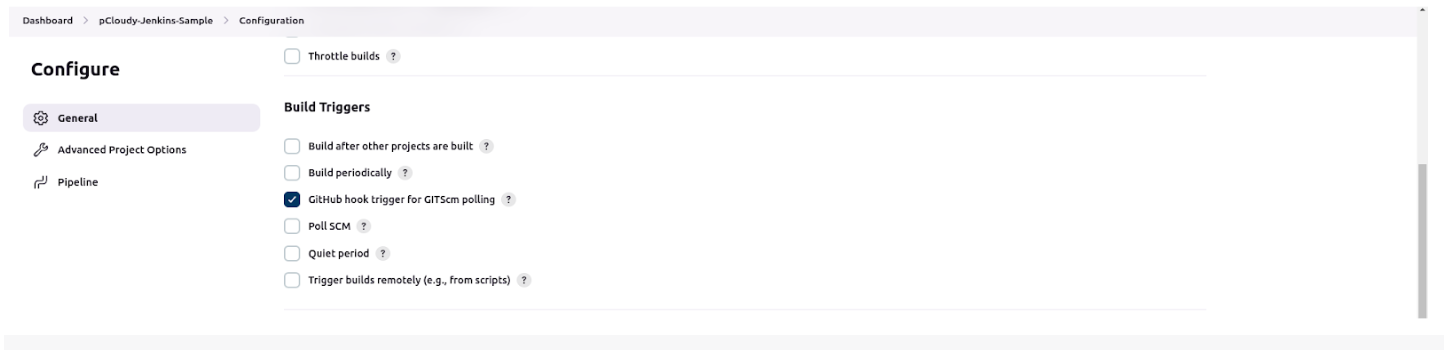
- Open your pipeline and click on the "Configure" option on the left bar.
- In the "Build Trigger" section, enable the option "GitHub hook trigger for GitScm polling".
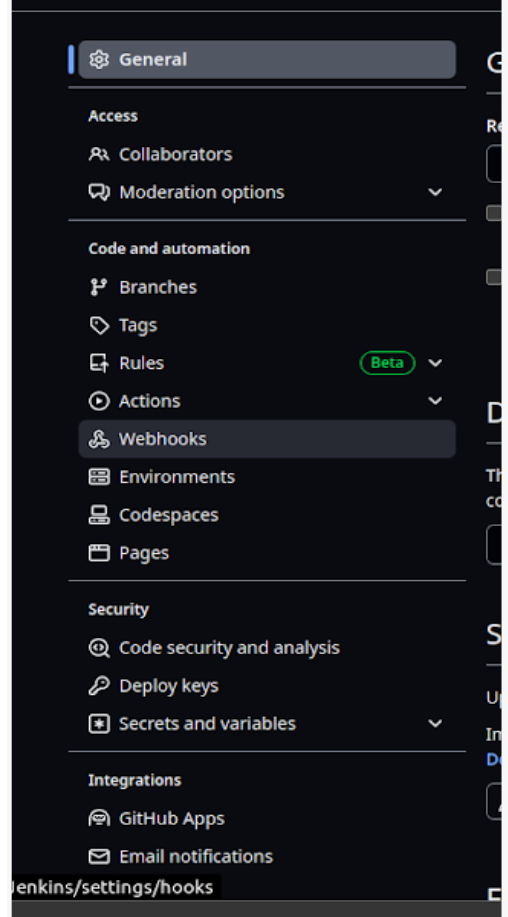
- Go to the settings of your repository and click on "Webhooks" in the left bar.
- Add a webhook by entering the payload URL "/github-webhook/", selecting content type "application/json", and then clicking "Add webhook".
 Note that the URL should not have a localhost URL because Github webhook does not accept it.
 - After setting up the webhook, every commit will trigger the build process.
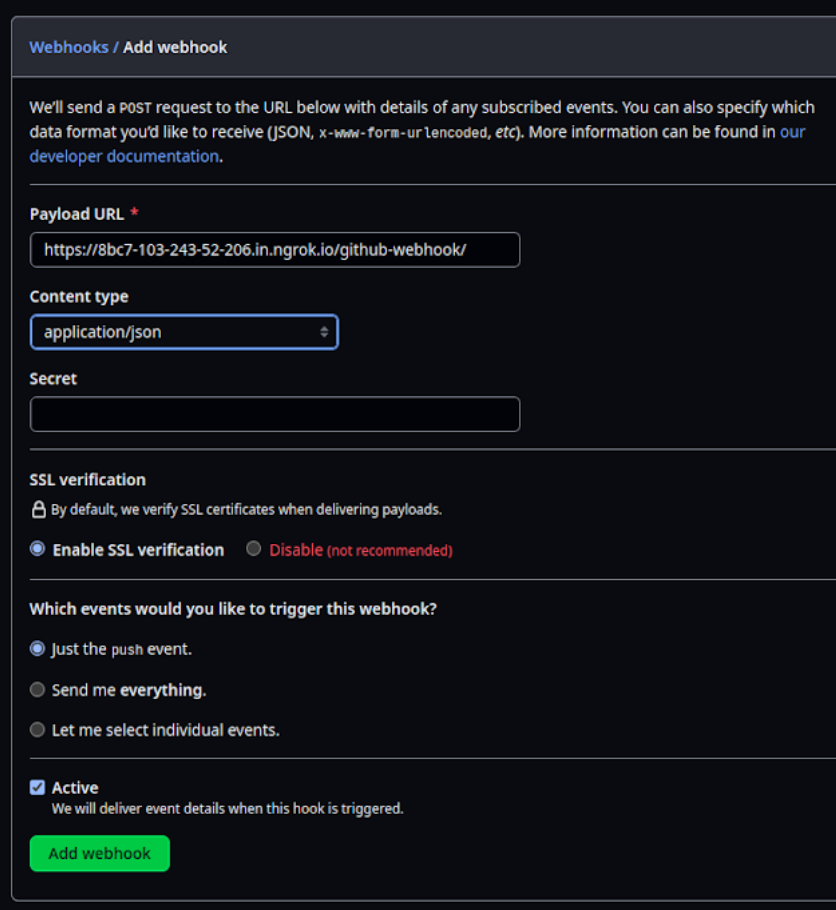
- The logs will appear in the "Github Hook Log".

Note that these steps are essential for setting up the integration between pCloudy and Jenkins. By following these steps, you can leverage the benefits of pCloudy's cloud-based testing infrastructure and run your Mocha-Test-code on multiple device-browser combinations. This can help you identify issues early in the development process and improve the overall quality of your code. The given code shows the desired capabilities needed to execute the Sample-test.
          capabilities = {
      "browserName": "",
      "pCloudy_Username": "Enter-Email",
      "pCloudy_ApiKey": "Enter API-Key",
      "pCloudy_ApplicationName": "pCloudyAppiumDemo.apk",
      "pCloudy_DurationInMinutes": "10",
      "pCloudy_DeviceFullName":
"GOOGLE_Pixel2XL_Android_11.0.0_d22ac",
      "platformName": "Android",
      "automationName": "uiautomator2",
      "newCommandTimeout": "600",
      "launchTimeout": "90000",
      "appPackage": "com.pcloudy.appiumdemo",
      "appActivity": "com.ba.mobile.LaunchActivity",
      "pCloudy_EnableVideo" : "true", # optional
  };
The "pCloudy_Username" and "pCloudy_ApiKey" fields can be customized as per the user's credentials.
Parallel Test
To enable parallel testing, you need to upload the to your repository. Once you have done this, you will need to specify the desired capabilities required to execute the Sample-test.
          commonCapabilities: {
            browserName: "",
            pCloudy_Username:"Enter-Email",
            pCloudy_ApiKey: "Enter API KEY",
            pCloudy_ApplicationName: "pCloudyAppiumDemo.apk",
            pCloudy_DurationInMinutes: "10",
            platformName: "Android",
            automationName: "uiautomator2",
            newCommandTimeout: "600",
            launchTimeout : "90000",
            appPackage: "com.pcloudy.appiumdemo",
            appActivity: "com.ba.mobile.LaunchActivity",
            pCloudy_EnableVideo : "true",
      },
      multiCapabilities: [
        {
            "pCloudy_DeviceFullName": "GOOGLE_Pixel7Pro_Android_13.0.0_dbf82",
        },
        {
            "pCloudy_DeviceFullName": "MOTOROLA_Edge30Ultra_Android_12.0.0_15b11",
        }
The commonCapabilities field contains properties such as browserName, pCloudy_Username, and pCloudy_ApiKey, which need to be customized as per your credentials. In the multiCapabilities field, you can add as many devices as you require by specifying the pCloudy_DeviceFullName property for each device. This will enable you to execute the Sample-test on multiple device-browser combinations in parallel, leveraging the benefits of pCloudy's cloud-based testing infrastructure.
Did this page help you?