Test suites are expanding as they grow in size and complexity. The delivery pipeline greatly slows down if QA teams are still sequentially running them. Enter parallel execution in TestNG! Testers can significantly reduce the total time to execute tests by running an enormous number of tests simultaneously. In this comprehensive guide, we will take a detailed look at implementing parallel testing in TestNG using Selenium WebDriver to enable more efficient automation workflows, enhanced resource utilization, and accelerated feedback. Let’s dive right in.
What is Parallel Testing?
Parallel testing refers to a method of testing where the QA teams execute multiple test cases or tests at the same time across various machines or environments, which drastically cuts down on the overall testing time. In other words, the tests run simultaneously instead of sequentially. In a world where ‘time is money’, this approach to testing can make a whirlwind of difference.
Benefits of Parallel Testing
As test suites witness growth and software teams increase in scalability, it becomes crucial to improve the efficiency of testing. Parallel testing enables the running of multiple test cases at the same time, which solves these limitations to a great extent. Whether testers are working on device compatibility, cross-browser validation, or regression suites, the benefits of parallel execution, especially parallel execution in TestNG can be significant. Let’s take a look.
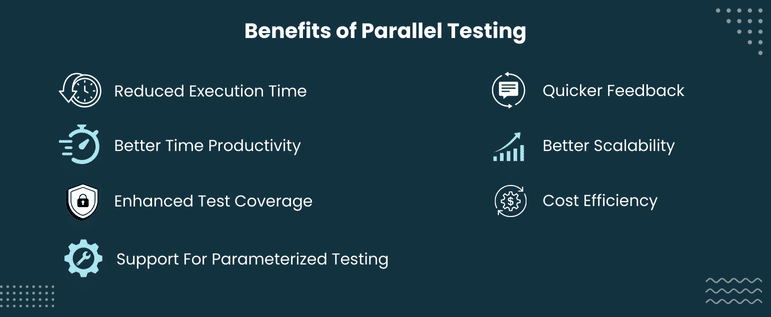
- Better Team Productivity
When tests run in parallel, teams can allocate more focus on in-depth test results, analysis, exploratory testing, high-value test cases, and so on, instead of waiting around for automated tests to come to a halt.
- Offers Support for Parameterized and Data-Driven Testing
If the platform you’re using offers support for parameterized and data-driven testing, parallel running of data-driven tests can become a lot easier for the QA team. Some include login scenarios with different form validations or user credentials with a wide array of inputs, which enhances test flexibility without compromising speed.
- Cost Efficiency
Accelerated test cycles lead to reduced downtime, lesser late-stage bugs, and faster releases. Moreover, when QA teams use cloud infrastructure, they only have to pay for exactly what they use, which reduces overall testing cost.
- Better Scalability Test Execution-Wise
Parallel execution helps with infrastructure scalability, since platforms such as Pcloudy integrated with Selenium WebDriver and TestNG offer cloud-based environments to testers to run multiple tests simultaneously, without having to maintain any local infrastructure.
- Quicker Feedback For Developers
Developers can get quicker feedback, if they integrate parallel testing in TestNG into their CI pipelines. They can also catch and fix bugs earlier, which accounts for less rework and overall smoother deliveries. As a result, each deployment boasts higher confidence.
- Enhanced Test Coverage Across Various Environments
Parallel execution allows teams to run the same tests across multiple environments, such as different devices, OS versions, or browsers all at once. As a result, it enhances test coverage and helps expose bugs specific to the environment in the early stages of the development cycle. You can compare by running the same UI tests on Edge, Firefox, and Chrome parallely instead of going sequentially to check what leads to layout issues specific to different browsers faster.
- Exponentially Reduced Test Execution Time
For instance, you have 50 test cases for which execution takes 1 minute each. If sequentially executed, the suite will take 50 minutes to run, but if testers start running, let’s say five tests simultaneously in parallel with five threads, the suite will finish the entire test suite in about 5 minutes. Therefore, if tests are frequently triggered in CI/CD pipelines, it can make an enormous difference.
Also Read: Automation Execution on Multiple Devices in Parallel
TestNG Integration with Pcloudy Platform
TestNG is an NUnit and JUnit-inspired testing framework, where NG stands for Next Generation. By eliminating most older framework limitations, it offers developers the ability to write more powerful and flexible tests with parametrizing, sequencing, grouping, and easy annotations.
Now, if QA teams integrate their existing TestNG projects with Pcloudy, it’s a combination to unlock full testing efficiency. Some of the prerequisites to integrate them include adding the Pcloudy connector jar, Controller class, and DeviceContext class in your current project, followed by adding a list containing classes that you wish to run, along with Pcloudy username, API key, and application path in the controller class.

Read More: Detailed TestNG Integration With Pcloudy Platform
How to Perform Parallel Test Execution on Pcloudy With Selenium WebDriver and TestNG
Selenium WebDriver is responsible for simulating user actions as it interacts with browsers present on the Pcloudy platform dynamically configured by test parameters. It also facilitates management of remote sessions through RemoteWebDriver, whereas TestNG is responsible for handling parallel execution. Pcloudy enhances the power of Selenium WebDriver and TestNG by providing a phenomenal infrastructure. Now that we have these three pillars of efficient parallel test execution ready, let’s check out how to perform parallel test execution on Pcloudy with Selenium WebDriver and TestNG.
Setup and Tools:
- Cloud platform of Pcloudy
- TestNG
- Selenium WebDriver 4.5.3
- Java 11
- Maven
Step 1: Define Browser Config in JSON
All browser and Operating System configurations are stored in parallel.config.json:
{
“osAndBrowserCaps”: [
{
“id”: “1”,
“os”: “Windows”,
“osVersion”: “10”,
“browserName”: “chrome”,
“browserVersion”: “109”
},
{
“id”: “2”,
“os”: “Windows”,
“osVersion”: “10”,
“browserName”: “firefox”,
“browserVersion”: “109”
}
]
}
Each test uses an id to pick the relevant config.
Source: Github Repository
Step 2: WebDriver Setup with ThreadLocal
Jackson dynamically reads the browser setup from JSON for all the tests, whereas ThreadLocal ensures that every test has its very own browser instance. After that, it uses RemoteWebDriver to launch a remote browser on Pcloudy.
Step 3: BaseTest for Setup & Teardown
Ensure thread safety by using TestNG lifecycle annotations and ThreadLocal driver handling:
@BeforeMethod
@Parameters(“id”)
public void setup(String id) {
DriverManager.startDriver(id);
}
@AfterMethod
public void tearDown() {
DriverManager.quitDriver();
}
That’s how each thread runs with its very own isolated WebDriver instance.
Source: GitHub Repository
Step 4: Test Class Logic
Write the following steps in your test class (PcloudyTest):
- Navigate to Pcloudy.com
- Assert the banner text.
- Go to Resources → Blogs.
- Check the blog page title to confirm whether you’re on the correct page.
Running the Tests in Parallel:
Here are two different ways to run the tests:
- Using testng.xml
Set your pcloudy username and API key as VM options: -Dusername=<your-username> -Dapikey=<your-api-key>
After that, right-click on testng.xml in your IDE and choose Run to begin parallel execution.
- Using Maven
Run this command in your terminal: mvn test -Dusername=<your-username> -Dapikey=<your-api-key>
This begins the tests with the correct Pcloudy credentials passed as system properties.
Access Test Insights On Pcloudy:
Go to Reports > My Active Sessions after logging in to Pcloudy to get access to the necessary video sessions, logs, and screenshots to help with debugging and visual test behavior validation.
Also Read: Test Automation Using Selenium ChromeDriver
Parallel Testing Challenges
Parallel testing in TestNG offers plenty of advantages such as better coverage and accelerated test cycles. However, it also brings forth certain unique challenges that QA teams need to manage. Let’s take a look.
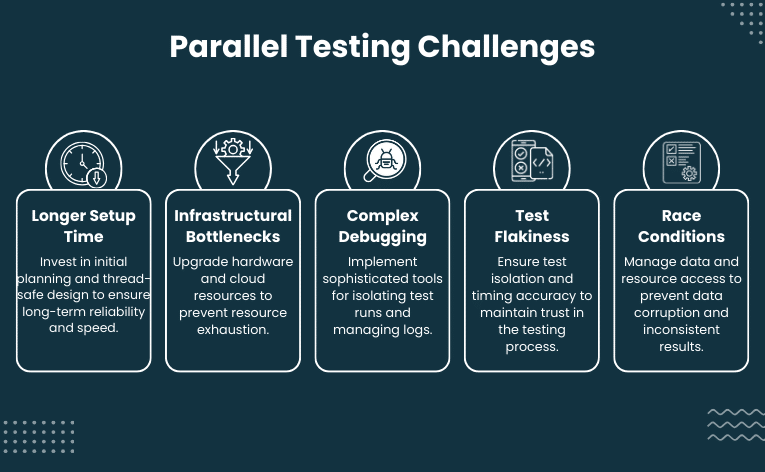
- Longer Setup Time
Designing tests that are capable of safely running in parallel calls for some extra work upfront, along with careful planning. It’s a mandatory requirement for tests to be thread safe and independent which initially can take up more time. However, it’s an initial investment with a lot of potential to pay off by making test execution more reliable and faster in the long run.
- Infrastructural Bottlenecks
When QA teams run multiple tests in parallel, this places a significant strain on memory, CPU, network resources, and other hardware, especially in unlimited cloud setups or local machines. Therefore, parallel tests fail or slow down because of resource exhaustion if the infrastructure is inadequate.
- Complex Debugging
Outputs and logs of multiple tests can get mixed up since they run simultaneously. This can make tracing issue sources a little challenging. It calls for more sophisticated tools and management for isolating individual test runs while debugging parallel tests.
- Test Flakiness
Tests that sometimes fail or pass without any codebase modifications are often a result of compromised isolation among tests or issues with timing during parallel execution. They can end up undermining the trust in the entire testing process since flaky tests waste debugging time.
- Race Conditions
When tests are running at the same time, they can end up using the same data or resource simultaneously to cause one test to corrupt or overwrite data that another test might be depending on. As a result, it leads to hard-to-predict failures or inconsistent test results.
Parallel Test Execution Best Practices
TestNG parallel testing requires strict adherence to best practices to ensure accurate, reliable, and fast parallel execution. Let’s take a look at some of the key best practices that help testers make the most out of parallel execution in TestNG.
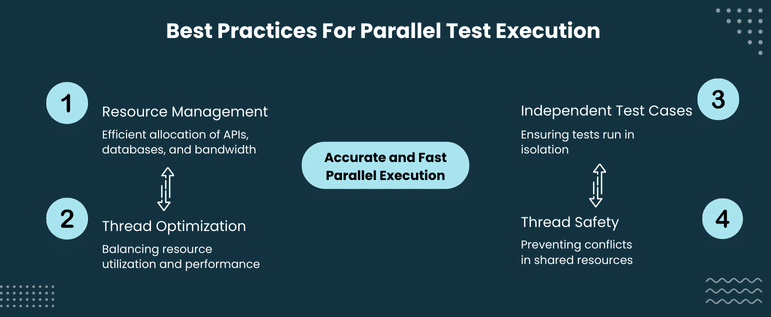
- Efficient Management Of Resource Allocation
While parallely running tests, it’s important to consider the allocation and availability of resources such as external APIs, database connections, and network bandwidth. If there are resource constraints or rate limits by the external system, it’s a good idea to distribute tests across the development and staging environment to avoid resource contention.
- Optimization Of Thread Count
Optimizing the thread-count attribute is important to balance resource utilization and performance. It’s a smart move to start out with a moderate thread count and increase it gradually on the basis of how complex the test is and the system capabilities. Avoid overwhelming the system by way too many threads by monitoring I/O utilization, memory, and CPU. It’s easy to avoid bottlenecks such as limited network bandwidth, by adjusting the thread count.
- Designing Independent Test Cases
Parallel testing in TestNG is most effective when each test case is self-contained and independent. In other words, test cases shouldn’t be dependent on the execution or outcome of other tests. The best practice also includes preventing dependency on a particular execution order by prioritizing or grouping tests unless necessary. Each test should be able to run in isolation without needing cleanup or setup from others.
- Maintaining Thread Safety
Thread safety is a critical consideration while conducting parallel execution in TestNG. Avoid conflicts arising from simultaneous sharing of resources, such as unexpected behavior or data corruption, by using synchronized blocks or methods that control access to various shared resources. Unless static fields or global variables are read-only, avoid using them.
Also Check Out: Automate Your Web App Testing With Selenium Automation
Conclusion
If you’re looking forward to supercharging your automation testing with parallel execution in TestNG, combining TestNG parallel testing with Selenium WebDriver helps unlock a dramatic reduction in execution time. Whether you’re learning to optimize an existing test suite or run parallel test cases in TestNG, the upfront effort becomes worth it with rewards such as reduced time-to-market, better scalability, and faster feedback.
FAQs
What are the most significant benefits of parallel testing?
The most significant benefits of parallel testing include highly scalable automation, accelerated CI/CD pipelines, enhanced test coverage across platforms and browsers, and a reduction in test execution time.
Can we combine parallel testing and data-driven testing?
Yes, as long as you’re mapping each data set to its very own thread, it’s possible to combine parallel testing and data-driven testing. But if not handled with care, synchronization issues can arise.
Is test reporting and logging different in a parallel testing setup?
Logs are linear when we’re dealing with sequential tests. However, there is a chance that logs from various tests will overlap in parallel execution. Therefore, to maintain clarity, it’s vital to use asynchronous login frameworks or thread-specific loggers.