Some testing teams set up their own staging environment to test internal servers but as there is no public access which makes it difficult to perform local testing on remote devices. So how would you test your app which can be accessed through your internal network? We launched a feature called Wildnet, that enables you to test private or internal servers using pCloudy. You can test your privately hosted apps on any Android or iOS devices and implement continuous testing to ensure reduced release cycle.
Some times testers want to test their internal servers to protecting unsecured data and credentials, hide new features, and general security. But if an app hasn’t been made public, it should not delay testing across environments. When the Wildnet feature is enabled, a secure connection is created between your machine and pCloudy remote devices so you can perform testing even if the devices are connected remotely.
Let’s see how you can test local or private servers using Wildnet.
Prerequisite:
User should be registered on pCloudy platform
Executables can be downloaded from below links
Linux :
https://content.pcloudy.com/executables/utilities/WildNet_Executables/pCloudyWildNetLinux_v1
Windows :
https://content.pcloudy.com/executables/utilities/WildNet_Executables/pCloudyWildNetWindows_v1.exe
OSX :
https://content.pcloudy.com/executables/utilities/WildNet_Executables/pCloudyWildNetMac_v1
Manual Process to enable Wildnet
1. Run the below mentioned executable command on the terminal:
For Windows:
.\pCloudyWildNetWindows -i Emailadress –k accesskey -u URL
For Mac:
./pCloudyWildNetOSX -i Emailadress –k accesskey -u URL
For Linux
./pCloudyWildNetLinux -i Emailadress –k accesskey -u URL
Example:
./Win-Wildnet -i sample@test.com -k pass123 -u https://app.pcloudy.com
Note: Please use below mentioned URL for-
Public cloud(India): https://device.pcloudy.com
Public cloud(US) : https://us.pcloudy.com
Private cloud: https://private-cloud.pcloudy.com
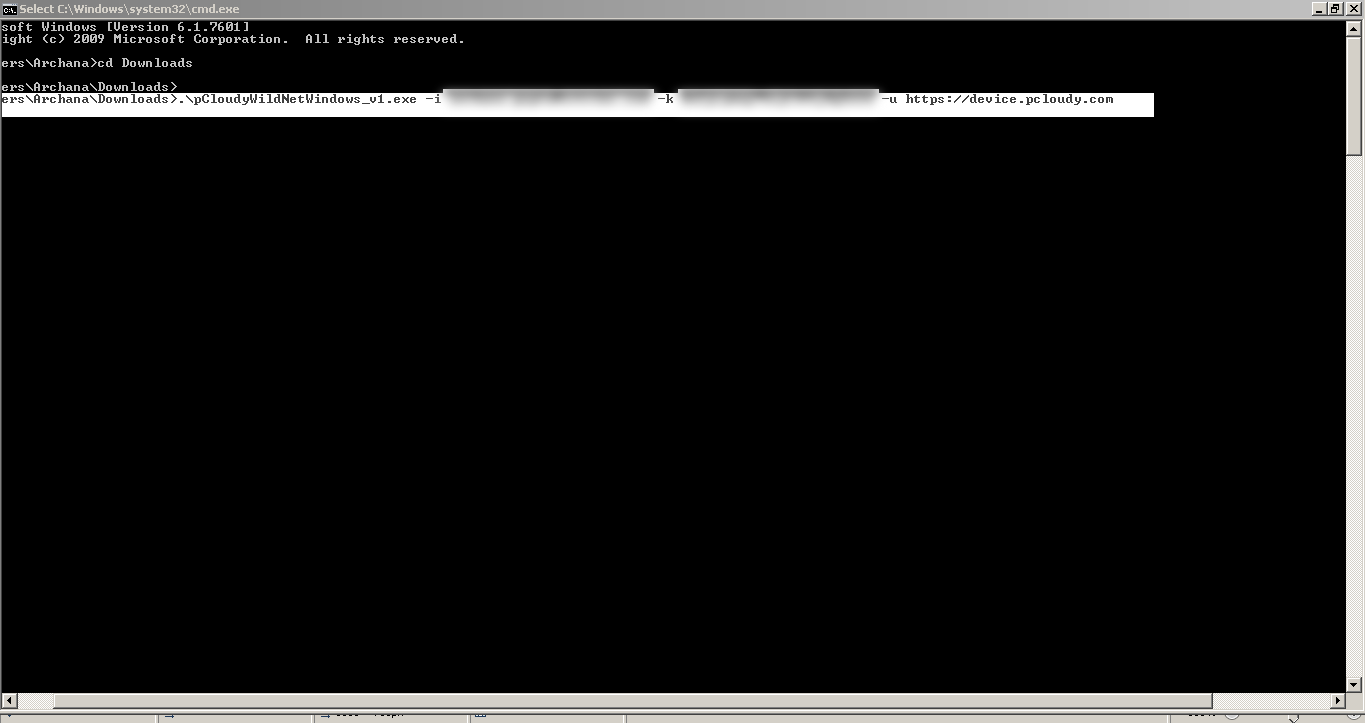
Note:
User will get authenticated as shown in the below screenshot
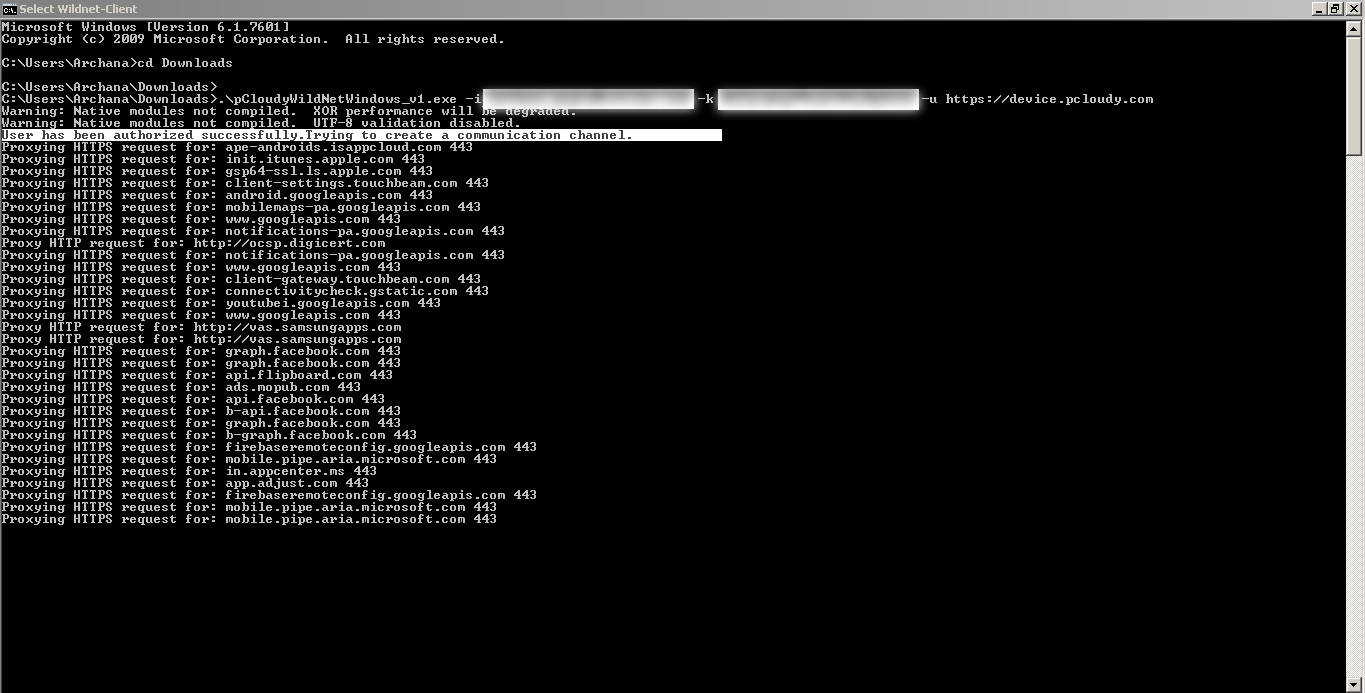
This is how users can initiate Wildnet.
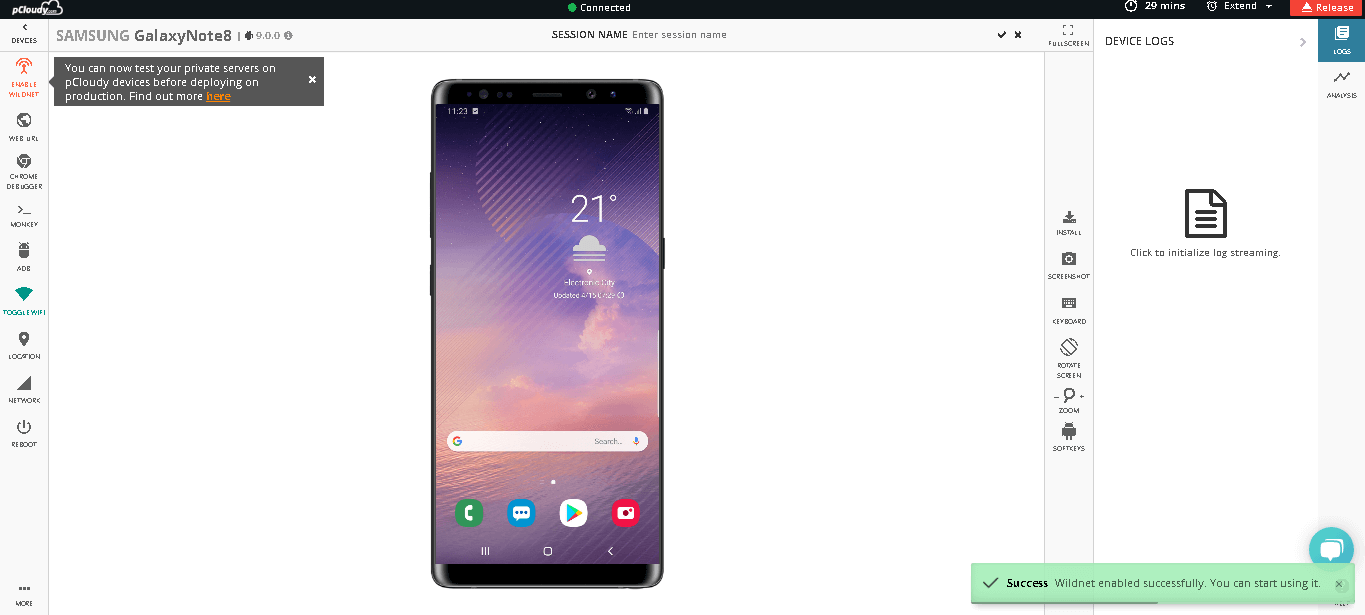
2. Go to the Device page in pCloudy platform, connect the device and click on Enable Wildnet as shown in the screenshot:
Open any local URL that you wish to test and enjoy local testing on pCloudy platform.
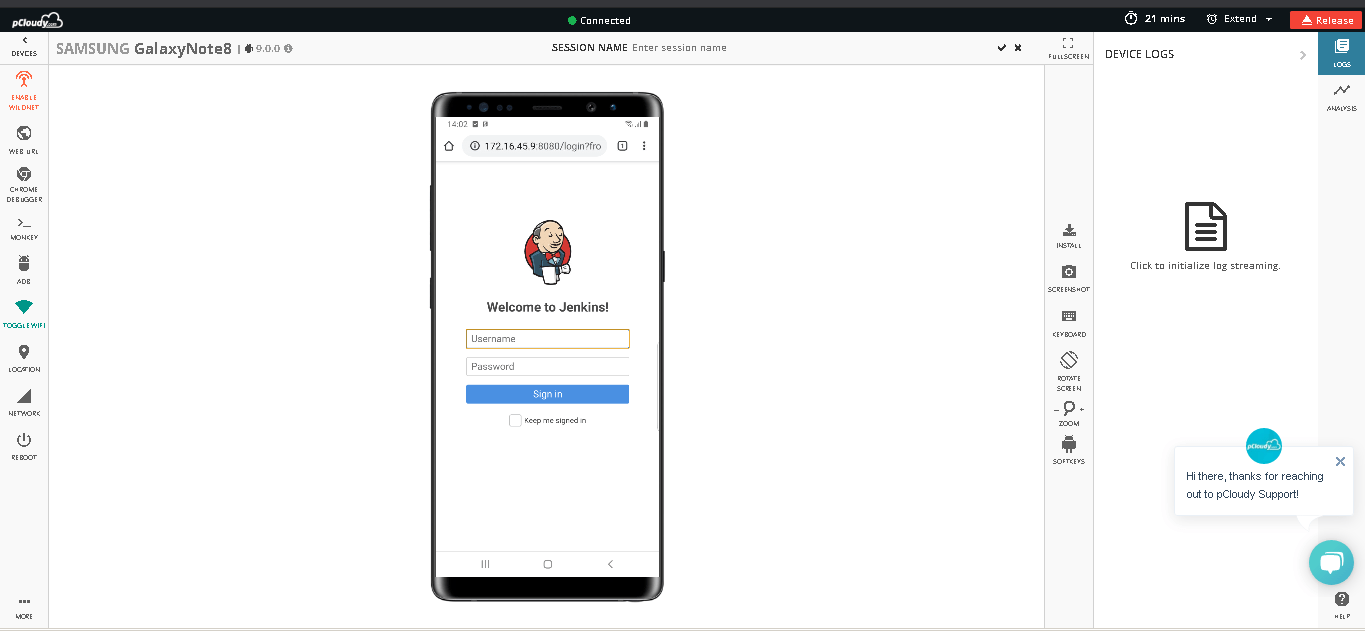
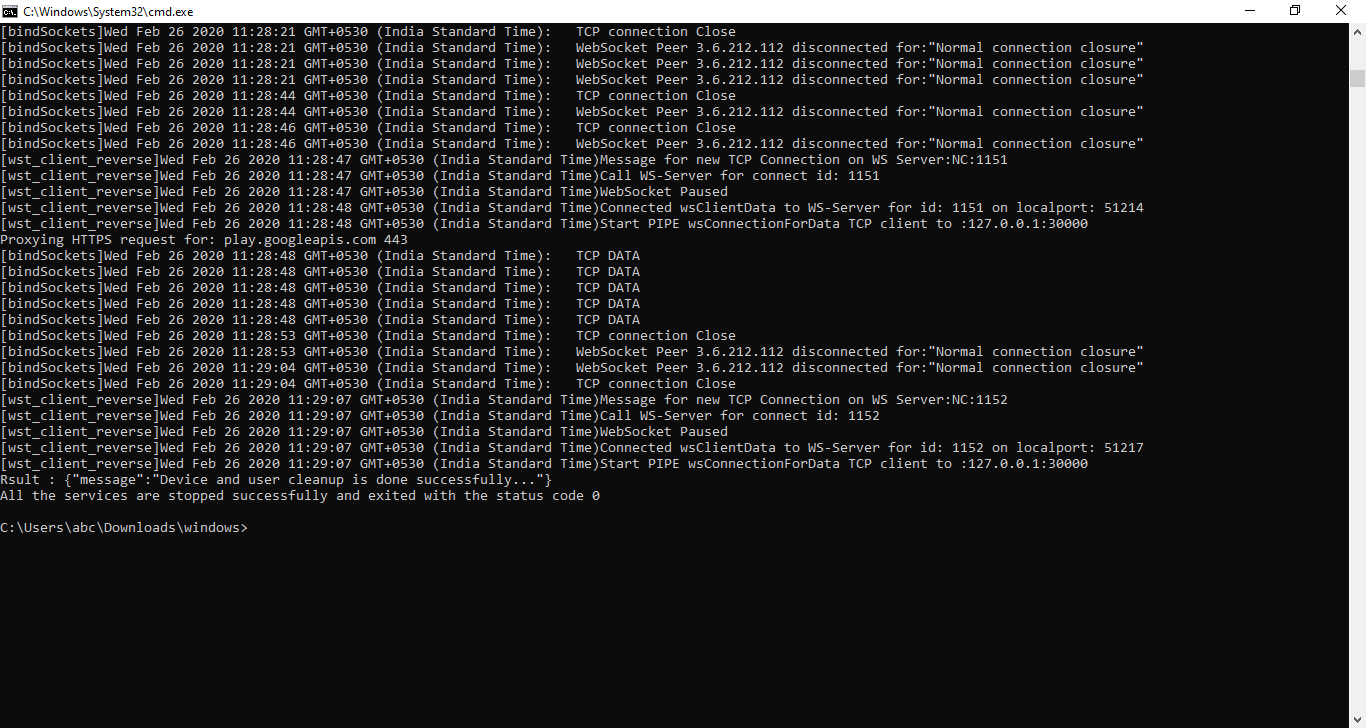
3. To disable the service simply run ctrl+c to exit
Activating Wildnet for Appium Automation
1. Run the below mentioned executable command on the terminal:
For Windows:
.\pCloudyWildNetWindows -i Emailadress –k accesskey -u URL
For Mac:
./pCloudyWildNetOSX -i Emailadress –k accesskey -u URL
For Linux
./pCloudyWildNetLinux -i Emailadress –k accesskey -u URL
Example:
./Win-Wildnet -i sample@test.com -k pass123 -u https://app.pcloudy.com
Note: Please use below mentioned URL for
Public cloud(India): https://device.pcloudy.com
Public cloud(US): https://us.pcloudy.com
Private cloud: https://private-cloud.pcloudy.com

Note:
User will get authenticated as shown in the below screenshot

2. Once the user is successfully authenticated, they need to add the capability mentioned below, in the Appium automation script.
capabilities.setCapability( “pCloudy_WildNet”, true);
3. Once the capability is added, users can perform local testing on pCloudy devices and verify the execution in live view page.
The most important advantage of Wildnet is that you can be confident about the application as you can rectify all the defects prior to delivery. Try it yourself. Use Wildnet to find more bugs and defects in your internal server before deploying it to production.
