
What is Expresso Framework?
Espresso is a testing framework used to write UI test cases. It automatically tests your actions with the UI of your application. The framework also ensures that your activity is started before the test run. It can be used to test across multiple applications. If used for testing outside application, you can perform only black box testing. as you cannot the classes inside the application.
Espresso has three components:
ViewMatchers: Allows to find the view in the current view library.
ViewActions: Allows to perform actions on the view
ViewAssertions: Allows to assert state of the view
Why Espresso?
It's fast: It is really important to run test cases at a fast pace as there can be many tests. UI test takes time and is costly and it is possible that you might not be able to run all the tests.
It's easy to setup: Setup process on local machines is easy and Android developers feel comfortable in the mobile SDK language which they use every day.
It's less flaky: Automated DevOps process required fast and reliable feedback. Test written in native tools is much less flaky. It gives more control over the application: It is white box testing, Espresso is inside the application, it has access to and knows how to use the code that actually runs the application for more thorough testing of each element.
You can use Espresso cheat sheet for quick reference as it contains most available instances of Matcher, ViewAction, and ViewAssertion.

Steps for running your Test scripts in Espresso using pCloudy:
Login over https://device.pcloudy.com with your registered Email ID & Password.
To schedule "Espresso" over pCloudy, follow the following steps-
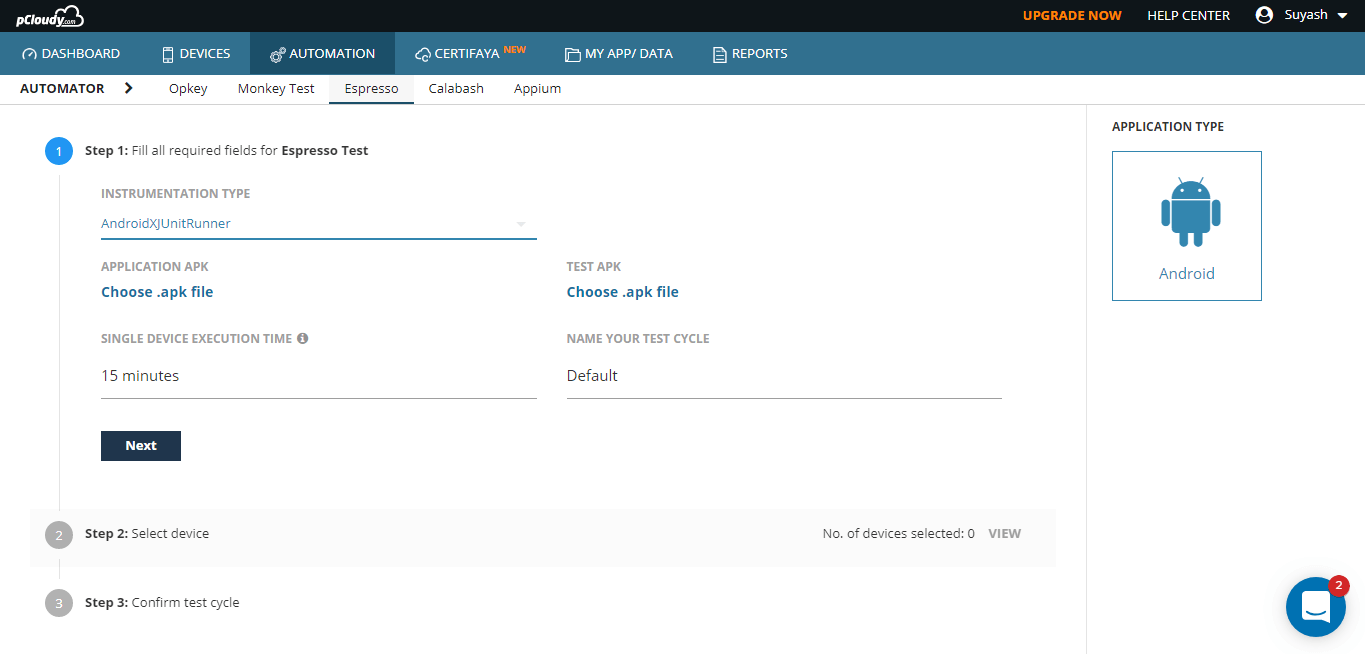
- Go to the "Automation" page.
- Select the Automation tool as "Espresso".
- Select "Instrumentation Type" based on the Test Scripts you've written.
- Select the Application APK and Test APK that you must have uploaded in the MY APP/DATA section.
- Select the single device execution time and assign a name to your test cycle.
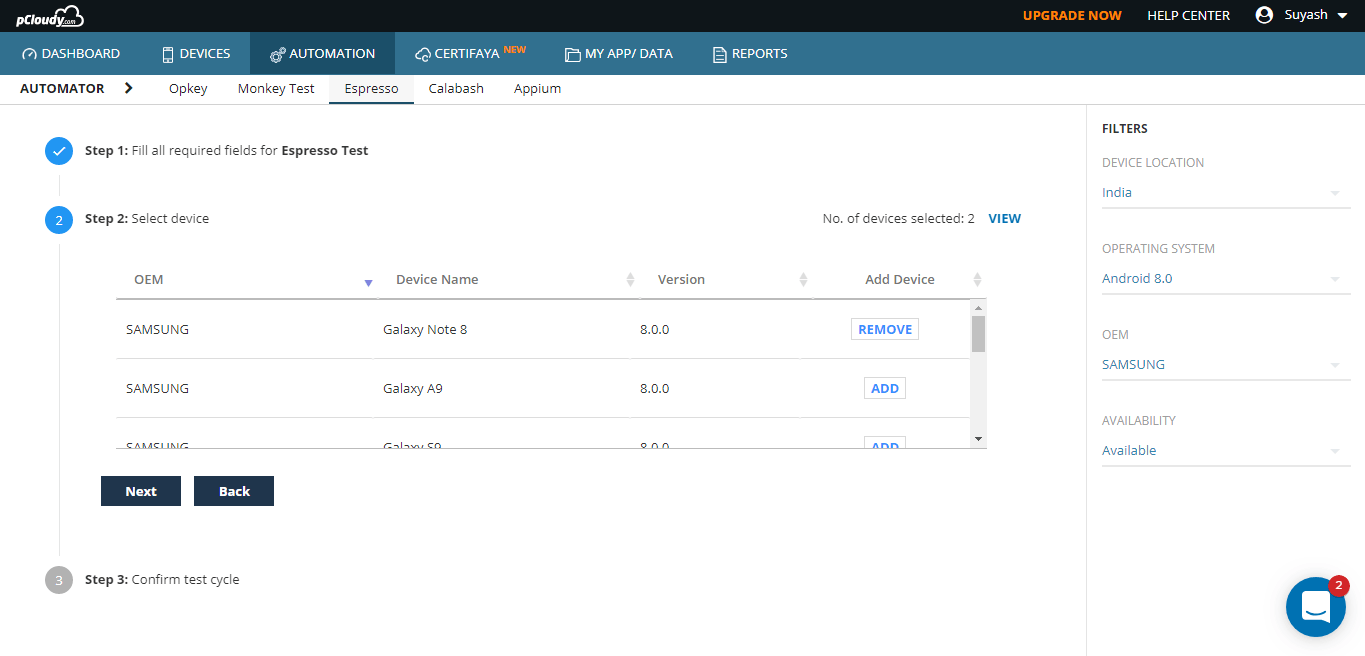
- In the next step, Click on "ADD" to add the device for testing and click on " Next".
- Now you can select the devices by clicking on the "ADD" button. You can also use the device filter to make it easier to search for a device. Click on next once the devices are selected.
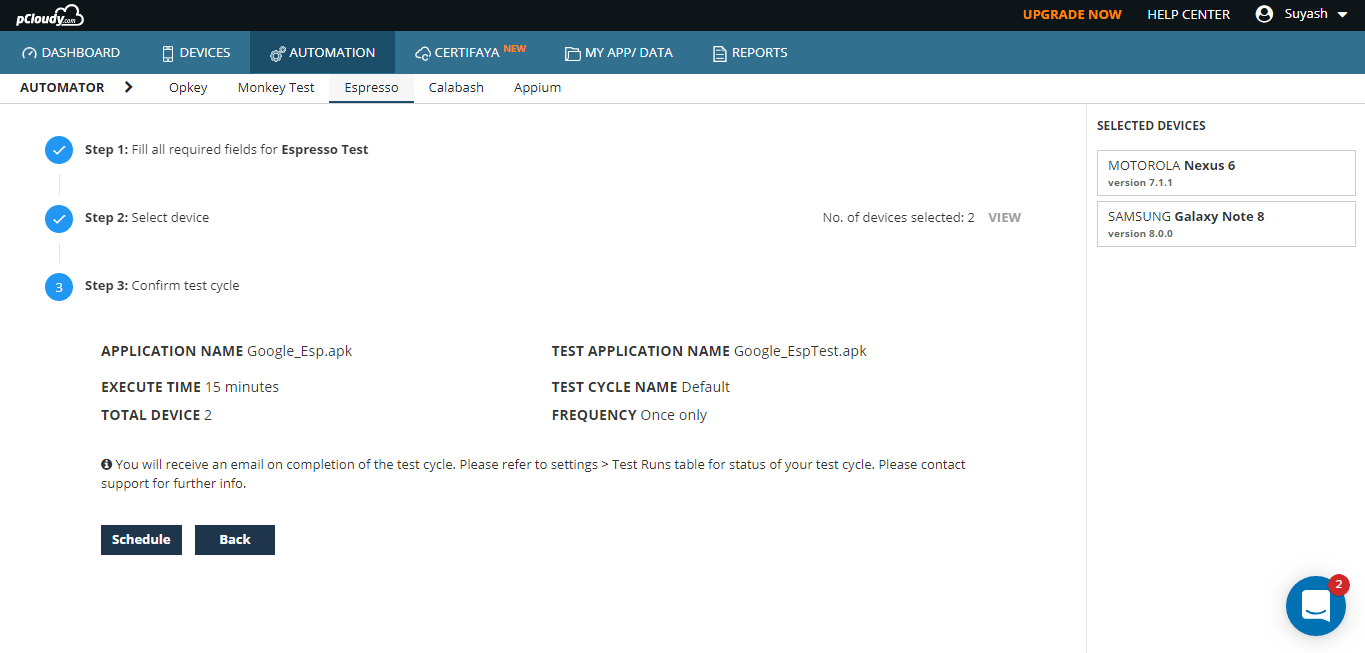
- Click on "Schedule" to start the test.
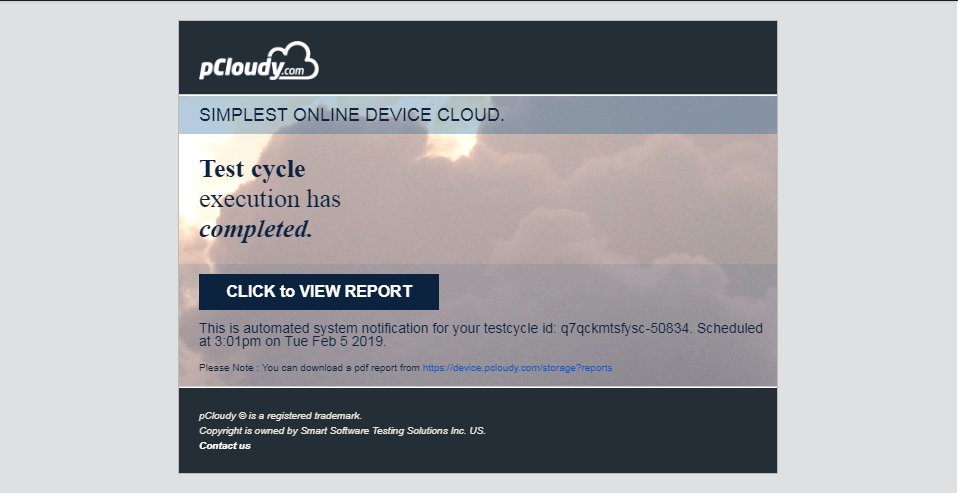
- Go to your email inbox and open pCloudy Automation Alert mail. Click on the given link “Click to view Report”.
- Now you have the result of your scheduled test automation.
Note: pCloudy provides support for Instrumentation Type(InstrumentationTestRunner, AndroidJUnitRunner, and AndroidXJUnitRunner) for Android.
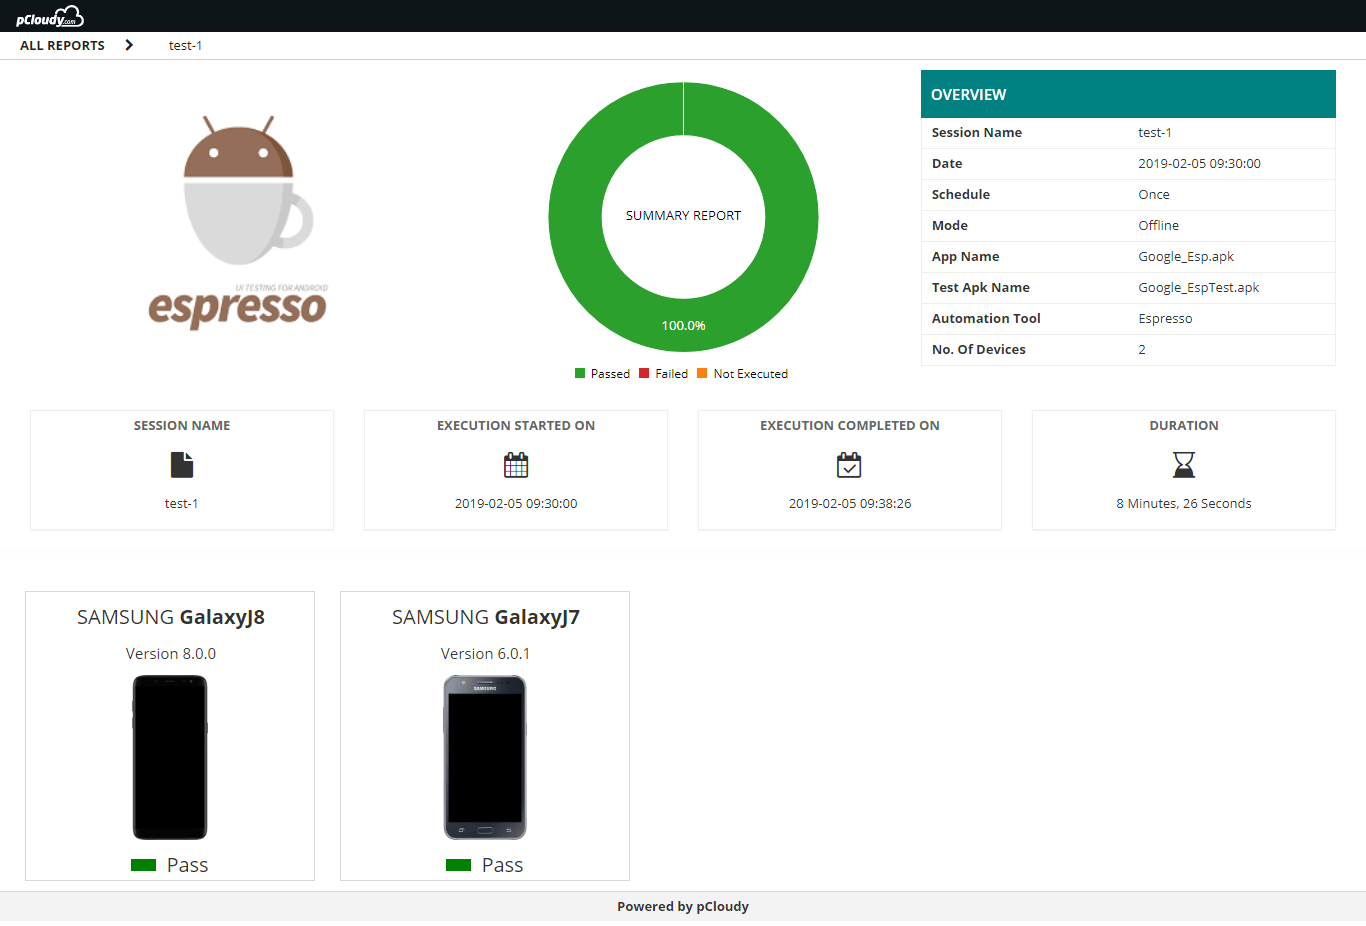
Take a look at this GIF to understand the flow of actions taken to run the test cycle.
Software developers tend to make mistakes as app development is a very complex process. This means that the app will contain bugs. Espresso helps us detect errors that may have been made in the development, ensuring the reliability of the client and his satisfaction with the application.
Related Articles:
 January 17, 2025
 October 23, 2019