

Local Site Testing on pCloudy
With no access to internal or private servers, complexity in the process of VPN connections, or the problems to test a software, website or service in a production-similar environment, testing your local or a private website or url on a cloud platform has always been a challenge for testing teams.
For all the users who have been asking for a solution to test their private servers on pCloudy devices before deploying them on production, we have a good news for you.
Now, you can access your site behind a firewall, on a staging server, or locally with pCloudy before it hits production.
It’s a path breaking feature for enterprise mobility. You avoid the expense of setting up and maintaining a comprehensive and exhaustive testing setup.
Since private servers are internal to your network, they have no public access which makes it difficult to test on a device on cloud. Local Site emulation Testing provides a platform to test private or internal servers on any Android device present on pCloudy.
Let us see how to set up the connection for Local Site Testing:
1. Login to your registered account on device.pcloudy.com
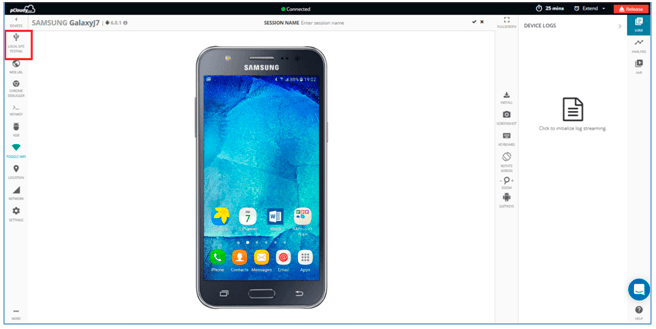
2. Select desired device from the Device page and click on “Local Site Testing” icon present at top on right hand side as shown in below screenshot.
3. Download the Local Site Testing jar file as shown in snapshot below.
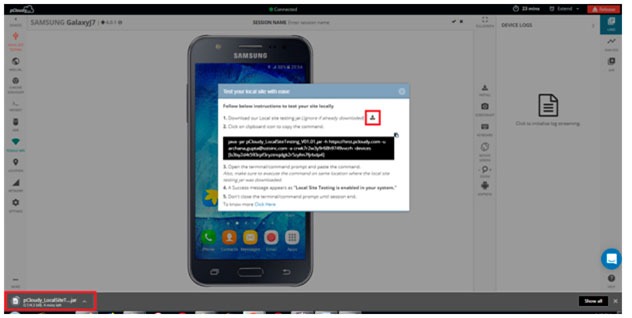
Note: Ignore if jar is already downloaded.
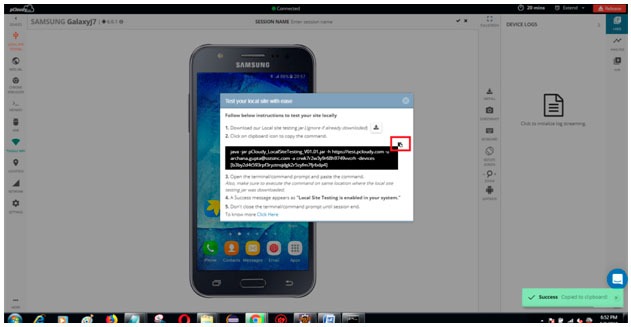
4. Copy the command by clicking on icon as shown in the snapshot.
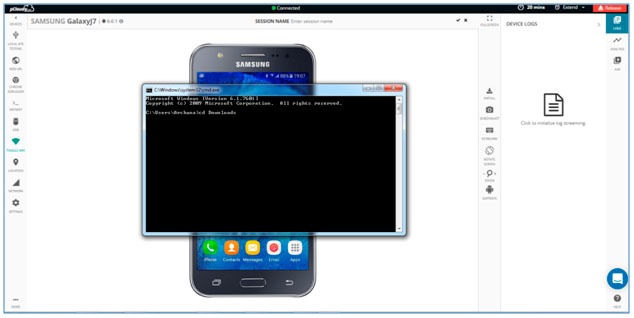
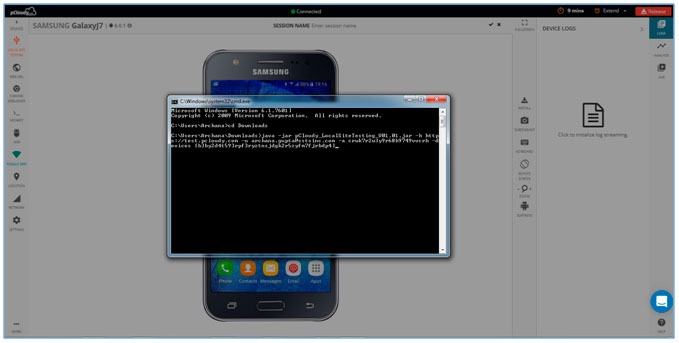
5. After the file download is complete, Open your command prompt or terminal
Let us see how to open Command Prompt in different Operating system.
You can follow any of them among three mentioned ways
For Mac-OS users:
a. Open “Launch pad”: It’s the silver icon in the Dock that looks like a rocket. Type “terminal” in search bar and hit enter.
b. Hold command button and hit space bar. Pop will appear and type terminal and hit enter.
c. Open Launch pad and click the “Other” folder: It’s a square icon containing several smaller icons. Then look for terminal.
For Windows users:
a. Open Start and type in command prompt or cmd then hit enter.
b. Click the Windows logo in the bottom-left corner of the screen, or press the ⊞ Win key. You can search for Command Prompt on all supported versions of Windows.
c. Open the Run program. Hold the Win key and press the R key to open the Run window. Then enter “cmd” or “Command prompt” and press enter.
For Ubuntu users:
a. Using Keyboard Shortcuts: Press Ctrl+Alt+T This will launch the Terminal.
b. Press Alt+F2 and type gnome-terminal. This will also launch the Terminal.
c. Press Win+T (Xubuntu only). This Xubuntu-specific shortcut will also launch Terminal.
6. Execute the command on same location where the local site testing jar file was downloaded.
7. After the command is successfully executed you will able to see a success message appearing as “Local Site Testing is enabled in your system”. This confirms that now you are ready to test your private server on the device connected on pCloudy.
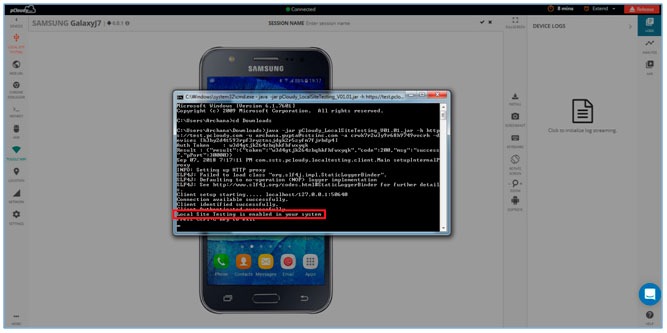
Note: Don’t close the command prompt until session ends.
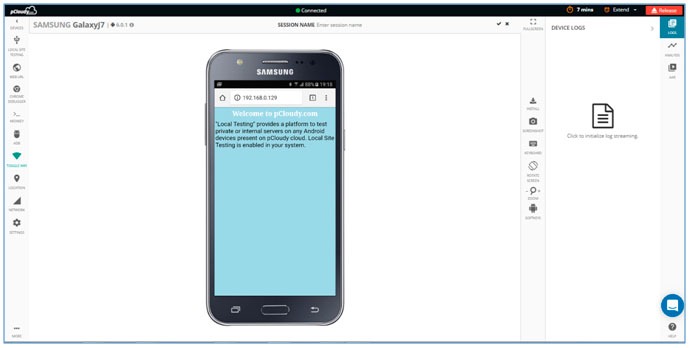
8. Go to the connected device and using the browser open any private URL to test. That’s all you are all set.
You can now find more bugs and defects on your local sites before deploying it to production with this breakthrough feature.
Here’s testimony to it by one of our customers from TagIT mobile.

Why don’t you try it yourself and let us know your feedback in comments about how this feature is useful to you!