
[xyz-ihs snippet=”quickLinks-Appium”]
In our previous chapter on Android, we learned about UI Automator Viewer, Which is available on Android SDK, to get the properties of the application object. In the case of iOS, Appium itself provides an Inspector which helps users to locate those elements in the application.
First, open the simulator by clicking on the dock option.
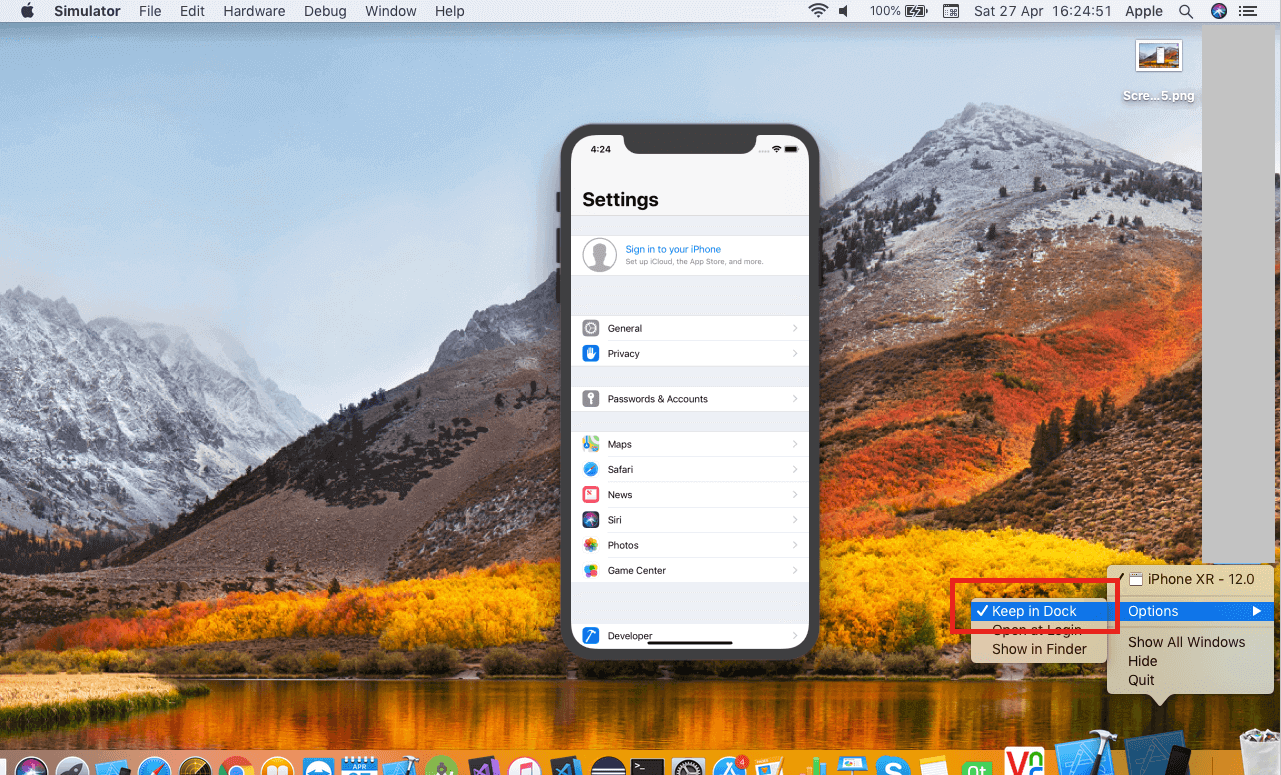
Now in the Device/Simulators window, select the simulator. Open the Appium Desktop and keep the simulator side by side.
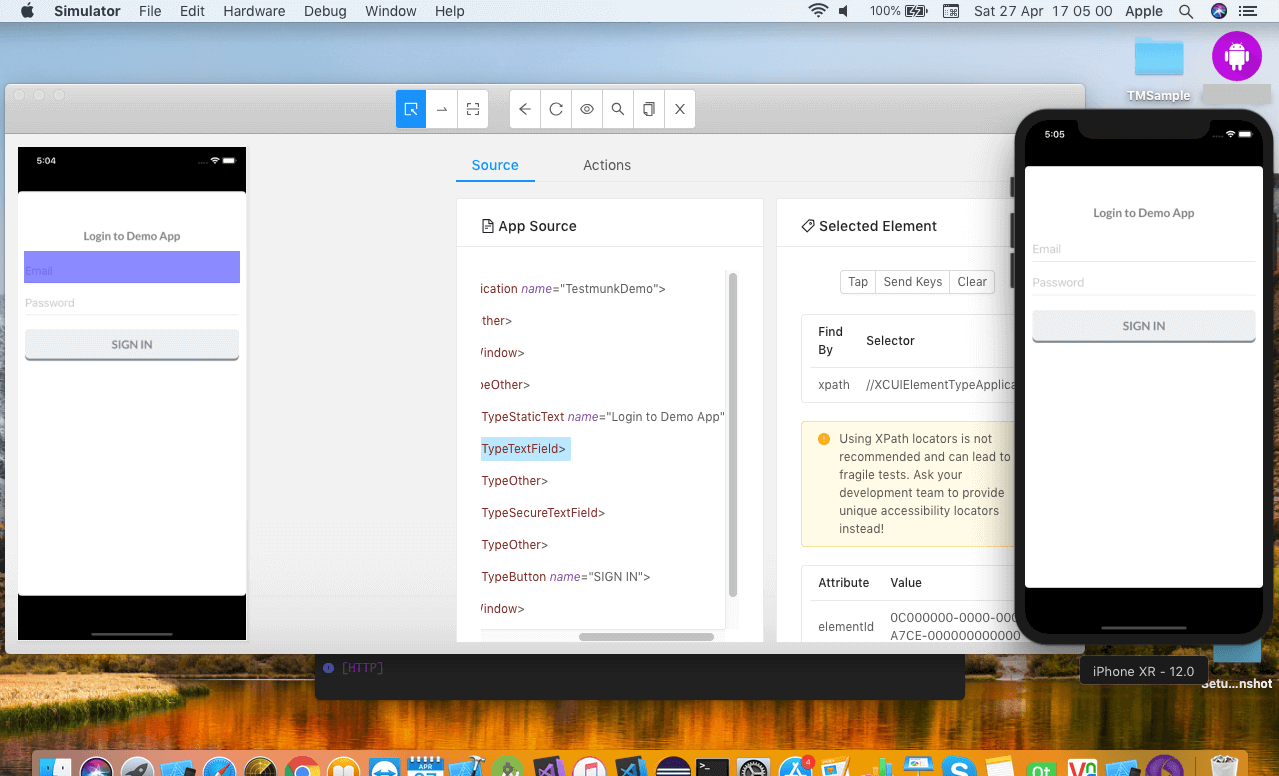
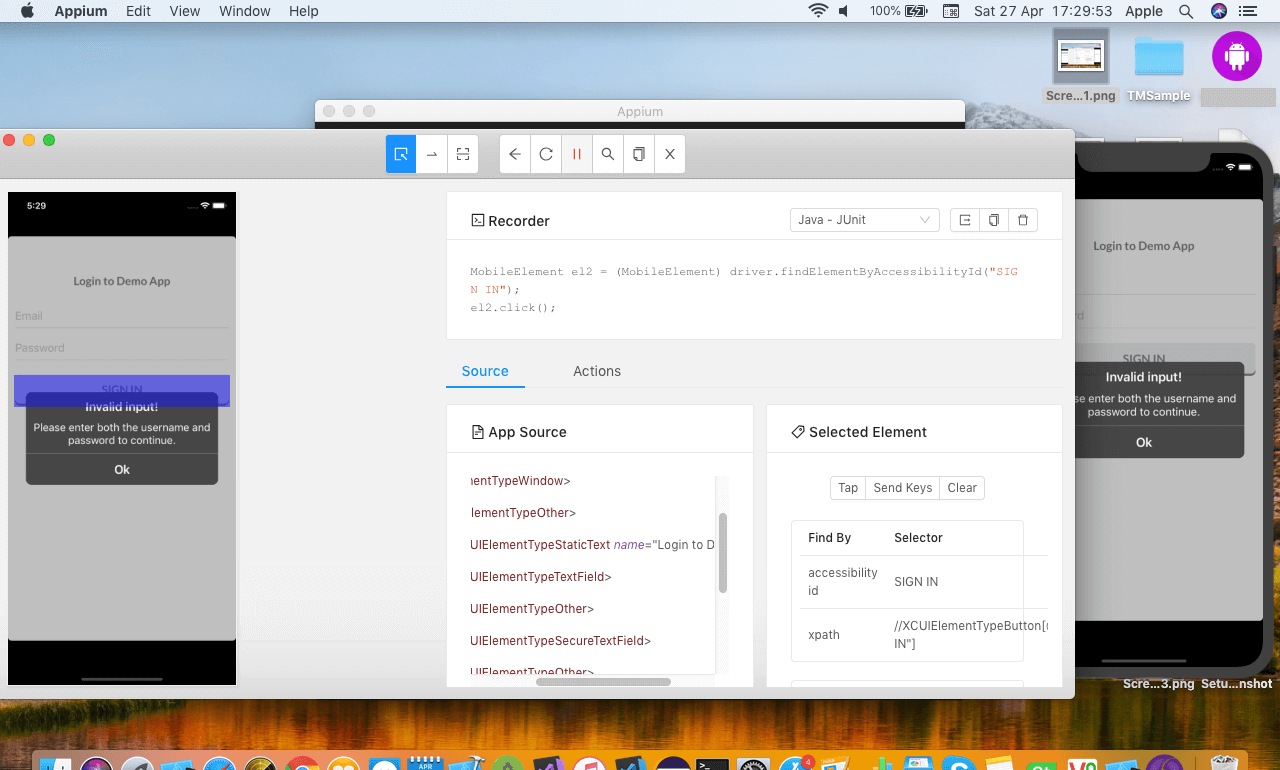
Once the inspector is started, select any of the objects on the screen. It will show you the complete hierarchy and properties of that object.
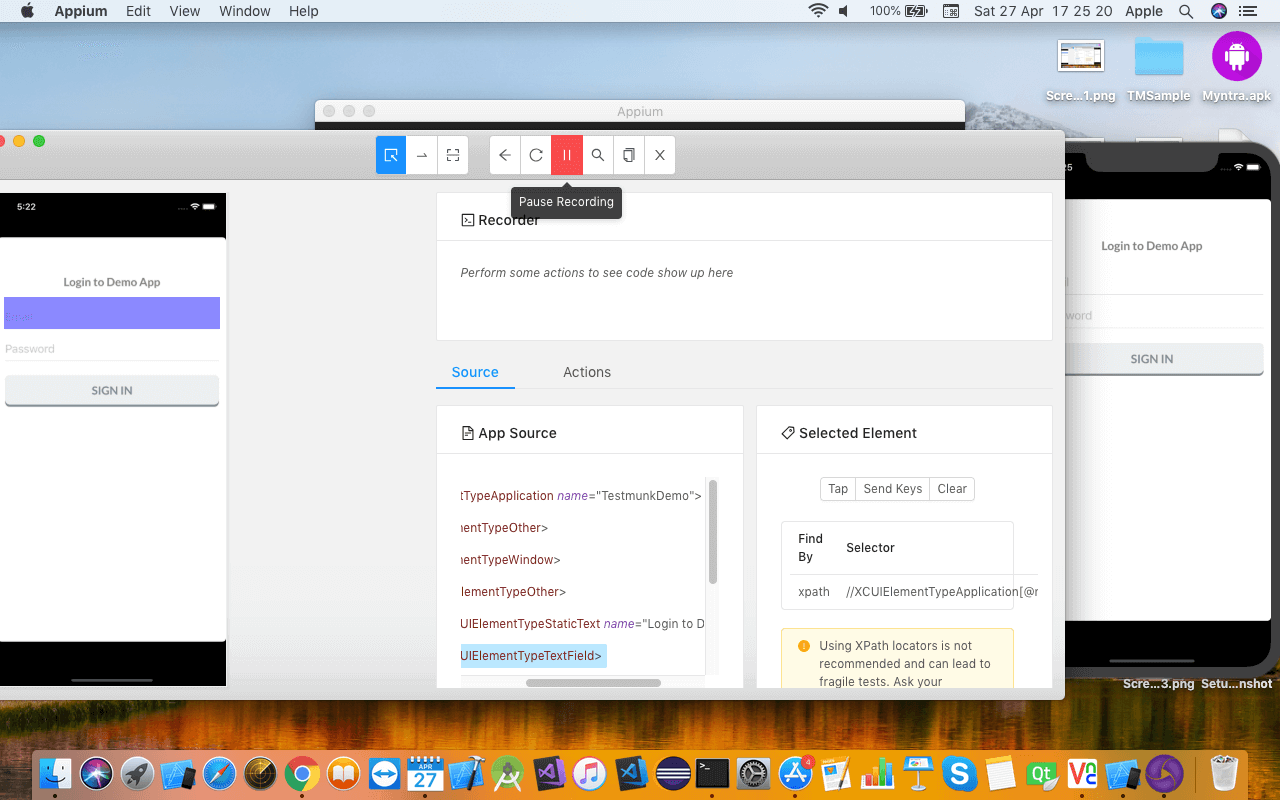
At the top of the window, you can see the Record button which is used to record all the actions taken and record the script.
To select any object, click on the Select Element button and then you can use Tap button to click on an object, Send Keys to enter text and clear to undo the action.
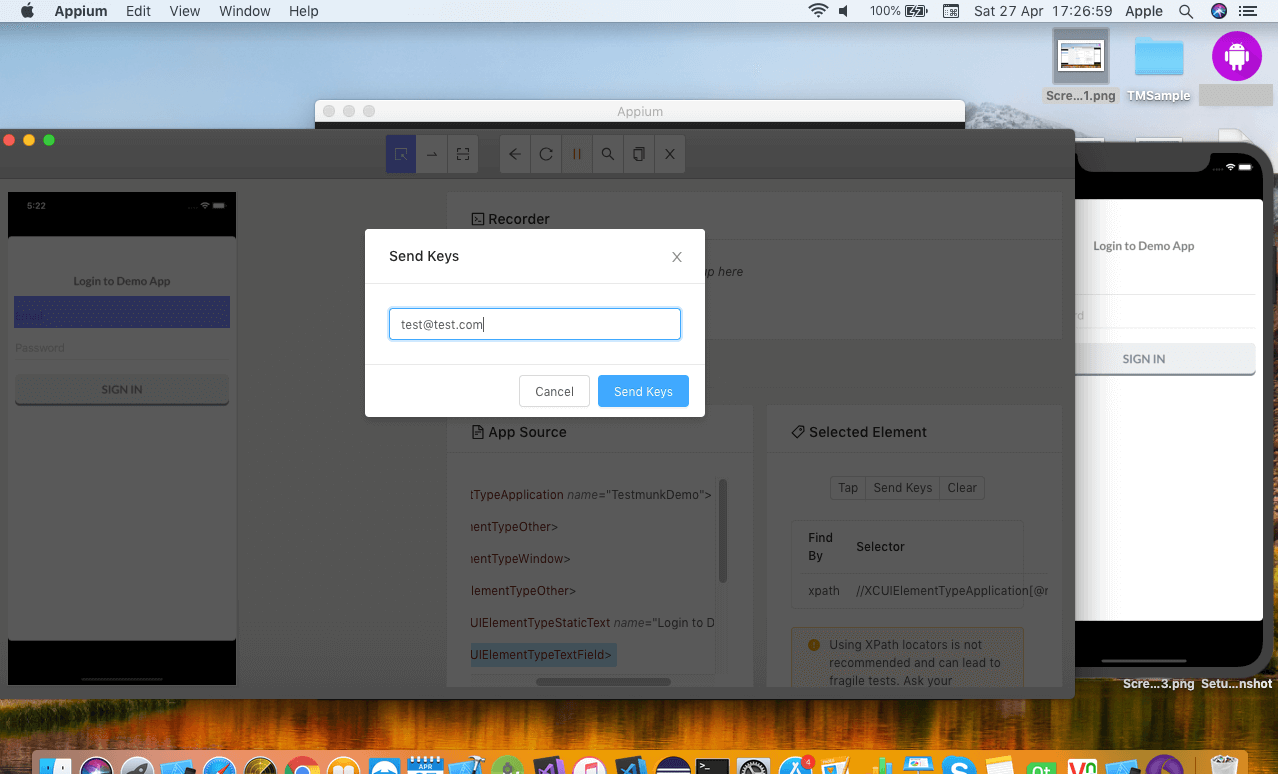
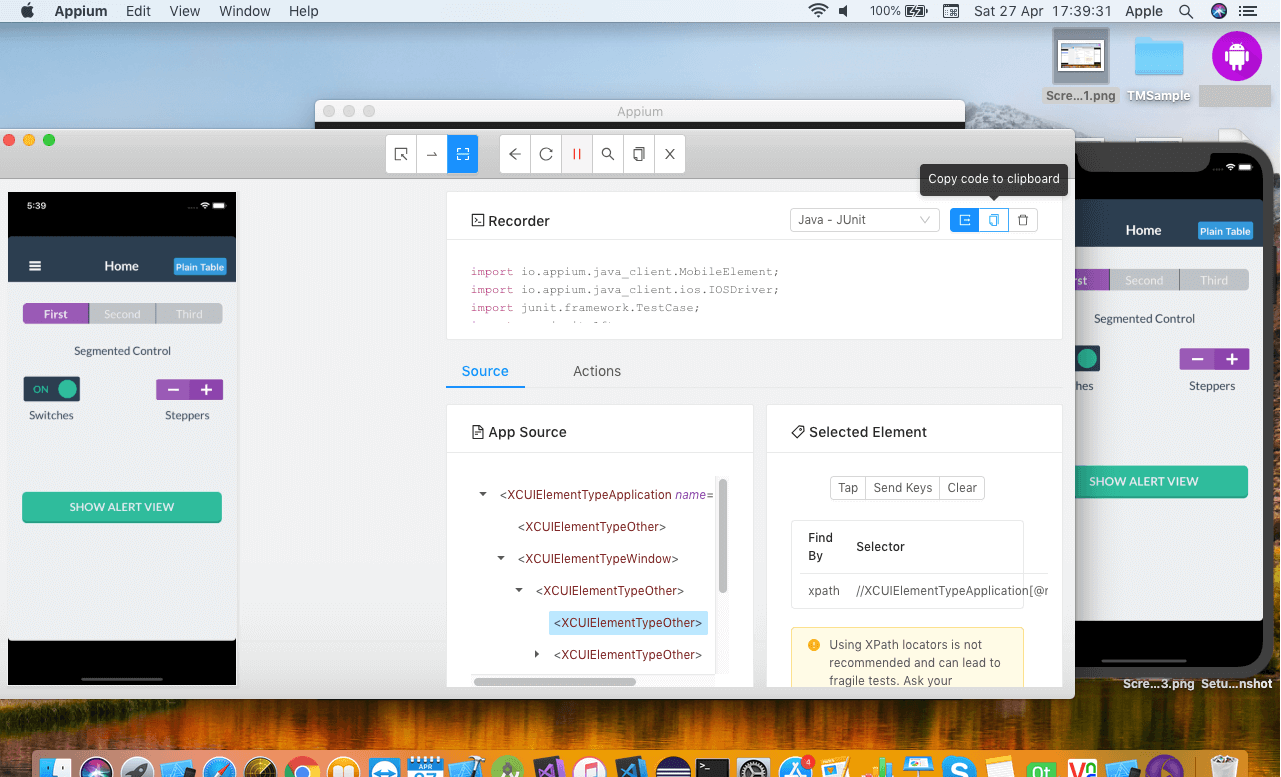
As soon as you perform an action on an object, it is recorded in the form of a script.
Once you are done with the recording you can copy the script and paste in eclipse editor.
In the next blog, we will learn how to write the first appium script for iOS.
Related Articles:
 December 30, 2024
 September 13, 2023