
In the last blog in this series we learned how to start the Appium server and launch app from the code. In this blog we will understand how to setup Appium on a Mac machine.
Pre-requisite
• Mac Book
• Xcode
• Simulator or real device
• Appium
• Eclipse
• Java
The first step is to install Xcode in the Mac Book. To do that, open app store and search for Xcode and click on the Get button to download Xcode.
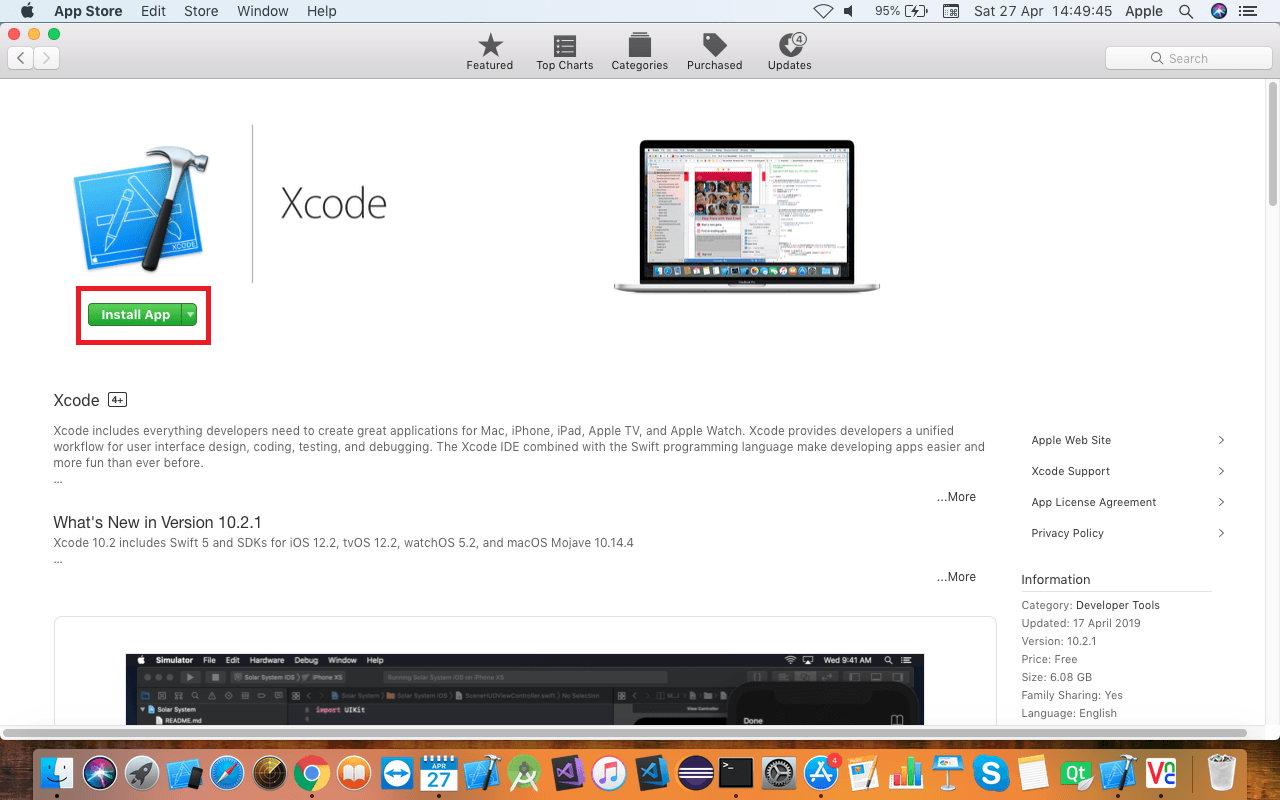
Then click on the Install App option. This will install Xcode on your Mac machine. Now click on the Agree button if you agree with the terms and conditions and it will start installing components.
Once the Xcode is installed, you need to select “Create a new Xcode project” and you will be redirected to the template selection option.
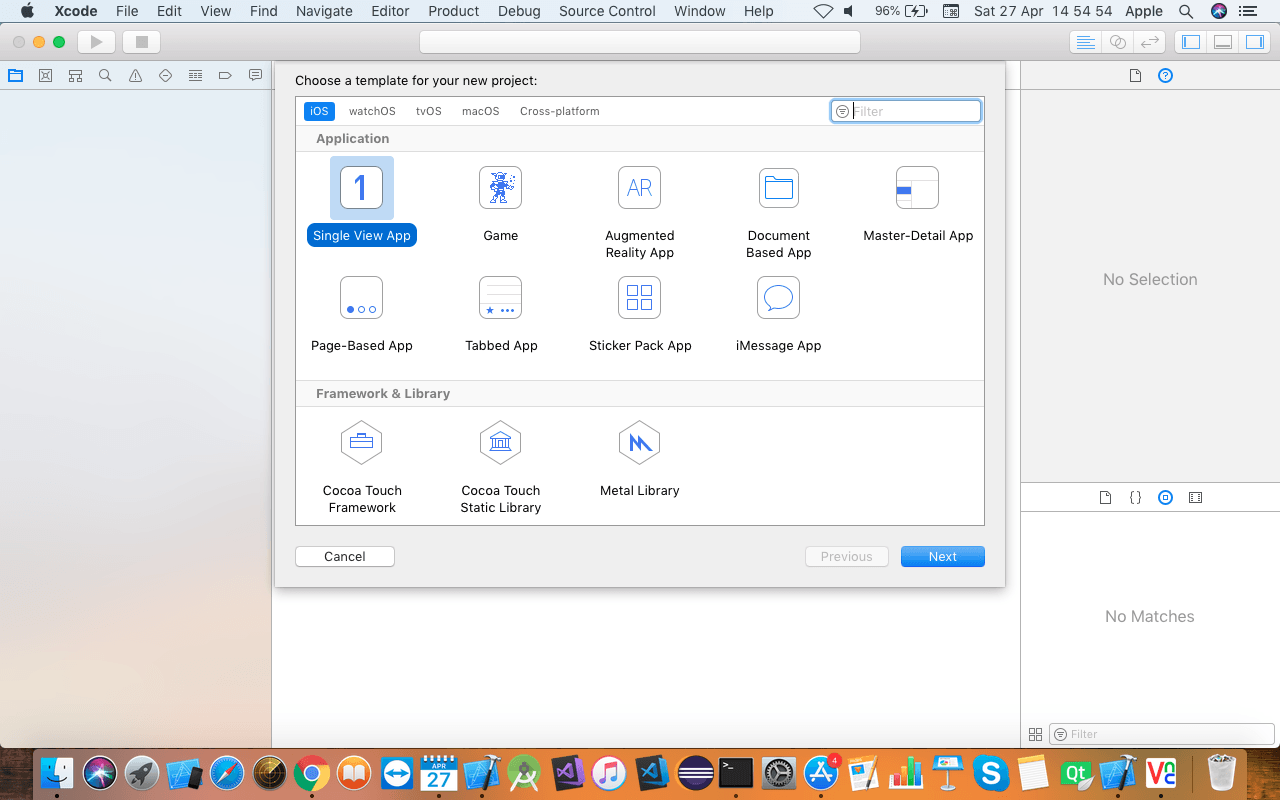
You may select any of the templates or leave default settings as they are. Click on the next button to navigate to the next screen.
Now you will be asked to provide a product name and other product-related settings.
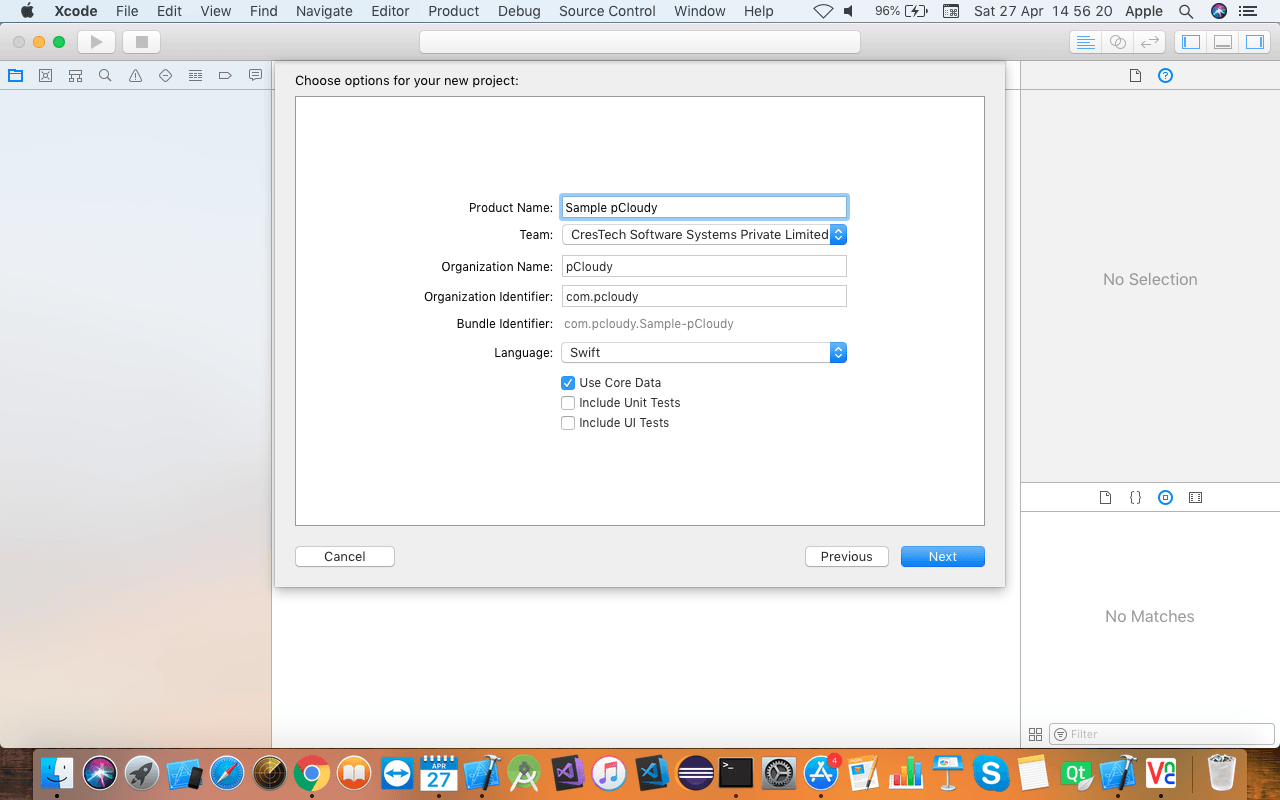
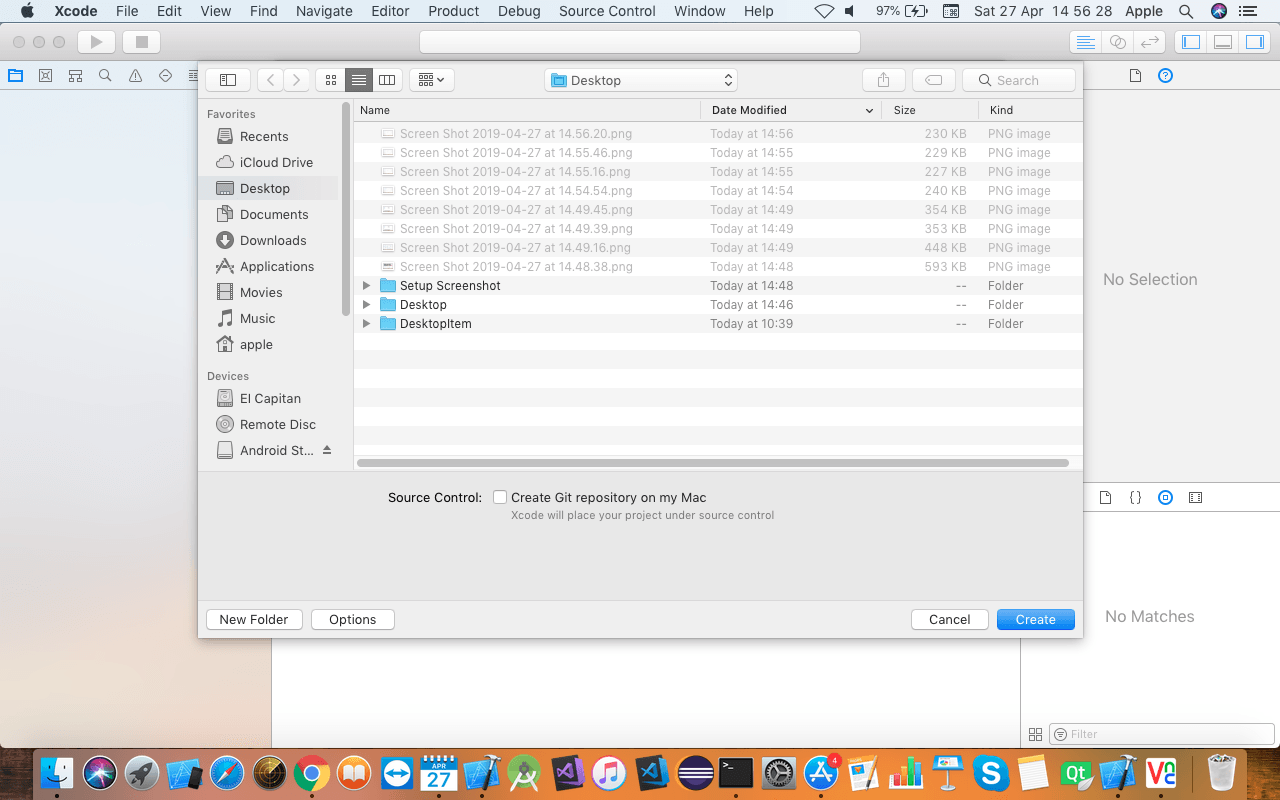
Enter the required details and click on the next button. In the last seen of product settings, you will be asked to give the location in which to save your project.
Select the location anywhere as per your requirements and click on the create button.
Once the project is loaded go to the Product menu option and click on the Run option.
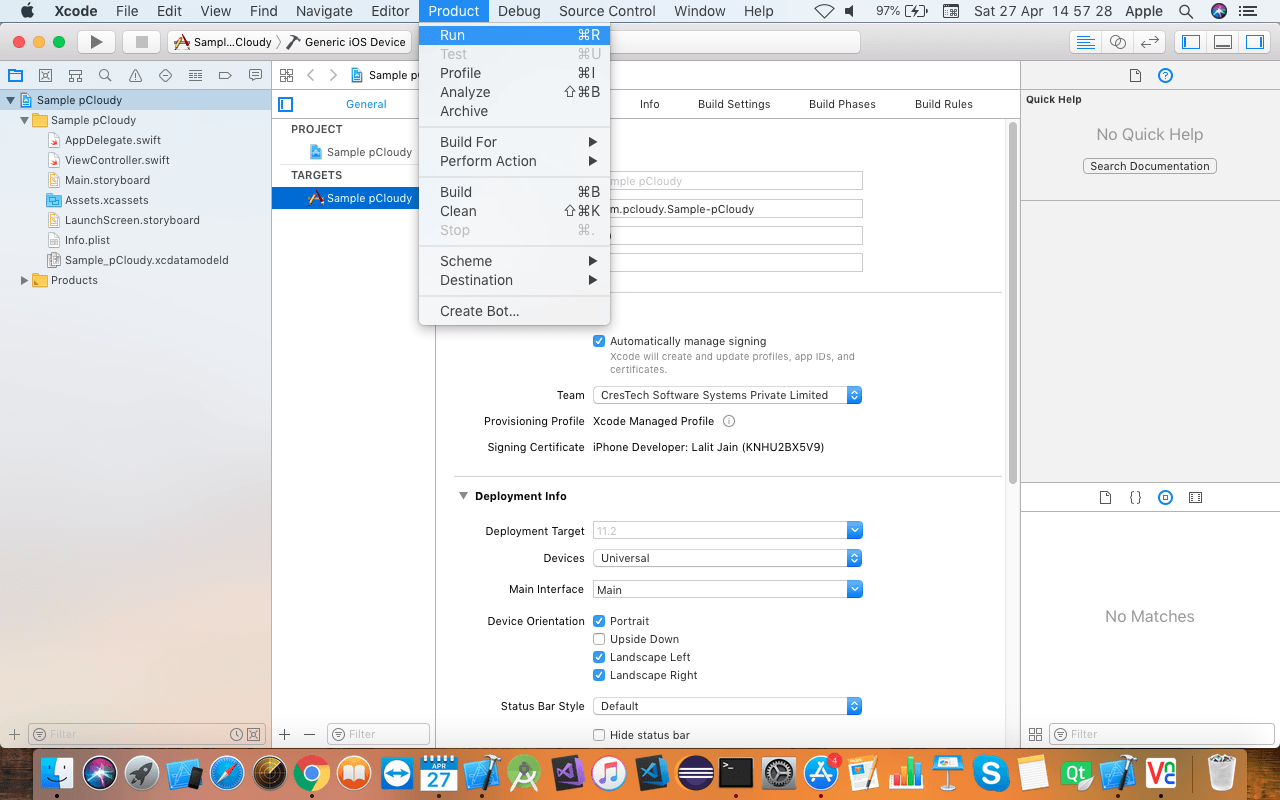
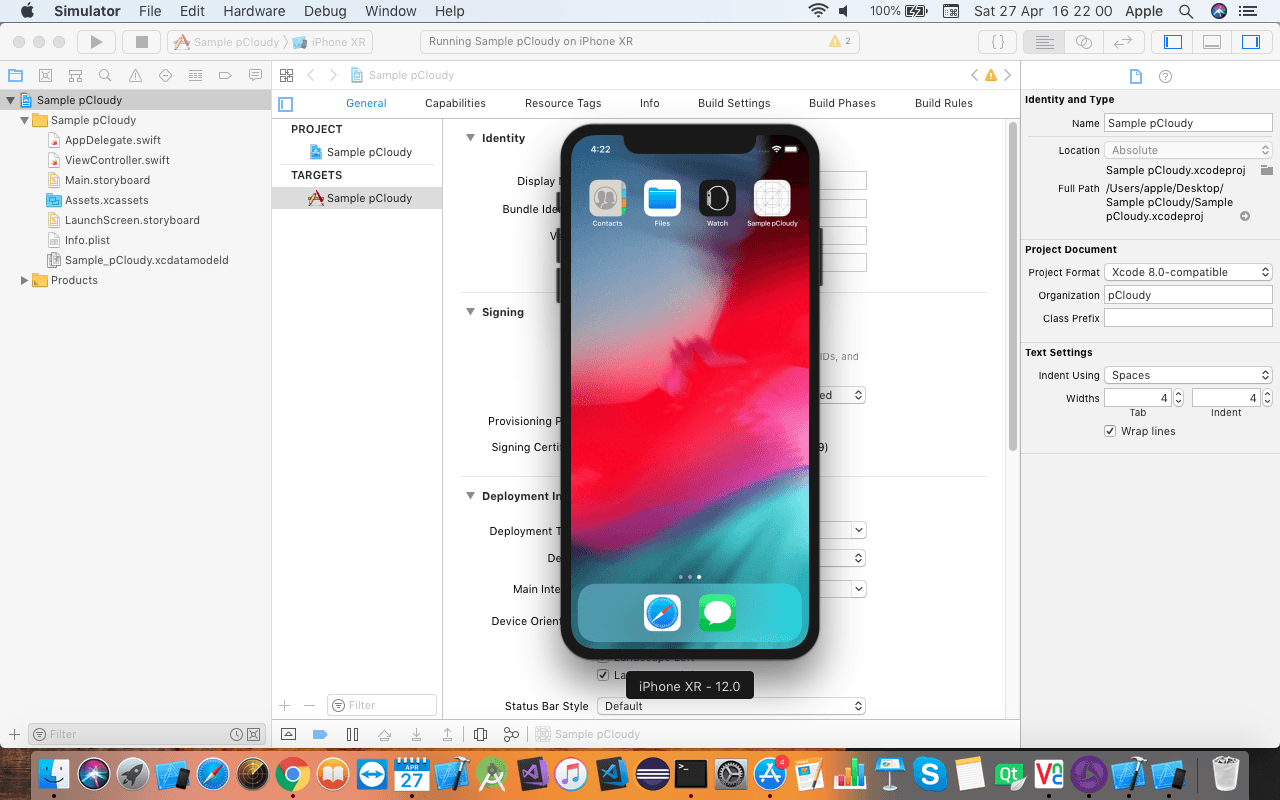
Once you click on the run option, it will launch iOS simulator.
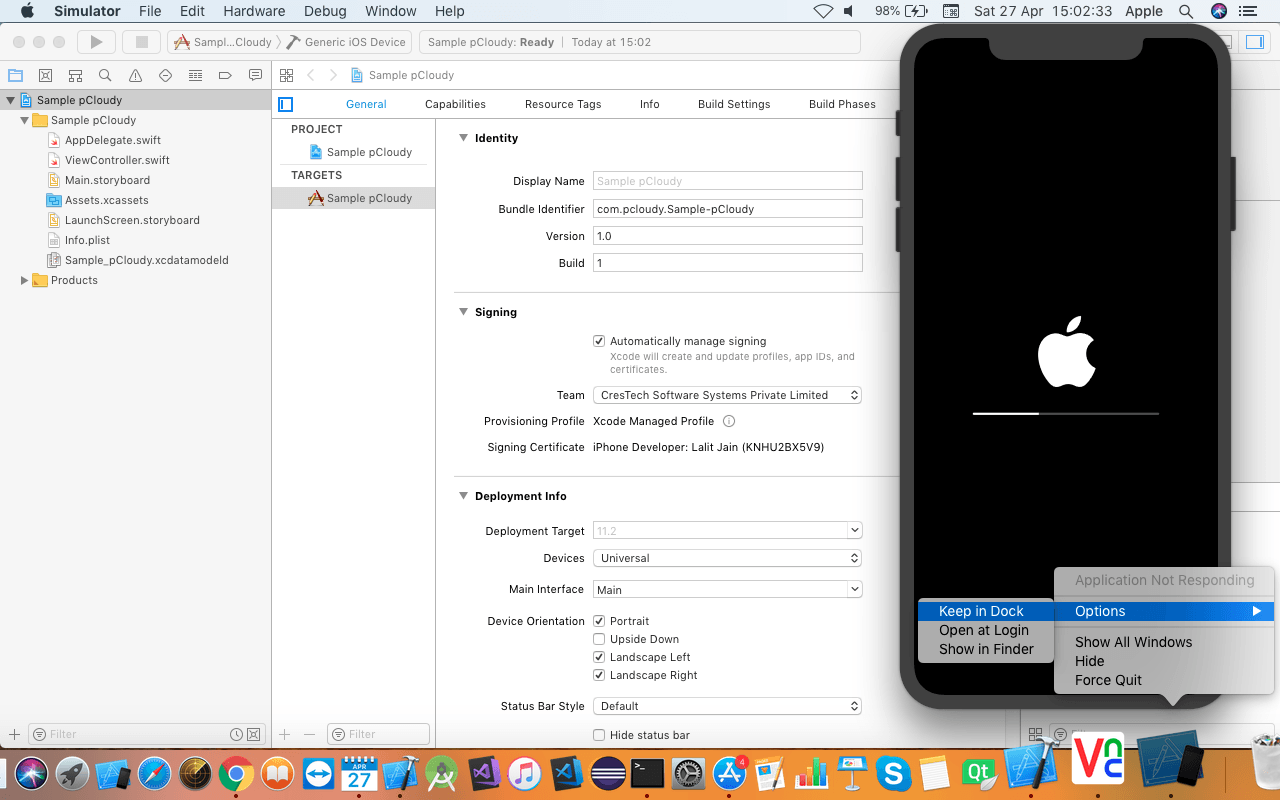
Now right click on the simulator icon on the doc panel and select the keep in doc panel. In this way, you don’t need to start Xcode to launch the simulator. Thus you don’t need to open the Xcode project each time to launch iPhone simulator. If you want to see the list of simulators, got to the Window menu and select the Devices option. You will get a list of all the simulators available with this version of Xcode.
Installing JDK and setting the path
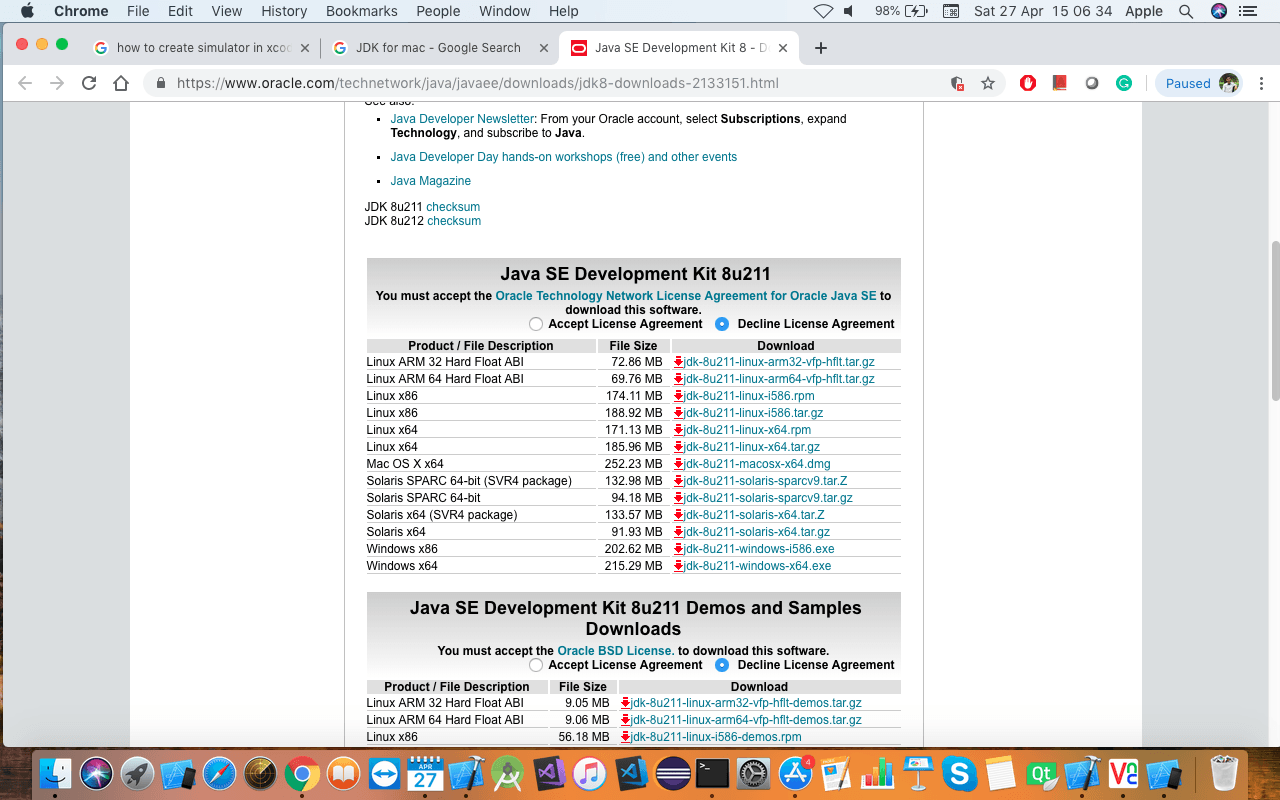
Download JDK for Mac OS and once the file is downloaded, double click on the file and install Java.
Now you need to set the Java installation path in your environment variable. Open a terminal and write “open.bash_profile”.
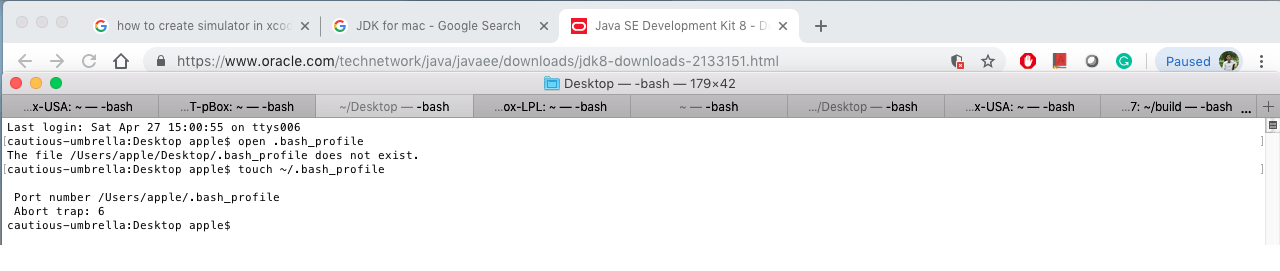
If “.bash_profile” does not exist then execute the command “touch~/.bash_profile”. This will create the file. So when you execute the command, it opens the “.bash_profile” file.
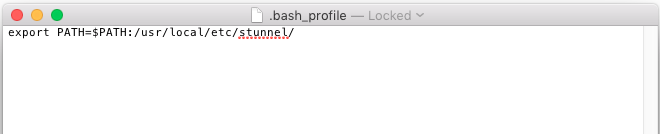
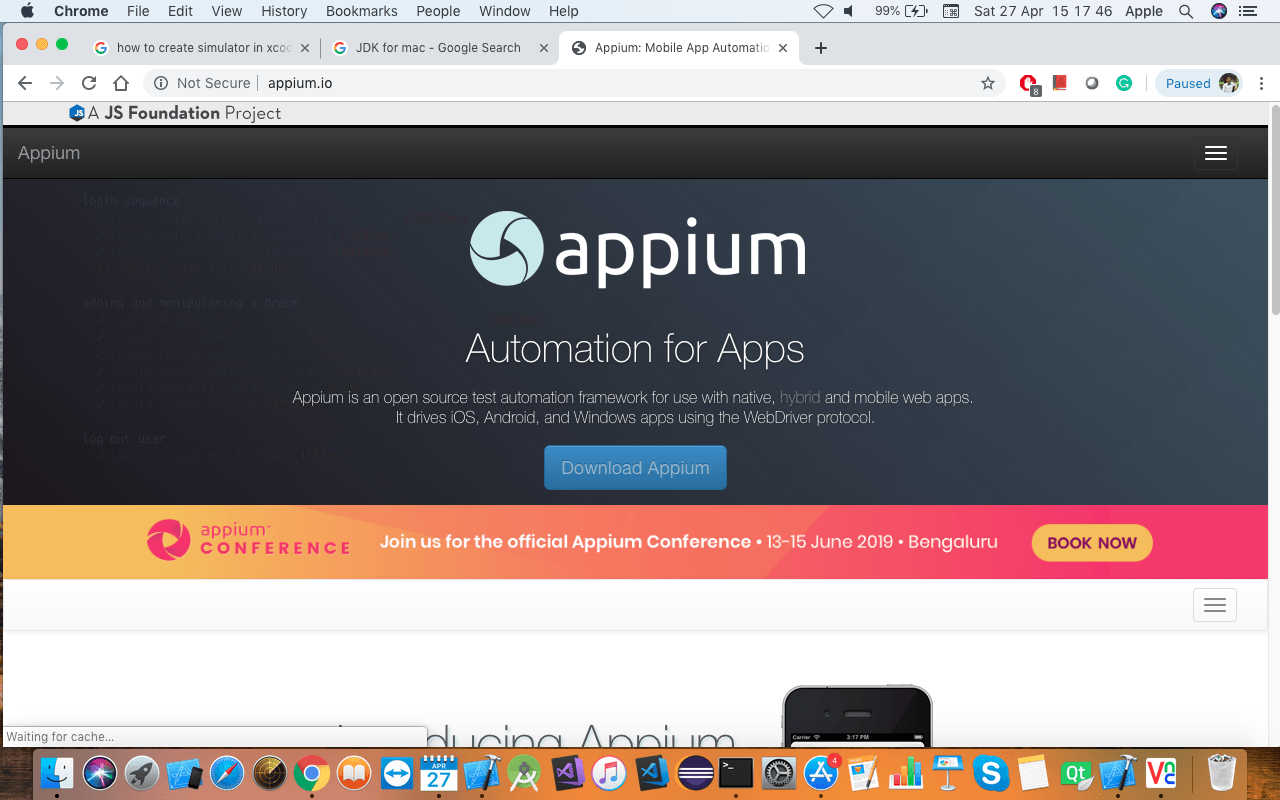
Copy the path to JDK home, write export JAVA_Home= and then save this file. Open command prompt and execute the java – version command. Open Appium.io and click on Download Appium button.
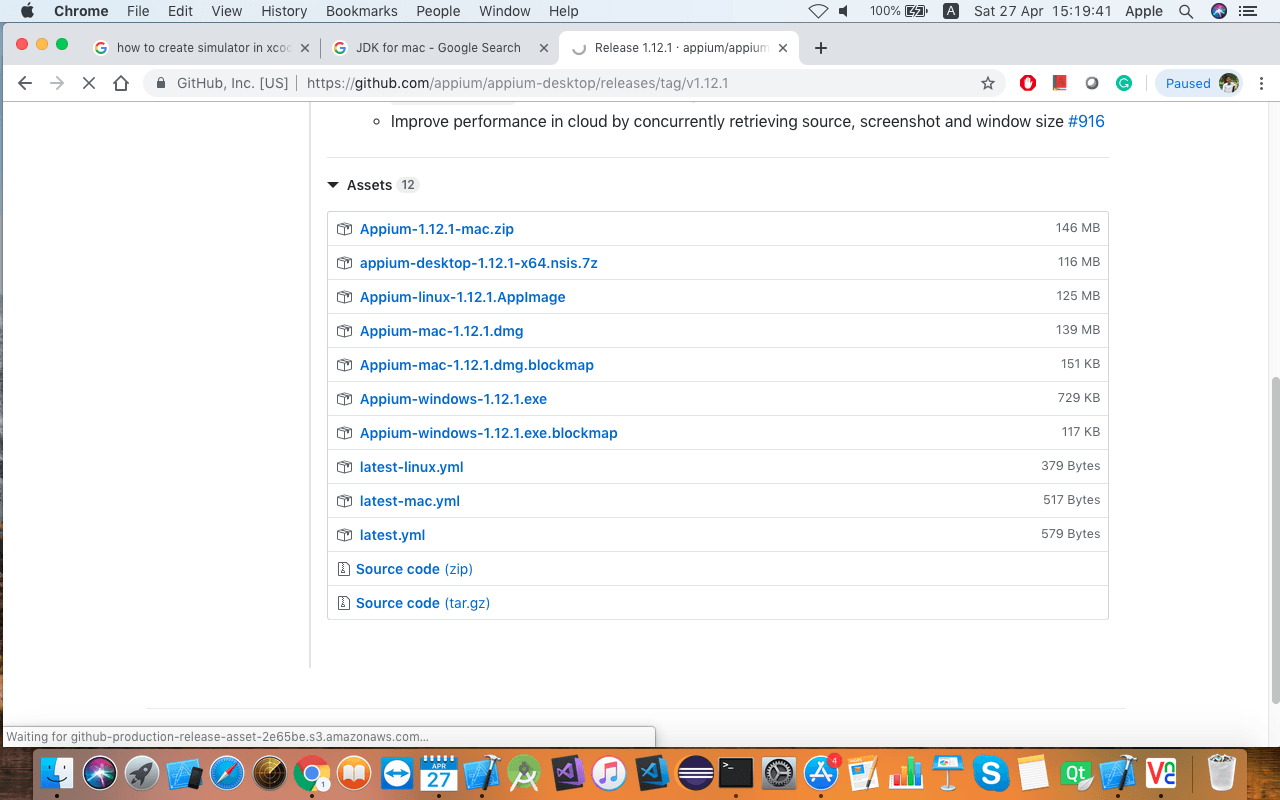
Now download the latest .dmg file and once downloaded, double click on the .dmg file.
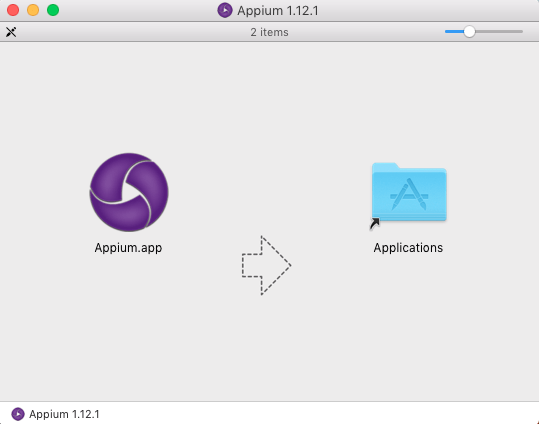
It will open a new window where you need to drag and drop Appium into the application folder.
Search for Appium and double click on the Appium icon. This will launch the Appium server on your Mac machine.
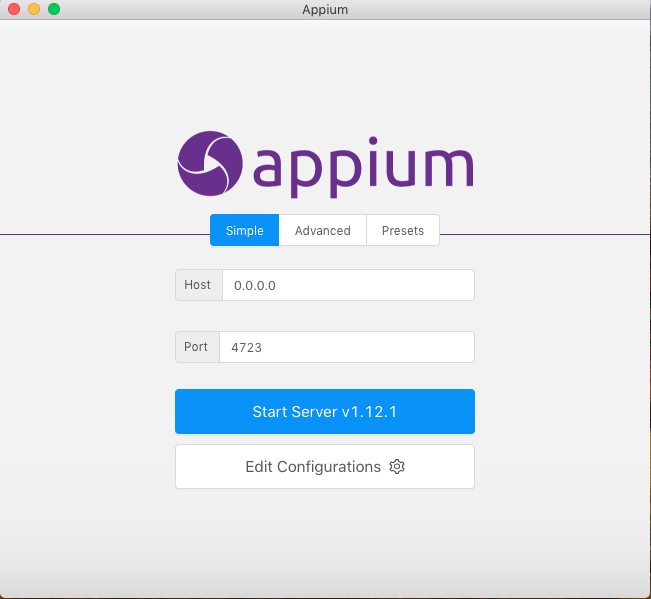
To Launch Appium on a simulator click on the Start Server button.
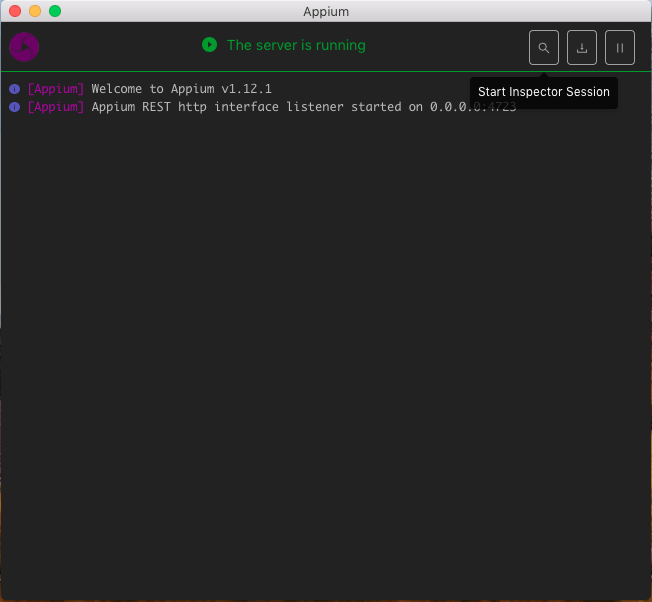
Now click on the Start Inspector Session button in the Appium server.
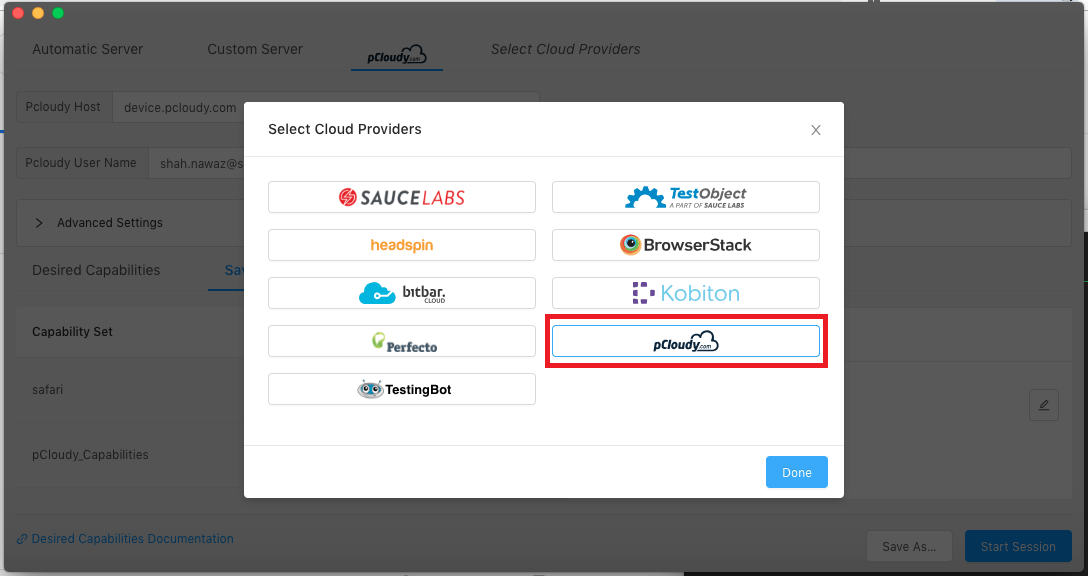
Once you select pCloudy as the cloud provider from the list you can click on Done.
Then you need to enter the Hostname, User name, API Key, Desired Capabilities and then click on Start Session.
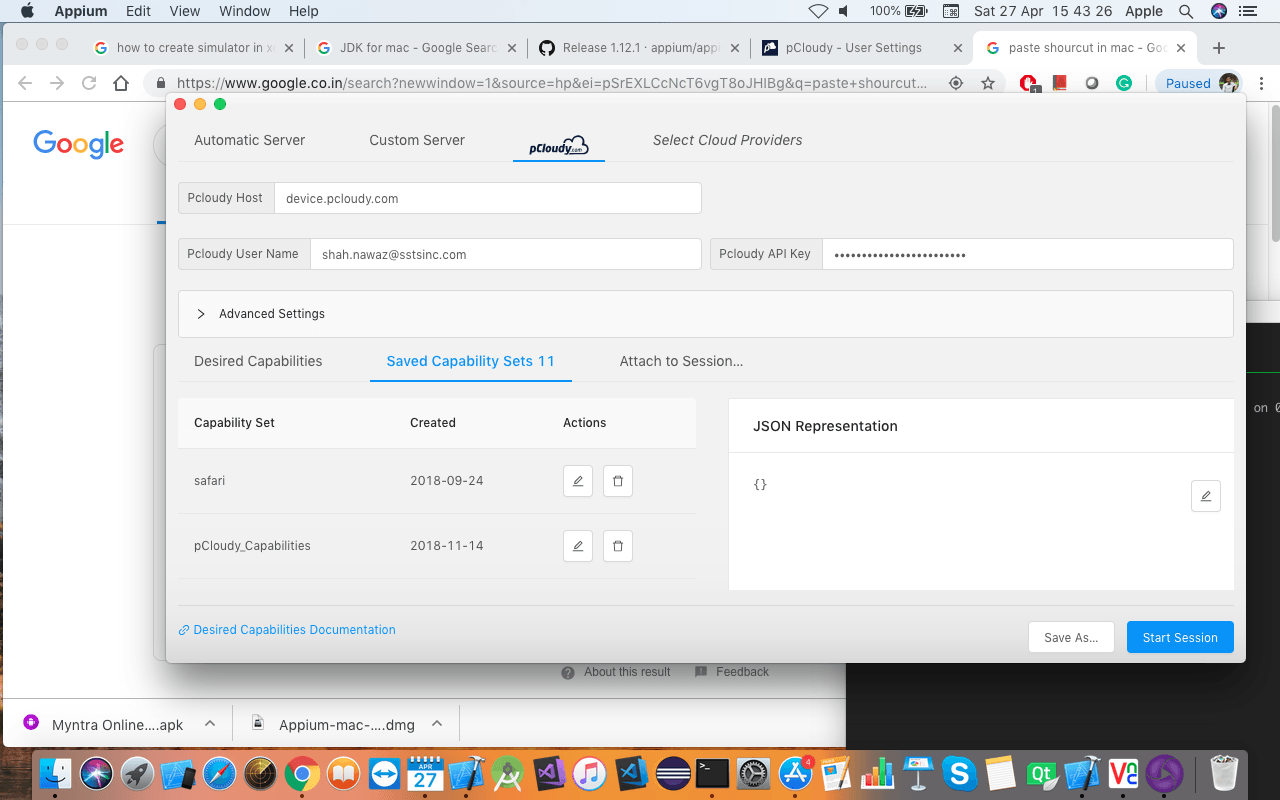
Your simulator is now connected.
Now you know how to setup Appium on Mac and in the previous blogs in this series we explained how to write the test script and start Appium server. In the next blog we will learn how to use Appium inspector to identify elements in an app.
Related Articles:
 January 17, 2025
 September 13, 2023