Category Page

pCloudy 2016 at a Glance


I hope you had an amazing year, so we hope you are enjoying the festive time with your family and friends. We would like to take a moment to thank you for supporting us through out the year, which has been a great year for pCloudy. We achieved several milestones in the year 2016. Here is summing up the year. Thanks again and wishing you happy holidays.

Summing Up the Year

Geography

pCloudy extended its device cloud operations to US and Philippines. Our customers are now able to test their Apps on local devices and local networks of India, US and Philippines.

world-template

Device Cloud Growth

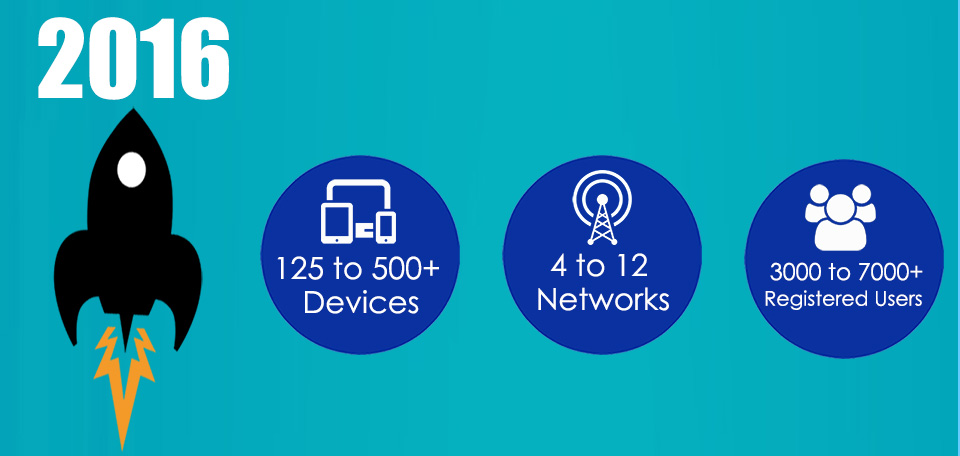
We grew rapidly this year becoming one of the largest device cloud provider from India.

2016-achievements

Industry Recognition

pCloudy got recognition from top Industry Analysts from across the globe.

Gartner_logo ET Telecom tech-portal

Presence in Global Events

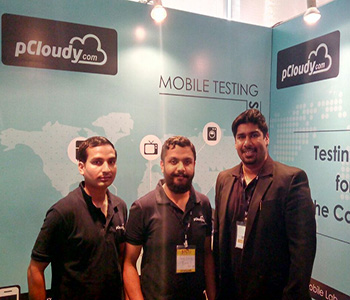
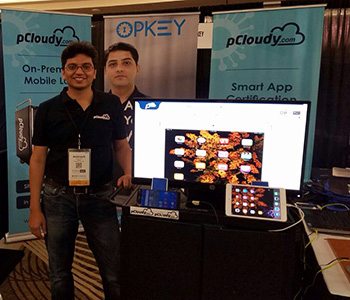
pCloudy was part of all major global testing conferences. Support of audience was phenomenal.

Jenkins World 2016

jenkinsjenkins-world-2016

Software Testing 2016

stc-event-pcloudystc-logo

Start East Testing 2016

star-east-pcloudystareast

New and Improved UI for Device Access

Based on feedbacks from users, we came up with new UI for device access page. Now it’s easier and faster to test Apps on devices. We received many thumbs up from the users.

new-ui

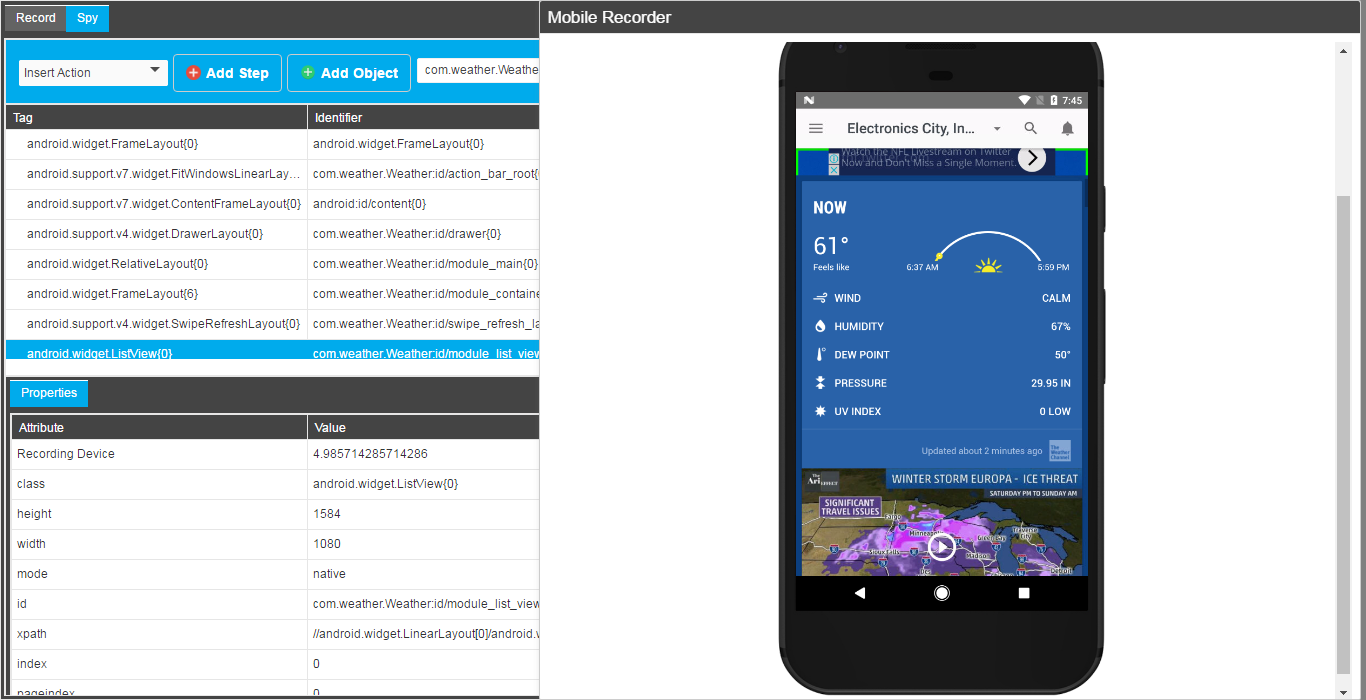
Launch of in-built Automation Engine (OpKey Integration with pCloudy)

pCloudy becomes the only device cloud to have a record and playback engine in-built. This allows customers to quickly create automated scripts without writing a single line of code.

opkey-spy-mode

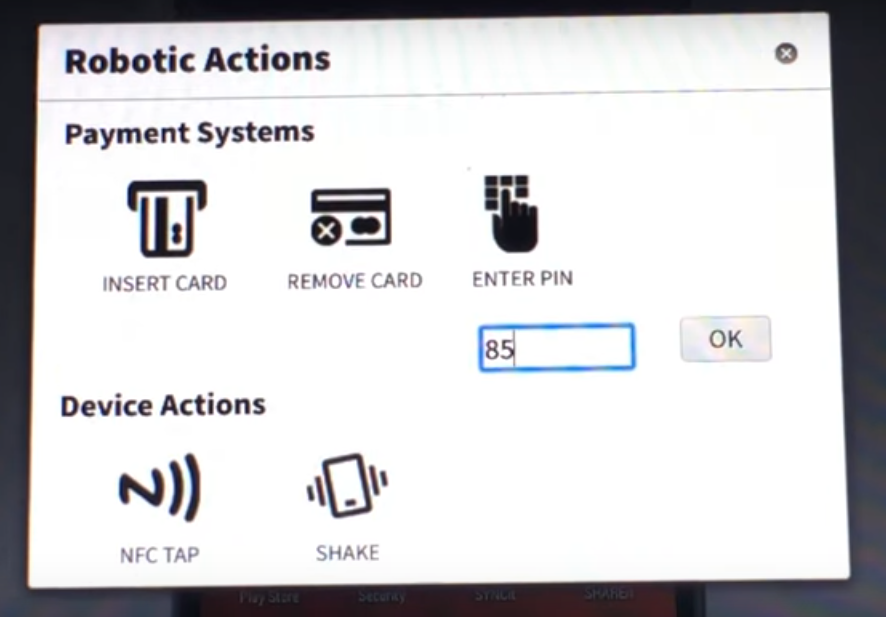
Robotic Integration for IOT App Testing

The future of app testing in IoT lies in integrating app interaction with external hardware triggers. pCloudy released it’s first version of pBot for NFC and Payment terminal testing.

roboticintegration

Advance Features

We implemented many new features to ensure that our users gets full range of Test capabilities for their Mobile Apps.

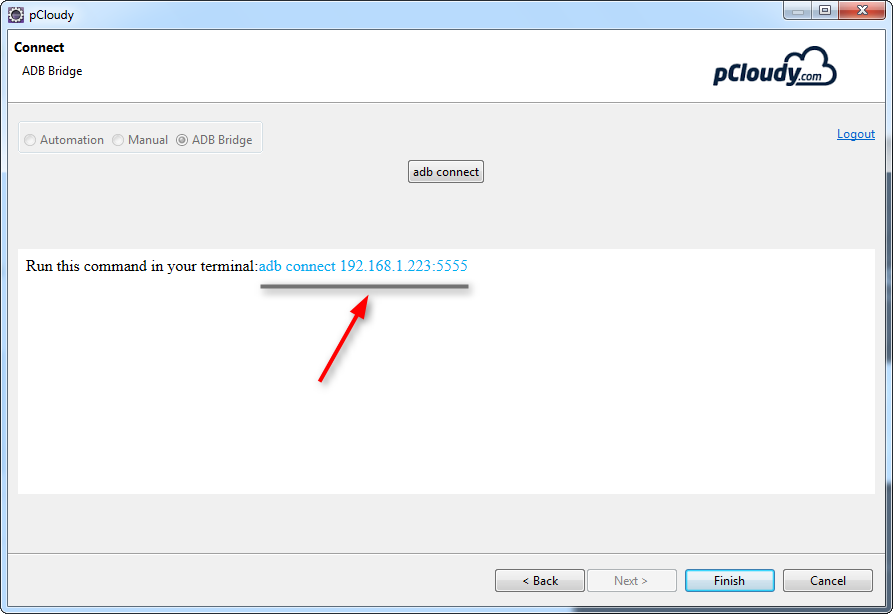
ADB Bridge – Developers can use this feature for real time debugging of their Apps

adbconnect

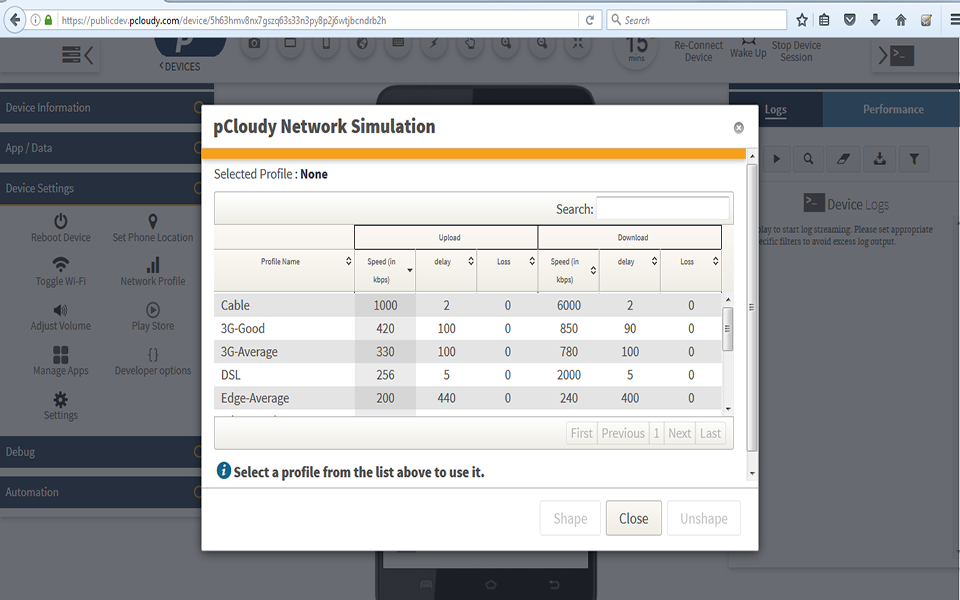
Network Simulation – Now Apps can be tested on variety of Network conditions

network_simulation_ui

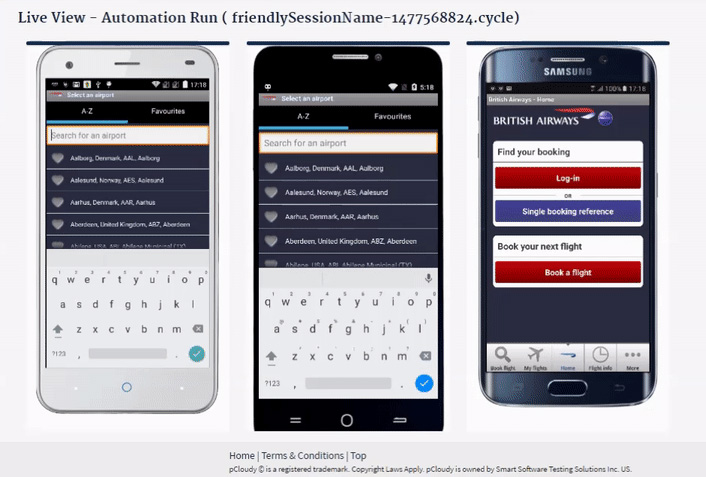
Automation Live view – While users could run their tests on multiple devices, now they can see it as well

automationliveview

Support for new tools

pCloudy now supports most of the popular open source tools used by Dev and Test community. We added Espresso, Monkey Test

espresso-new monkey-test

Many New Integrations

While we had a great working platform in by the end of 2015, there were still several integrations required. We wanted to give far more to our customers – Jenkins, Android Studio Plug-in, Eclipse Plug-in.

jenkins android-studio eclipse

A Lot of Fun

fun-activities

Final Words

We are very happy about all of our achievements in 2016, but even more so, we wish you many new exciting starts and remarkable successes in 2017. Our team will continue to exert every effort to improve our products and make your Mobile App triumph with pCloudy platform.

Have a Happy Holiday and New Year.

Plugin for Android Studio


An Overview

pCloudy has released a plugin for Android Studio which provides you access to the platform for performing manual and automation testing of mobile apps from within Android Studio IDE.

For Manual Testing

Now you can build and upload your Android Apps to pCloudy devices directly from your Android Studio project workspace.

For Automation Testing

If you are using Appium as automation tool and have created your Automation scripts as a project in Android Studio, you can run the scripts directly on pCloudy devices.

Prerequisites

1. An account in pCloudy with enough credits.
2. An API Access key for authentication with pCloudy.com
3. Chrome Browser on local machine
4. Android Studio IDE
5. Android Studio pCloudy plugin

Preparation

Reference the JAR files to Eclipse
Make a note the API Username and API Access Key

How to Install the Plugin

1. Download the Android Studio plugin for pCloudy
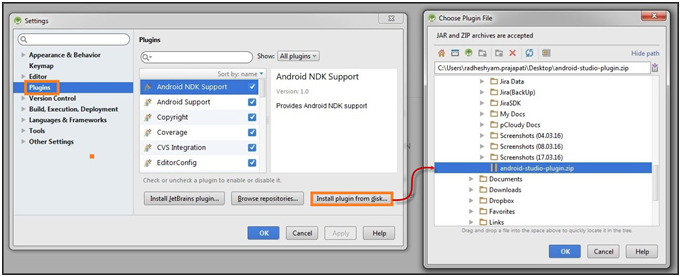
2. Open your Android Studio > go to Setting icon of Android Studio > Select Plugins > All available plugins are shown which can be filtered with the help of Show feature as per requirement.
3. Click on Install plugin from disk > Browse and select location of your downloaded Android Studio plugin of pCloudy
4. Click on OK
5. Now, you can see that pCloudy plugin has been successfully integrated to Android Studio.

Select pcloudy plugin and click on OK to proceed. Here, we are going to install pCloudy plugin for Android Studio from local disk. Click on Install plugin from disk
install-plugin-from-disk

pCloudy plugin for Android Studio has been integrated successfully.

pcloudy-plugin-over-android-studio

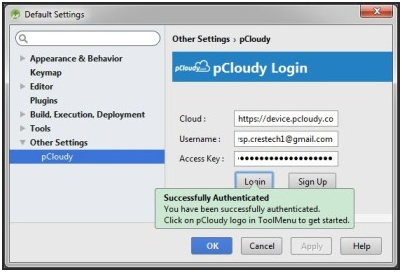
Click on pCloudy plugin icon shown on Android Studio. pCloudy Login page opens. Enter your Username and Access Key and click on Login. Your login credentials are verified. Click on OK to proceed.
pcloudy-plugin-over-android-studio

Note: This is one-time task. Credentials will be valid until you logout.
Now, you are ready to use the Android Studio Plugin for pCloudy.
Manual Functional Testing of App

After successful login, upload your app screen appears. Workspace page helps you to select application path of your local machine.
successfully-authenticated

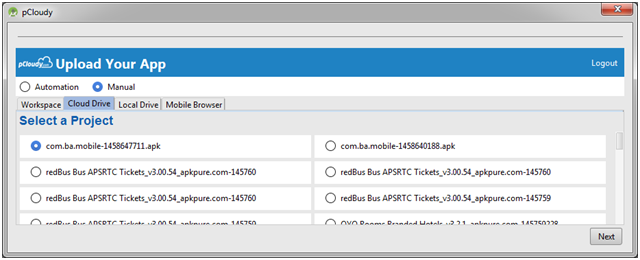
Cloud Drive page lets you to select app from the list and click on Next to proceed.
upload-your-app

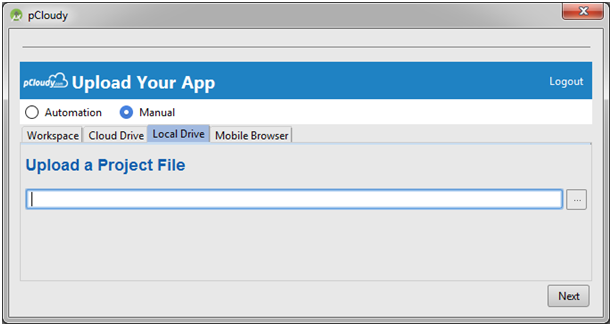
Local Drive lets you to upload your app from your local machine to perform testing.
upload-a-project-file

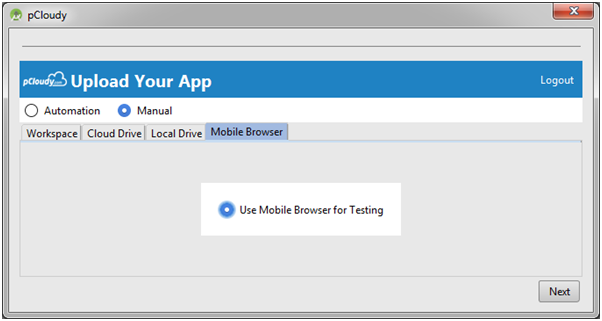
Mobile Browser enables you to use mobile browser for testing.
use-mobile-browser-for-testing

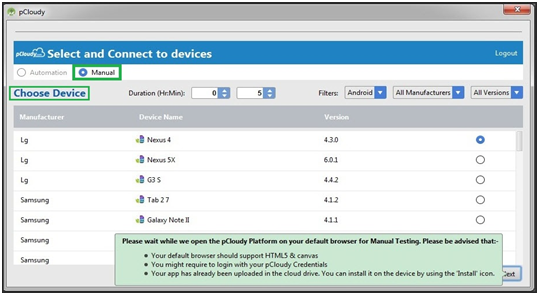
After selecting app, the next step is choosing a device. Select and Connect to devices page provides you list of devices which can be filtered by using filter parameters (Android/iOS, Manufacturer, and OS version). Select duration of your testing. The device will get booked for selected time duration.

When you click on Next, you get a message “Please wait while we open the pCloudy Platform on your default browser for Manual Testing. Please advised that…”
select-and-connect-to-devices

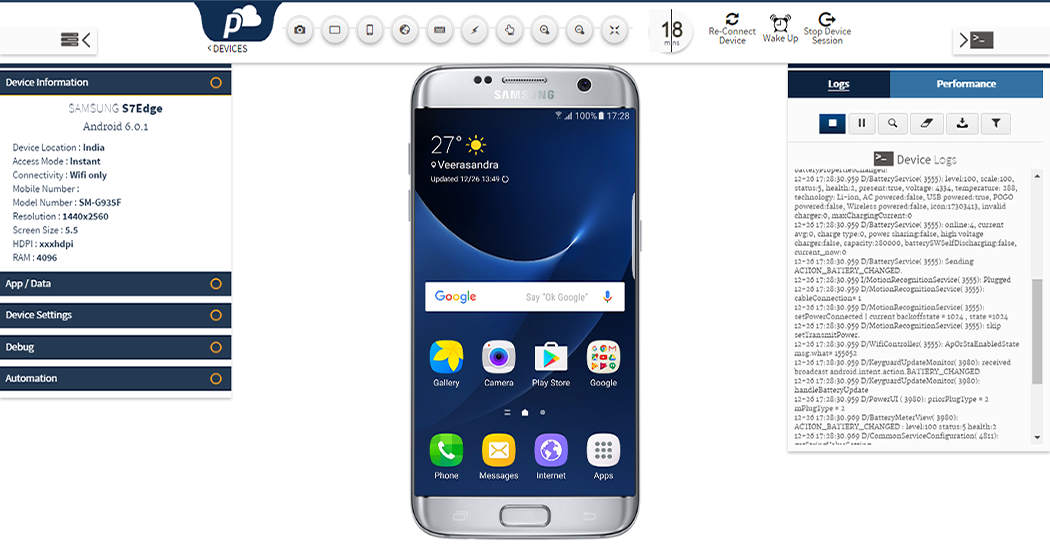
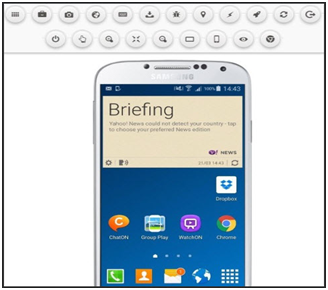
Just after few seconds, you will be redirected to the connected device page over pCloudy to perform manual functional testing of your app on selected device.
briefing

Automation Testing of App

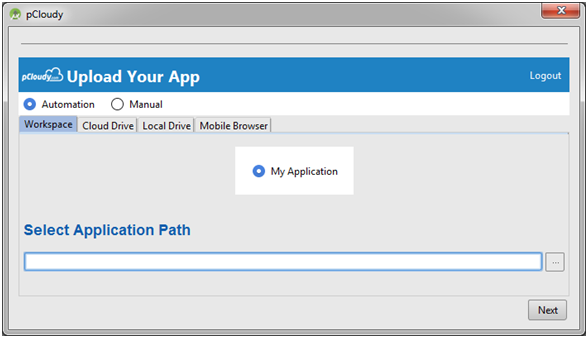
Similarly, the first step towards performing automation testing is selecting an app from workspace/cloud drive/local drive or use mobile browser.
my-application

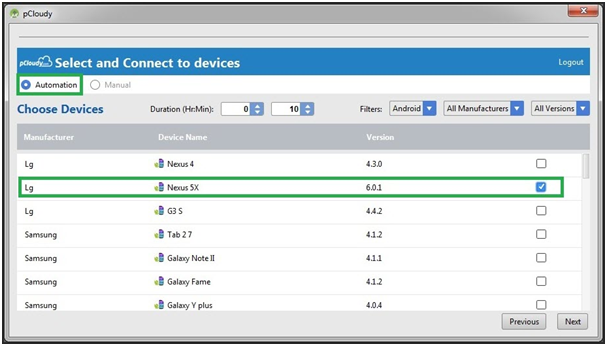
Select your desired device; select duration of automation testing. You can filter devices displaying devices by using filter options (Android/iOS, Manufacturer, and OS version). Click onNext to proceed.
choose-devices

Note: Here, you can select multiple devices as well.

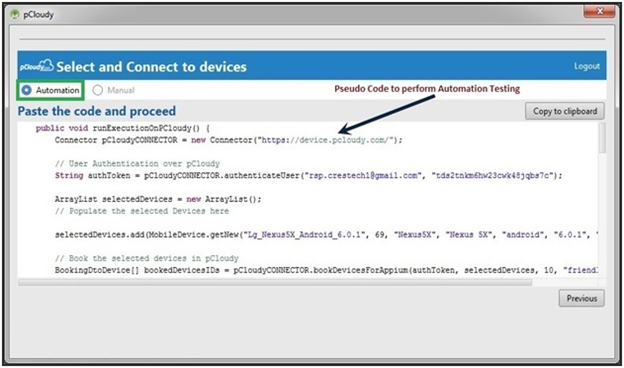
Finally, you get corresponding pseudo code for performing Automation testing of app. You can copy this pseudo code to clipboard and use it within your Automation script…
paste-the-code-and-proceed

You will need the pCloudy java connector jar file for the above code to work. The pCloudy-java-conector.jar contains the API wrappers, classes & methods to use the pCloudy RestfulAPIs (without knowing how to call rest webservices from java). The gson.jar is a well known, opensource google library. You should add the pCloudy-java-connector.jar in its build path as a reference within your java project containing appium scripts.

Test Apps on Real Devices

 
Using Eclipse or Android Studio to code your app? Now with just a few simple mouse clicks test apps directly and in parallel on multiple real mobile devices.

Eclipse and Android Studio are two popular IDEs for mobile app development. The reason behind their popularity is, these are open source tools and have a great community of developers whom you can turn to for any support. Anyway, if you are one of those mobile app developers using these popular IDEs then there’s good news for you!

What if you could extend the capability of your IDEs to improve the quality of your apps? What if you could test your app on hundreds of mobile devices right from your IDE? What if you could with the help of simple plugins take your mobile app development process to a whole new level?

Well, you can – with a simple yet salient solution from pCloudy.com. With a cloud based device lab, pCloudy is contributing to the cause of redefining mobile app testing by providing remarkably useful platform and plugins to test your apps on real mobile devices. As mentioned in our previous articles, it is not enough if mobile apps are tested on Emulators alone. We need to ensure that the apps are tested on Real Devices as well. It is also important to test your mobile apps on different devices based on a carefully analysed device matrix to hit maximum downloads. To continuously develop, integrate and release mobile apps in your DevOps environment such solutions are crucial.
 

Here’s how can our plugins benefit you


Description:

Our Plugins act as a wizard that allows you to:

  • extend the ability of Eclipse to use real devices over a cloud platform
  • select and install an app from a Cloud Drive or from local
  • select multiple real devices from a cloud (Public, Private, On-premise) to test your app
  • run test scripts in parallel on multiple devices
  • perform Automation or Manual Testing

How does it work?

If you have already created Test Scripts ready for Test execution, then all you need to do is to select some real devices over the cloud platform and run the execution to test your app. To help you out with this, the Plugin generates a pseudo-code that can simply be copied into your existing test scripts using Android Studio or Eclipse. With simple changes in the test script, the app will get installed and test execution is performed on the selected mobile devices. In the end, a detailed automation report will also be generated through our platform.
 

With these plugins app developers and testers can:

  • choose from hundreds of mobile devices to test your App
  • effortlessly test their apps directly on real mobile devices
  • can view or perform an activity on mobile screen from directly within on your IDE
  • perform automation runs in parallel on multiple mobile devices

Download and install the plugin: