Test automation is gradually taking over manual testing as it saves time and improves the quality of testing. Especially in the case of regression testing, automation can improve efficiency by manifold. It is a waste of time and resources to do repetitive testing manually. Also, there is a scope for an error as repetitive testing can be exhausting but the chances of errors occurring in automation are slim. But what is automation testing? In simple terms, automation testing is replacing manual human activity with a system that performs test cases by repeating predefined actions. To get the most out of automation it is necessary to select the right automation testing tool.
Types of Automation Testing Tools
Record & Replay: Tools in this category provide a recording option for the automated script. Every interaction on the screen like tapping, scrolling or typing will be recorded and converted into automation steps. The recorded scripts can be replayed to perform the actions and to verify the AUT.
Coordinate based recognition: Tools in this category interact with the application under test with the help of x/y coordinates, to automate and verify the application.
Native object recognition: Tools that use the native object recognition detect the UI or control elements on their given element tree. This tree is built by XPATH, XML or CSS to identify the elements, verify and automate the script.
Text recognition: Text recognition: Text recognition or (OCR) Optical Character Recognition tools identify elements based on their text. These tools use visible texts to drive automation and to verify the app.
Image recognition: These tools take screenshots of the UI elements in the product to add them to the automation scripts. The AUT will be automated with the help of these screenshots.
A lot of test automation tools support more than one recognition approach which can be useful to get more robust automation scripts. Now let us look at the factors to consider while selecting the automation testing tools.
Platform Support
Are you looking for automation testing tools for web apps or mobile apps? If mobile app then is it hybrid, native or PWA? The scripting language is also an important factor in many cases as mobile automation testing tools do not support all the languages. So if you developed your app using JavaScript then it’s not recommended to use UFT for test automation. In that case, go for a tool like Selenium that is flexible with the scripting language.
There are a lot of test automation tools that support freeware frameworks like Selenium and Appium. Framework integration helps in reducing the effort put into the testing and increasing the collaboration between the teams. Tool integration forms an ecosystem of a collaborative effort that helps in object identification, bug logging, test case management, report sharing, and shared repository.
Ease of Adoption
Ease of adoption can be measured on the basis of the skills required to use the tool and the learning curve. If there are resources available easily on the internet to learn the functioning of the tool then it is a plus point. Also, the support should be good and it’s an advantage if there is an active community that will give a rough idea about the complexities of the tool. We have observed that the installation process is also lengthy for some tools and frameworks. But overall the team should be able to use the tool easily with the skill set or the experience they have.
Ease of Scripting
Most of the automation testing tools provide flexible scripting options. It allows testing teams to write test scripts in their preferred languages. A good test automation tool helps in getting better reusability of test components and provides flexibility in scripts that can be reused across projects. Scripting time with object identification, speed of script execution, and support for CI/CD tools like Jenkins, usually these attributes are considered before selecting the tool.
Integrations
If the testing team is using a test case or a bug management tool then the team would prefer an automation tool that can be easily integrated into those tools. It helps in managing the app development lifecycle properly.
The keyword-driven or data-driven automation framework should be easily integrated into any data source. It is convenient if the tool provides connectivity with different data sources easily.
Test Analytics
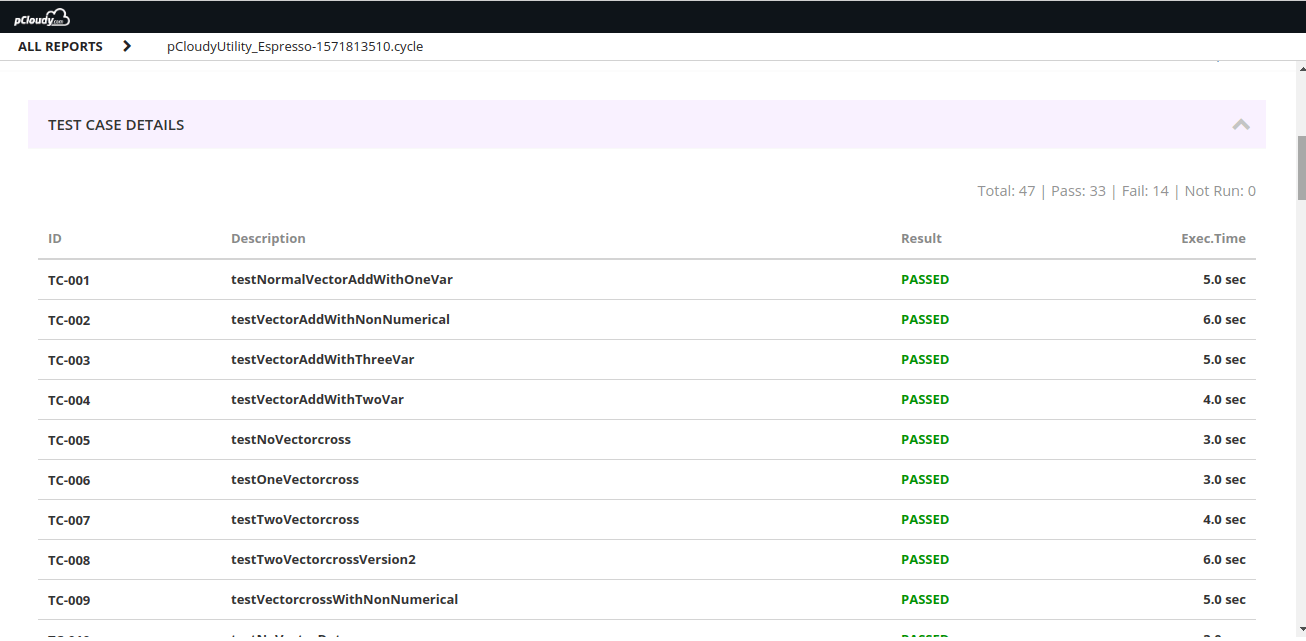
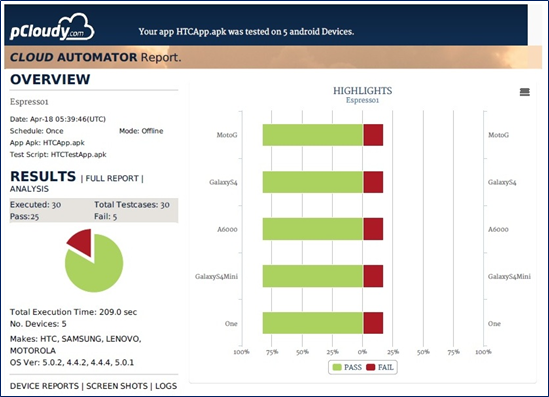
Analytical reports form the backbone of test automation as it provides insights into the success of the process. Automation tools must provide customizable dashboards to view different types of reports shared across various teams.
Real-time reports traceability and sharing ensure feature validation and efficient test coverage. Quality metrics such as injection rate, defect density, and test execution status allow you to maintain quality at every stage of continuous testing. It’s convenient to analyze results to identify bugs, patterns, and do a root cause analysis with a good automation tool.
License Type and Cost
It’s better to go for open-source tools but not every open-source automation tool has all the attributes that you might be looking for. Even if you opt for the proprietary licensed tools, you need to figure out how much you need to spend on the maintenance.
Some companies offer live support and training for premium plans. So you might want to upgrade to avail of these services. There is also something called runtime license if you just want to execute the automation on different machines. Apart from that, there are options for a node-locked license for a single machine and a concurrent floating license to use the tool on multiple systems.

To Sum Up
If you are still confused and want to further simplify the tool selecting process, then use a tool comparison matrix. Jot down your preferred 2,3 or even 5 tools and then rate them on the basis of all the factors that we have discussed earlier in this blog. This way it will be easier to make a decision on the basis of your requirements.
As far as mobile test automation tools are concerned, device coverage holds the key. It is recommended to use a cloud-based testing platform to run your automated test on multiple devices. Automation is the soul of any CI/CD pipeline and for the successful implementation of DevOps, it is crucial to choose the right automation testing tools.


