


Automation testing forms the core of any CI/CD pipeline and enterprises are keen to practice test automation to enhance the efficiency of the development process. Test automation saves resources and reduces the cost of any project in the long run. But there are some important points to keep in mind while testing to avoid automation failure. Let’s have a look at these salient points.
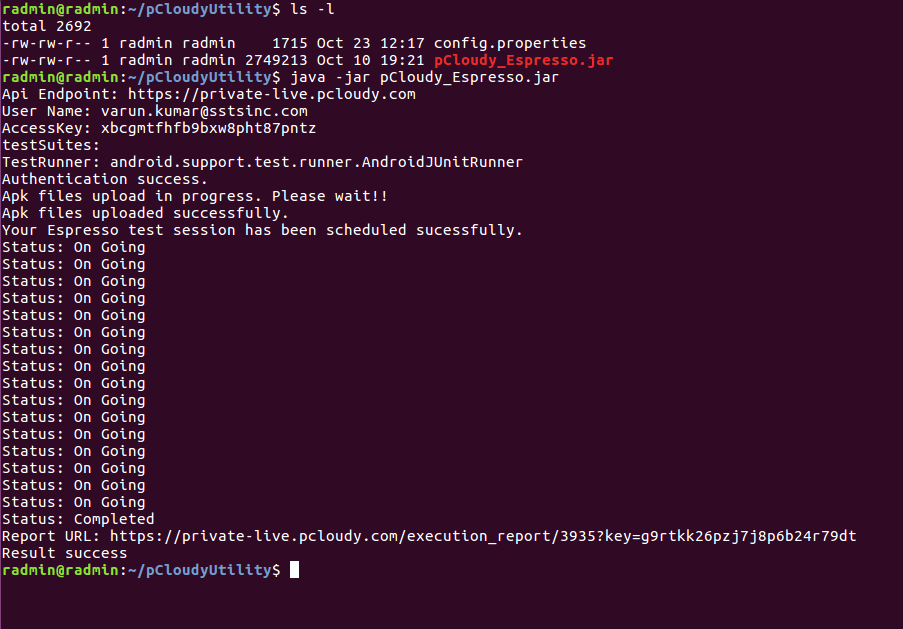
Leverage Parallel Execution
Once you are done automating the test cases, the challenge will be the complex test suites taking a long time to get executed. It affects the quality of the test queue in the test automation framework or IDE. This leads to queue timeout issues and test cases being halted abruptly due to the sequential execution of the test cases.
Parallel execution in different test environments is preferred over sequential execution as it saves a lot of time. Although in automated testing, unintended code interactions could happen. This is why you need a thorough reporting mechanism to debug the causes of test failure.
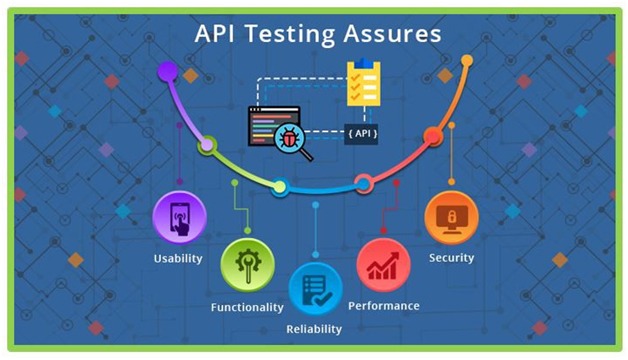
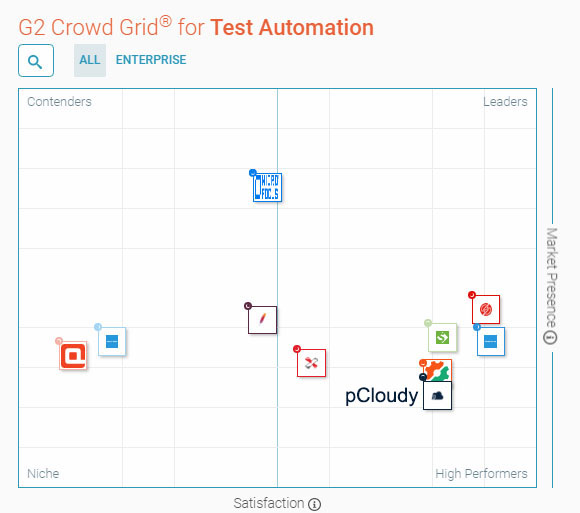
Pick The Right Tools
Choosing the right tool for test automation is critical to the success of automation testing. There has to be a set of clear requirements/parameters on the basis of which the tools have to be selected. Some important points that are to be kept in mind while selecting the tool are:
- The team should be clear about the test tool requirements.
- The testing requirements of the application under test (AUT) should be analyzed thoroughly.
- The team’s skill set should be accessed accurately.
- The cost-benefit analysis should be performed to calculate the return on investment.
- Tool vendor and capability should be evaluated as technical support might be required while using the tools.
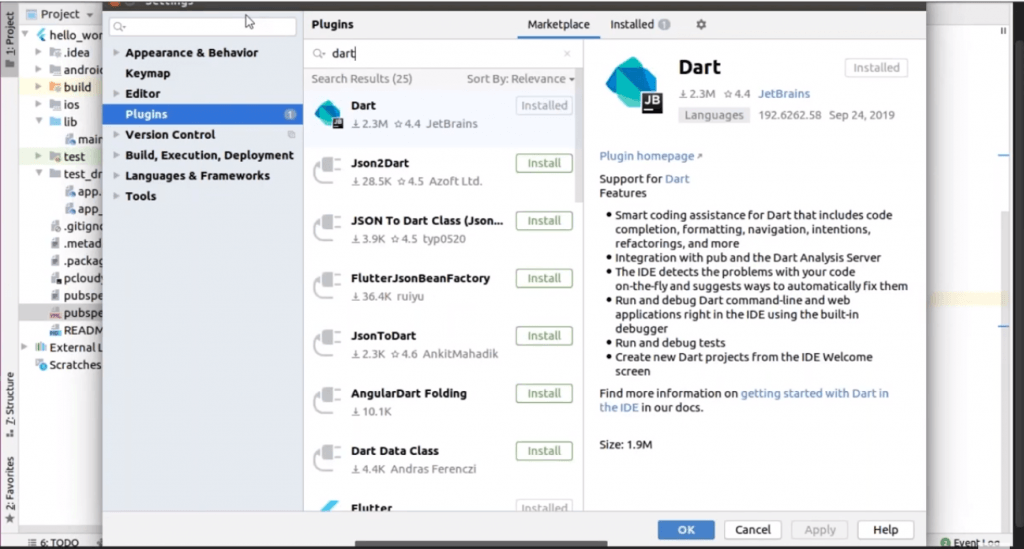
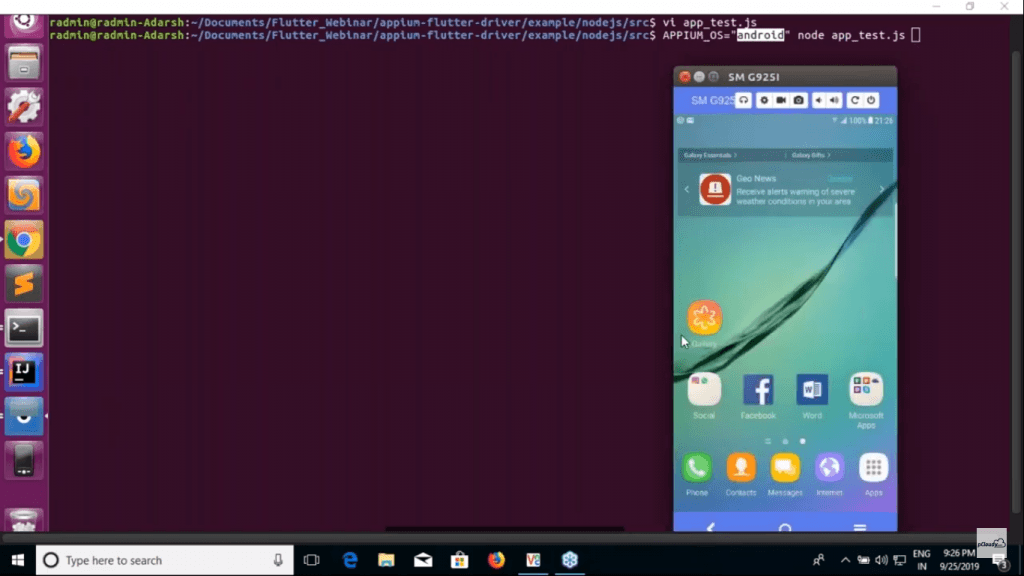
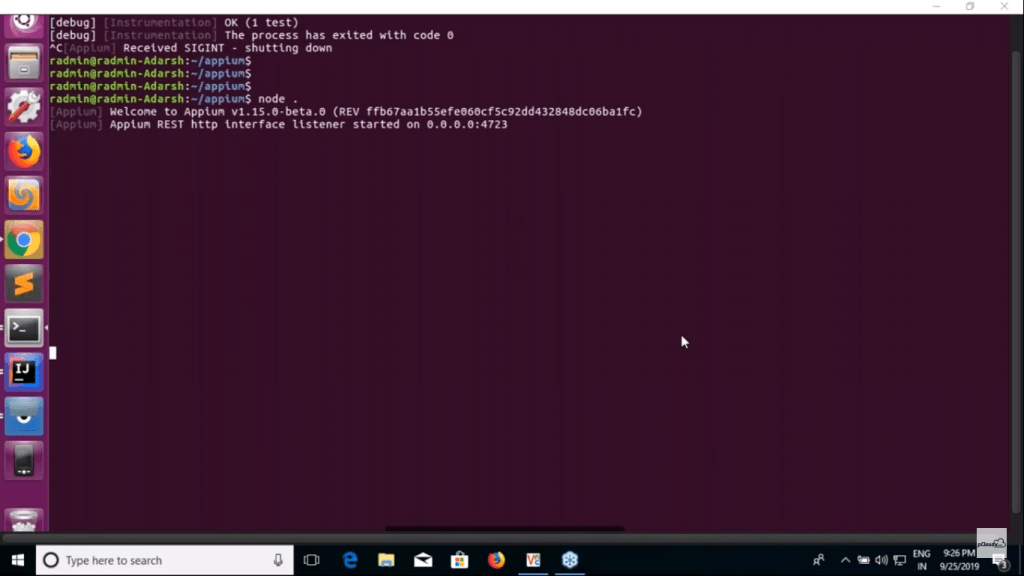
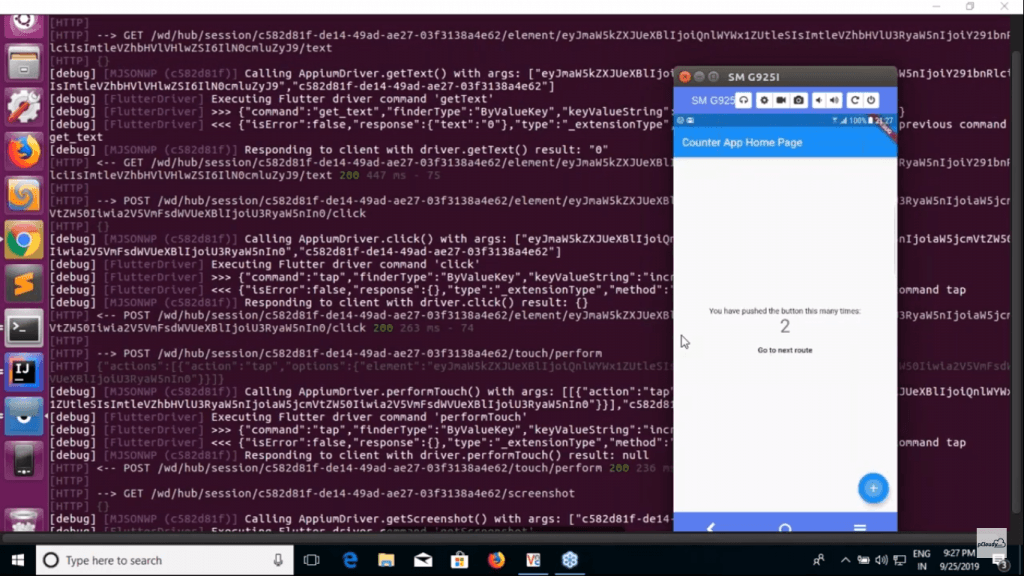
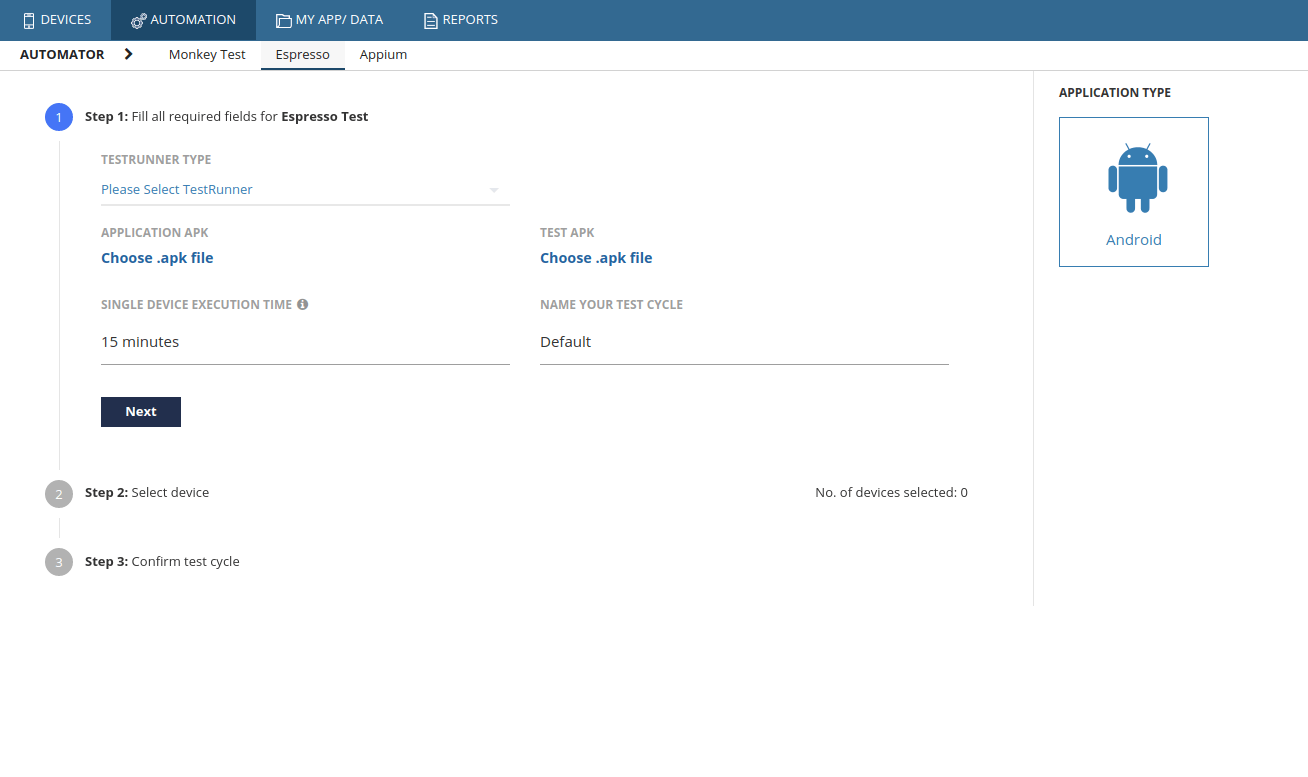
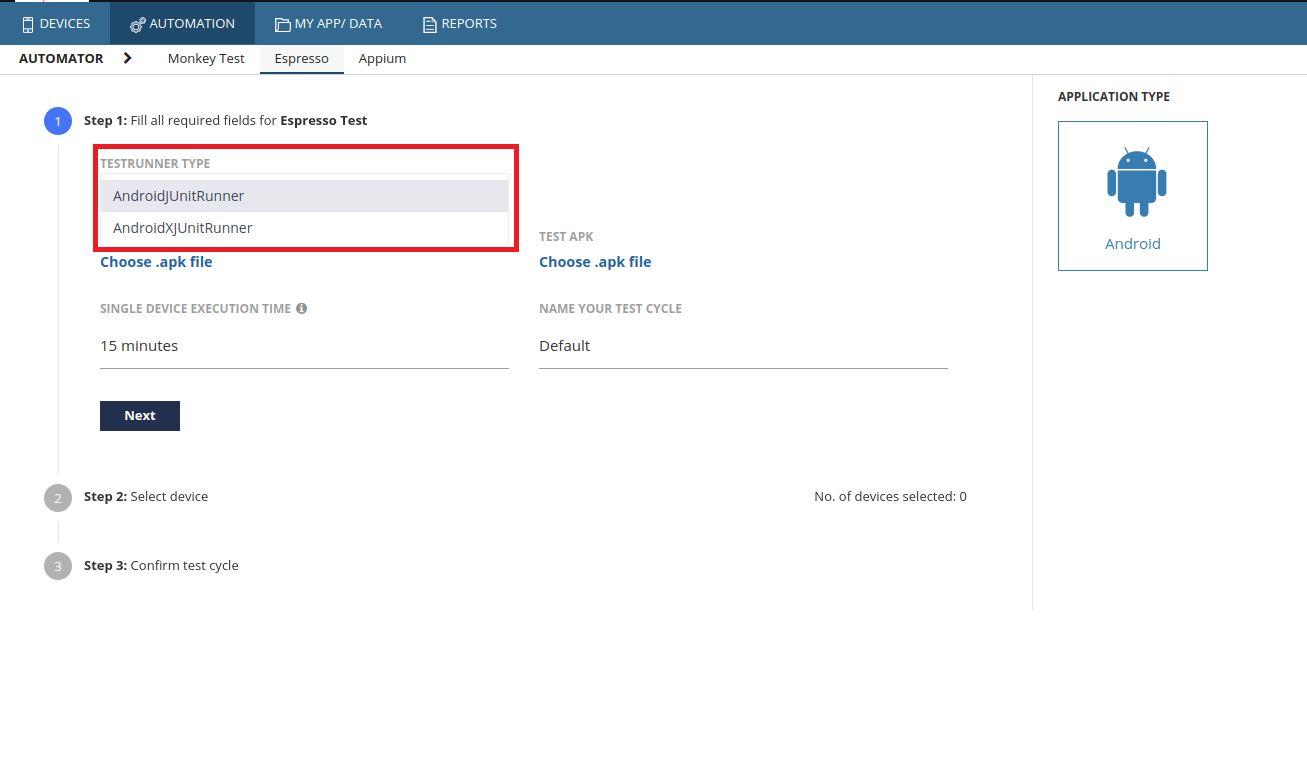
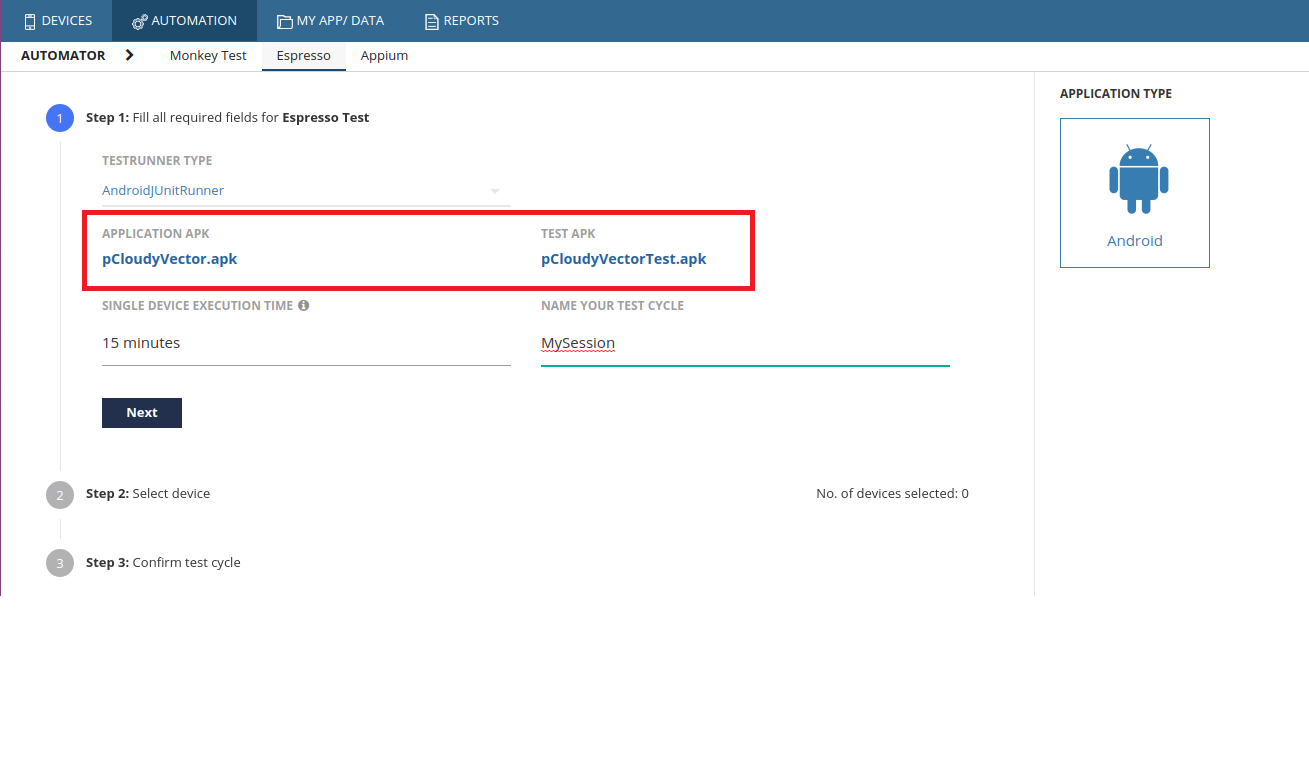
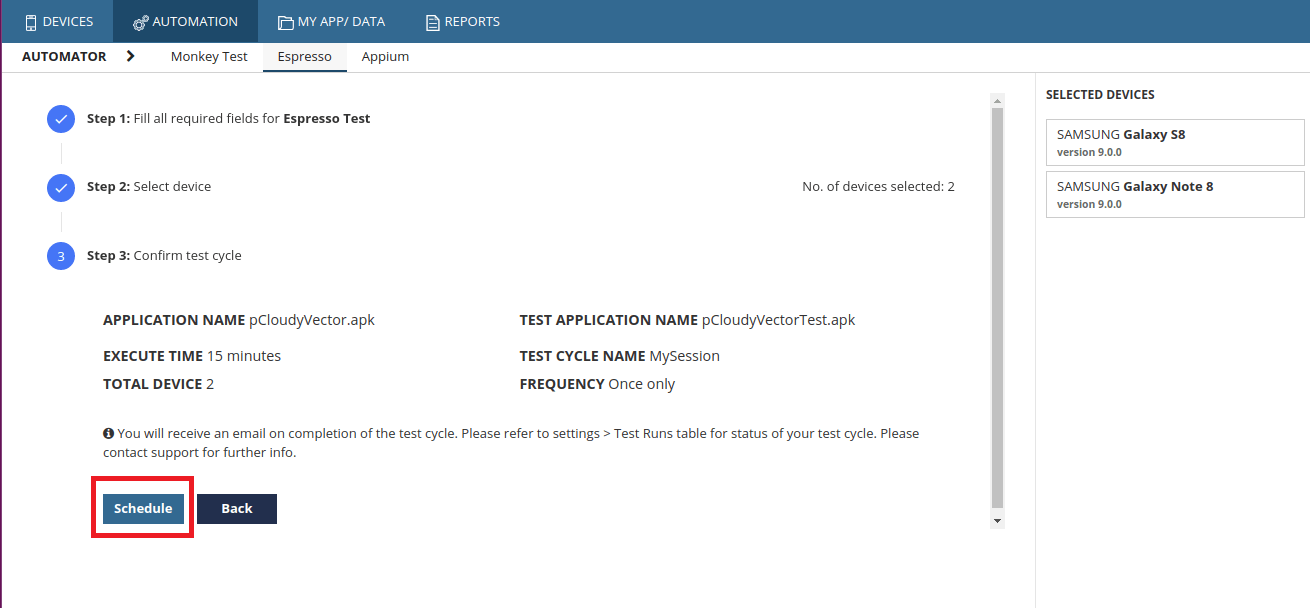
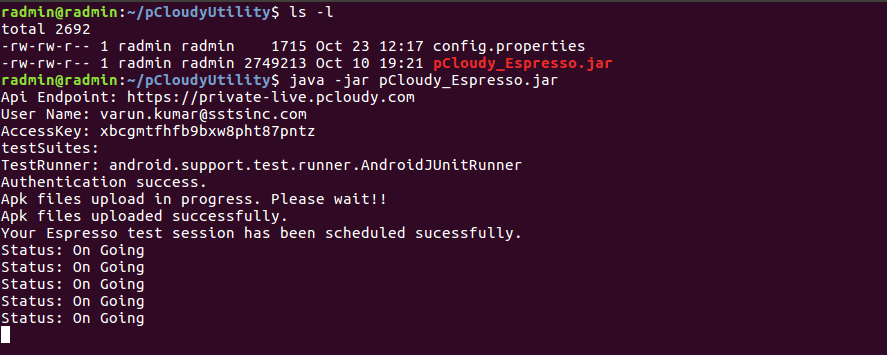
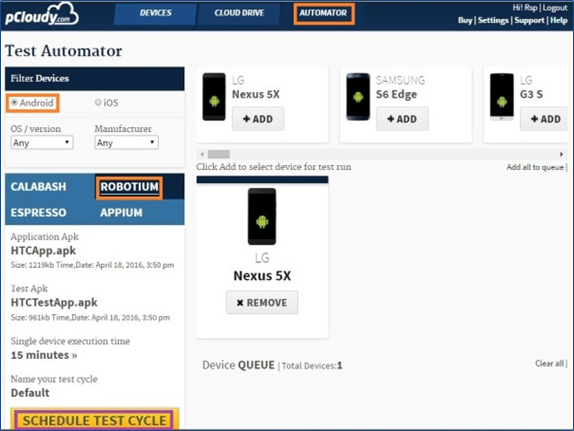
One tool might not be enough to meet any organization’s automation needs. Also, test automation engineers have to be a part of the tool evaluation process so that they can help in selecting the right set of tools. For example, you can use Appium for test automation but you need pCloudy to perform automation testing on multiple real devices in parallel.
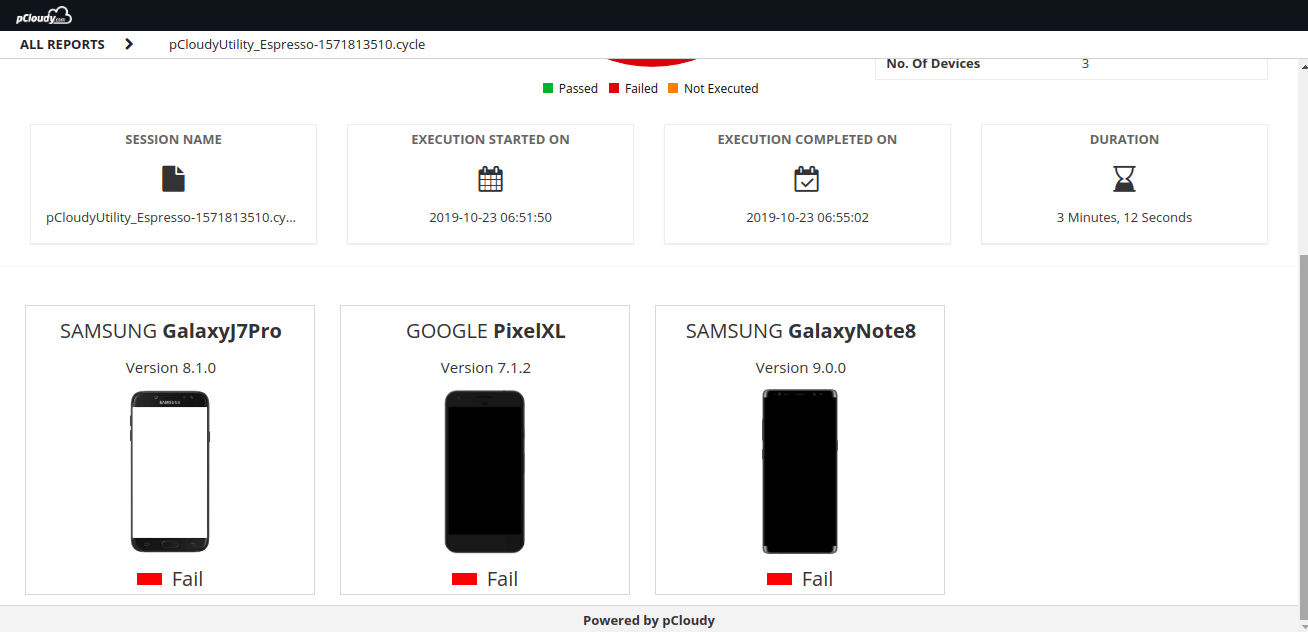
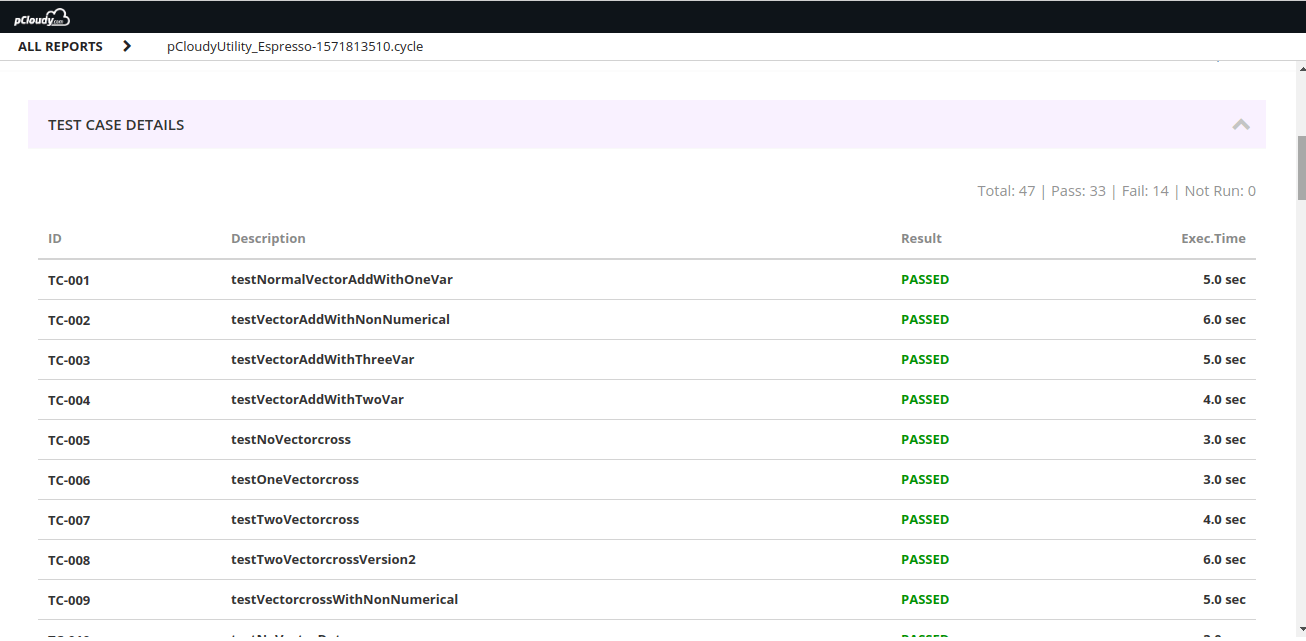
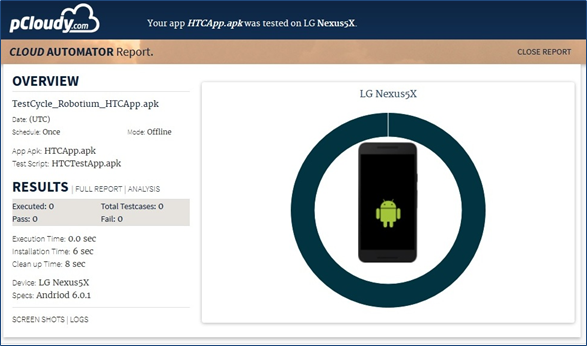
Analyze The Test Reports
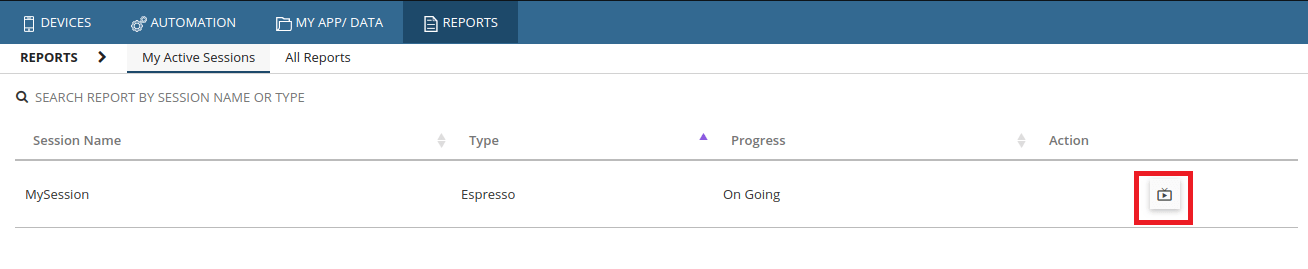
Test reports provide insights into the underlying issues that are to be resolved. A detailed test report gives an idea of the efficiency of the test automation and the automation team can analyze the report to look for the scope of improvement. While selecting an automation tool you need to make sure that the tool generates test reports to be analyzed by the test automation engineer. There will always be some tests that will fail to execute and it is necessary to analyze the test report to get an understanding of the scenario.
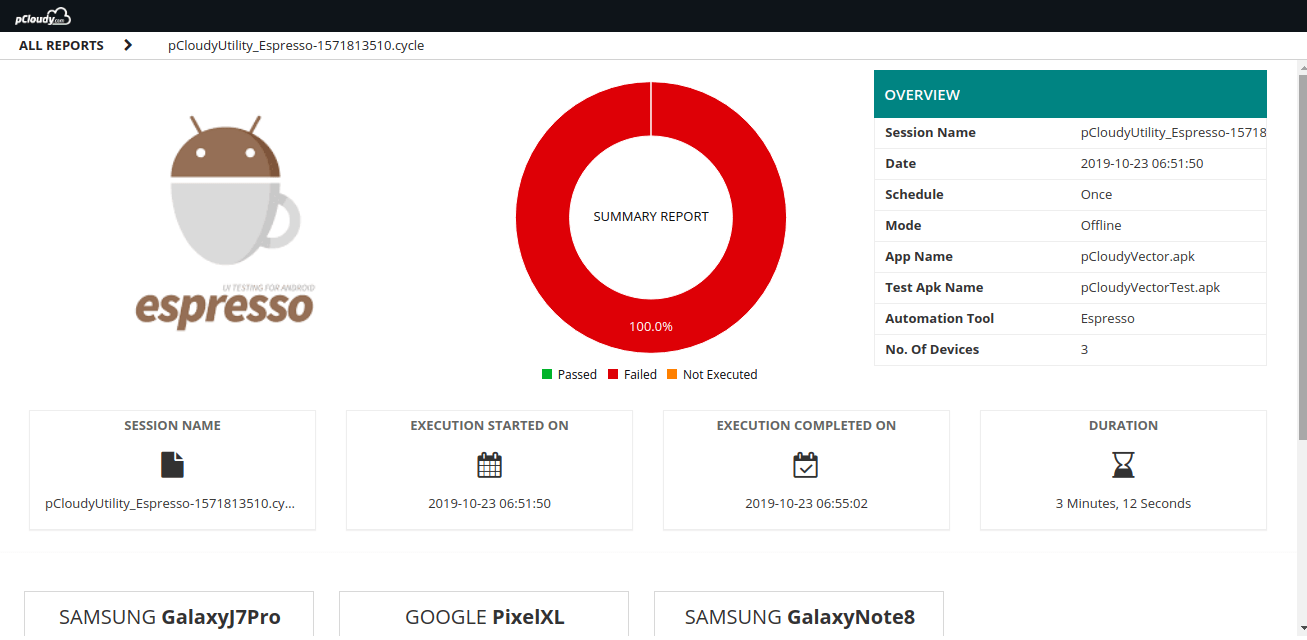
Test Automation Metrics
Test automation metrics will help you gauge the quality of the tests performed based on some essential parameters like test duration, unit test coverage, path coverage, number of defects found, percentage of broken builds, etc. The test metrics will give you a clear picture of how well the code is tested. In an agile process, there are frequent iterations to the builds and it becomes important to track the quality of each build. With test automation metrics you can figure out what is the percentage of your tests that passed and what was the reason behind the failed tests.
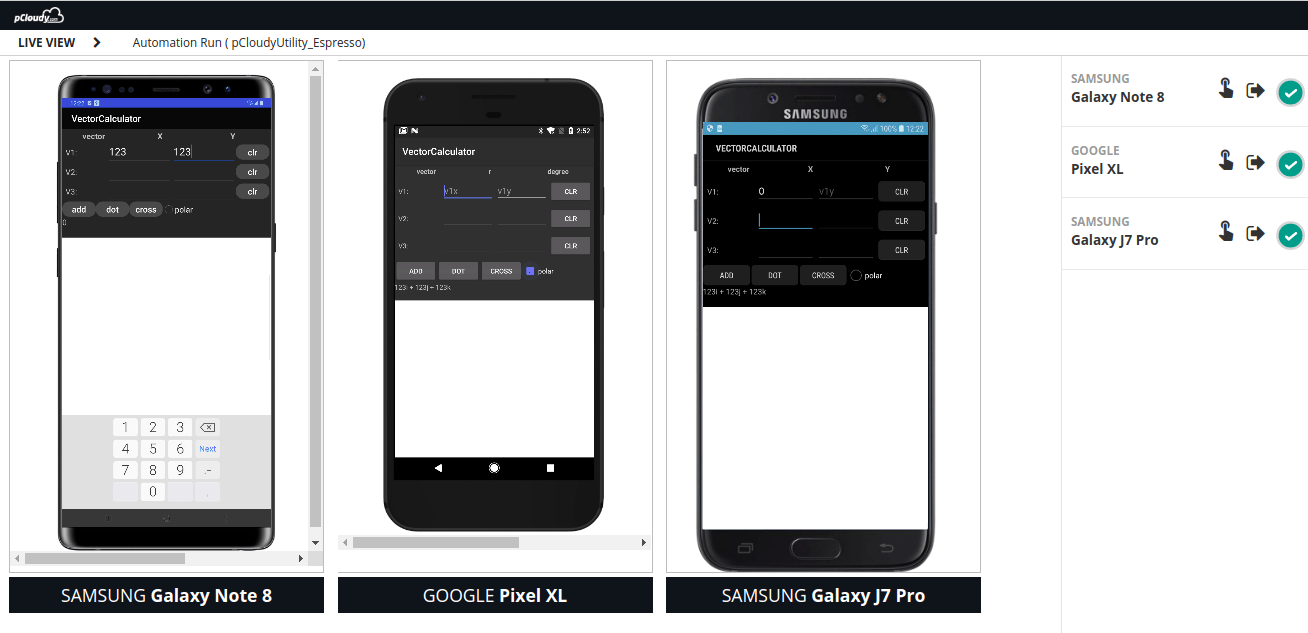
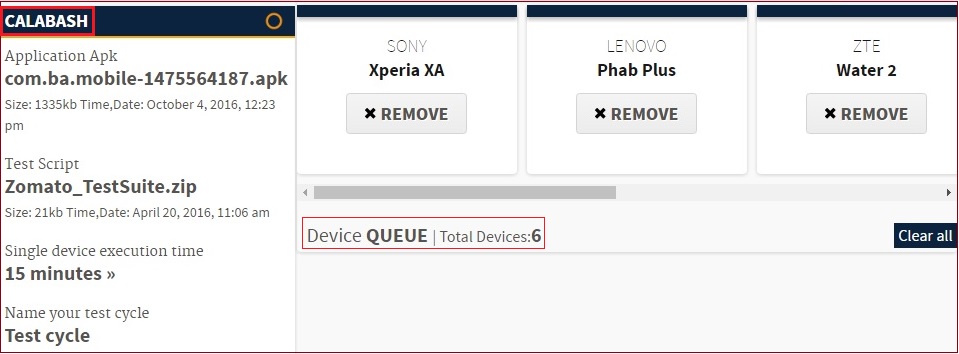
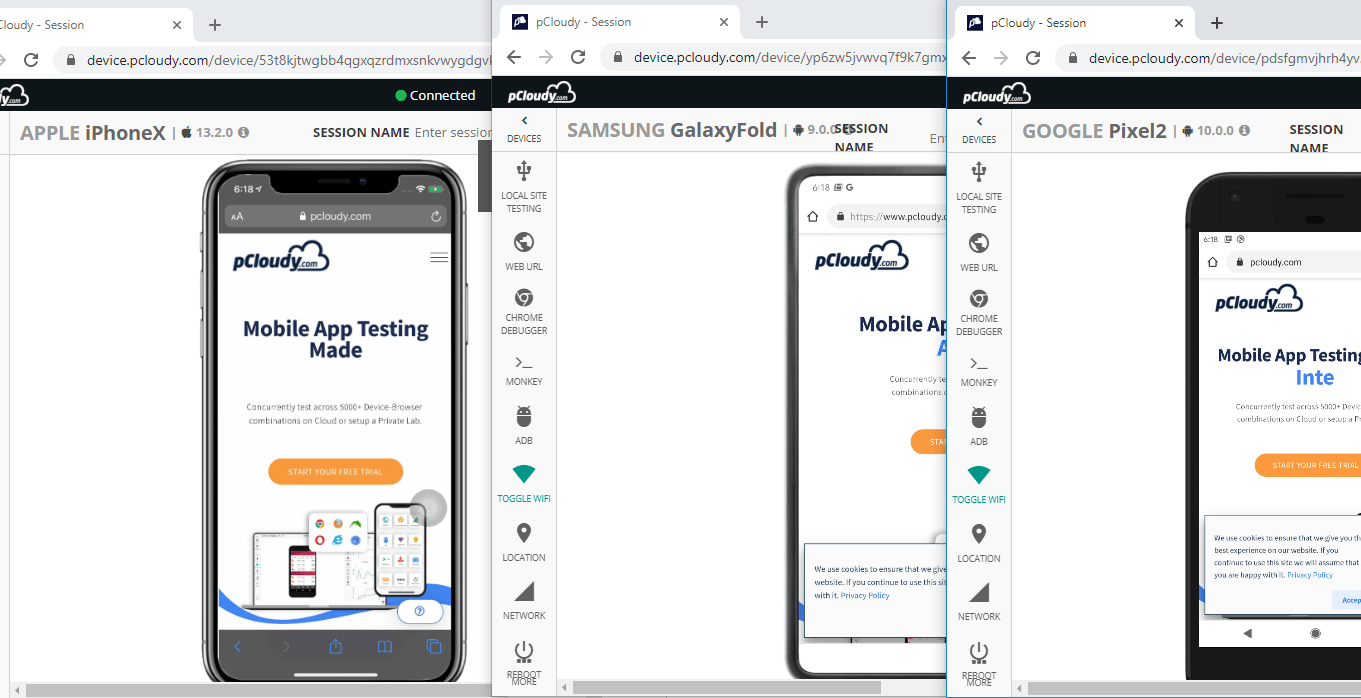
Optimum Device Coverage
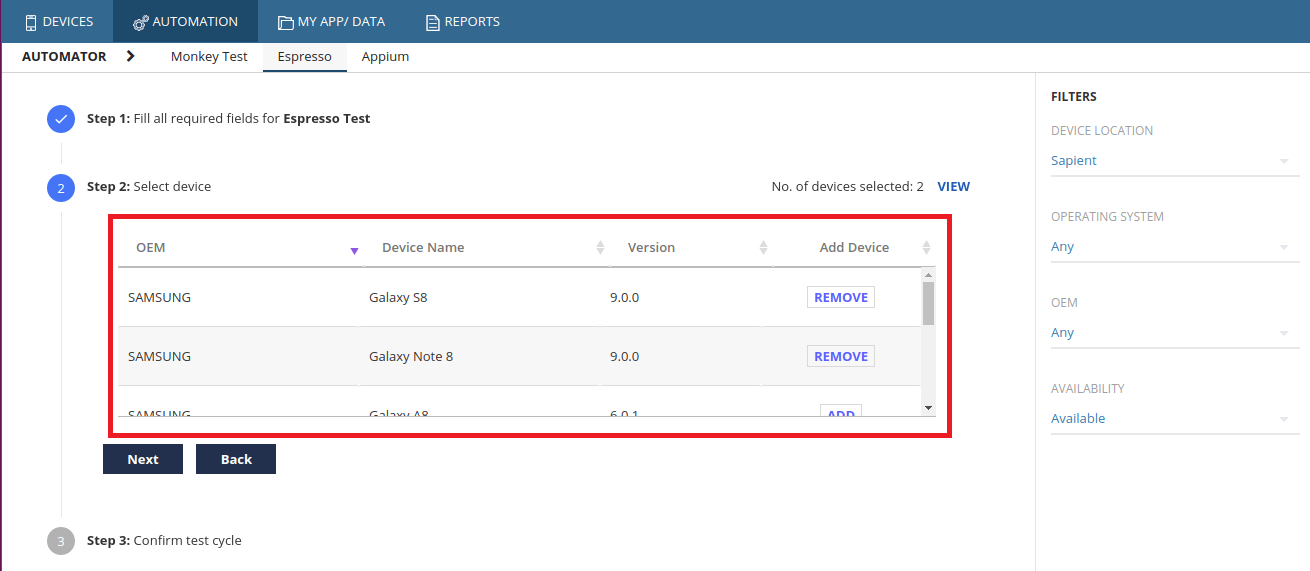
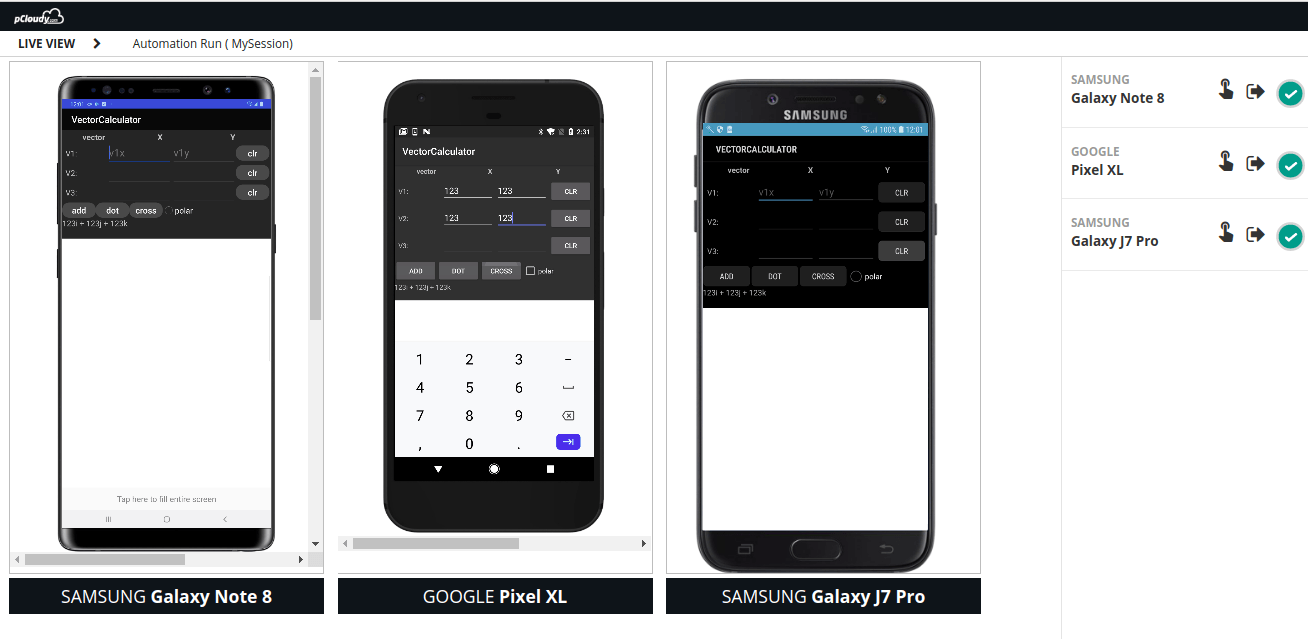
Test automation is effective when the tests are executed on multiple devices in parallel. Device coverage is the most prevalent challenge as we have witnessed growing device fragmentation across the world. To ensure the smooth functioning of mobile apps on all the devices, you need to perform automation testing on hundreds of device-OS combinations.
Test automation should be designed to make the app compatible with most of the popular devices. The frequent release of new versions of OS from both Android and iOS is a major factor that drives device fragmentation. The only way to overcome this challenge is by testing the app on a cloud-based testing platform. In pCloudy, you will get the benefit of testing the app on more than 5000 device browser combinations in parallel ensuring optimum device coverage.
Summing It Up
Test automation has many benefits like better test coverage, faster feedback, and accelerated results which reduces the time to market of any application. Using the practices mentioned above you can ensure coherent test automation and increased productivity. Apart from these points, there are many other things you can do like writing original code and not copying it as the code taken from other sources might not work in your test environment. But you will always find new roadblocks which you will have to deal with spontaneously.